Visual Sensor Presensi: Panduan Visual Deteksi Okupansi
Panduan visual teknologi sensor presensi. Pelajari diagram utama, bentuk fisik, posisi pemasangan, dan identifikasi visual sensor mmWave modern.
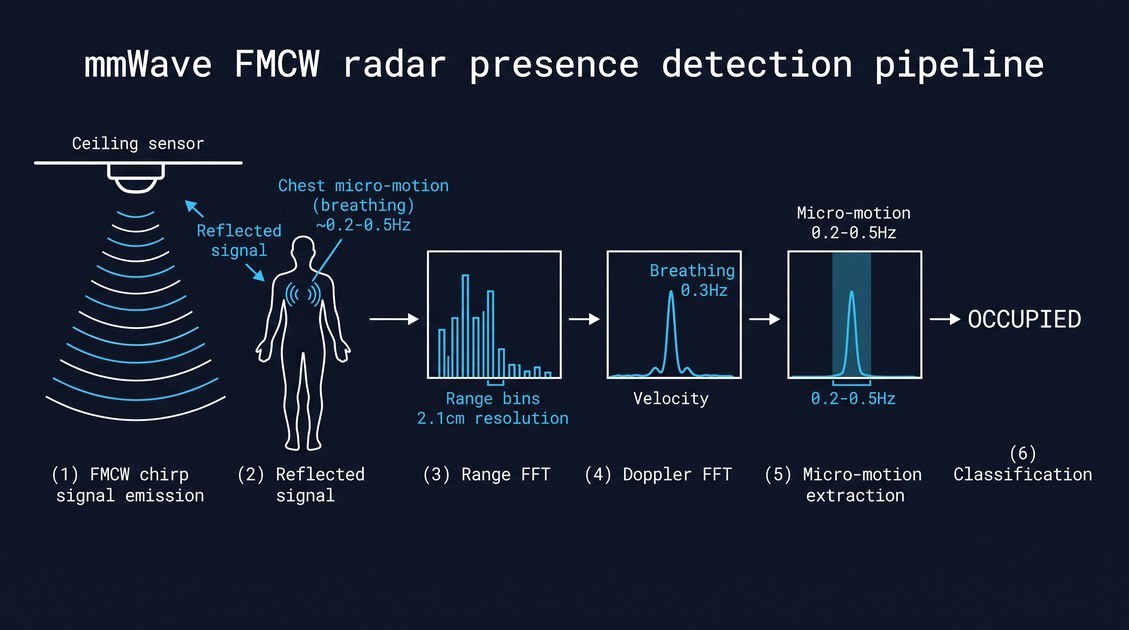
Referensi visual sensor presensi mencakup penampilan fisik, bentuk fisik, posisi pemasangan, dan diagram sudut pandang perangkat deteksi kehadiran gelombang milimeter (mmWave) modern, yang merupakan teknologi dominan untuk sensing okupansi komersial di kamar hotel, kantor, fasilitas layanan kesehatan, dan rumah pintar residensial. Sensor presensi mmWave 60 GHz modern tersedia dalam tiga bentuk fisik utama: ceiling puck (perangkat bundar berdiameter 70 mm dengan tinggi 25 mm yang tampak seperti detektor asap), wall-mount (perangkat persegi panjang berukuran 80×120 mm yang tampak seperti termostat atau panel rumah pintar kecil), dan recessed mount (perangkat pasang rata yang terintegrasi ke plafon dengan hanya cincin trim tipis yang terlihat). Referensi visual sensor presensi membantu pembeli mengidentifikasi bentuk fisik yang tepat untuk penerapan mereka, memahami sudut pandang dan jangkauan deteksi, serta merencanakan pemasangan untuk menghindari kesalahan umum (memasang terlalu dekat dengan dinding, memasang dekat benda logam, memasang dekat difusel HVAC).
Panduan ini menyediakan referensi visual yang komprehensif untuk sensor presensi, mencakup bentuk fisik, posisi pemasangan, diagram sudut pandang, dan praktik terbaik pemasangan. Baik Anda spesialis pengadaan yang mengevaluasi sensor, integrator sistem yang merencanakan penerapan, atau konsumen yang mencoba memahami seperti apa bentuk sensor presensi dan di mana harus memasangnya, panduan ini akan memberi Anda referensi visual yang jelas.
Visual Sensor Presensi: Bentuk Fisik
Pasar sensor presensi menawarkan tiga bentuk fisik utama, masing-masing dengan karakteristik visual dan skenario penerapan yang berbeda.
Visual Sensor Presensi: Ceiling Puck
Ceiling puck adalah bentuk fisik yang paling umum untuk sensor presensi modern. Ini adalah perangkat bundar dengan diameter 60–100 mm dan tinggi 20–30 mm, dirancang untuk dipasang di plafon dan tampak mirip dengan detektor asap atau speaker plafon kecil. Ceiling puck biasanya berwarna putih atau putih gading agar serasi dengan warna plafon, dan memiliki desain yang halus serta tidak mencolok.
Ceiling puck biasanya dipasang menggunakan sekrup yang menembus bagian belakang rumah ke plafon, atau menggunakan pelat pemasangan yang disekrup ke plafon lalu puck diputar hingga terpasang. Beberapa produk juga mendukung pemasangan magnetik untuk pemasangan dan pelepasan yang mudah.
Ceiling puck adalah bentuk fisik yang direkomendasikan untuk kamar hotel, kantor, ruang pasien layanan kesehatan, dan ruang hunian residensial, di mana sensor memberikan sudut pandang 360 derajat terhadap ruangan dan tampak tidak mencolok secara visual.
Visual Sensor Presensi: Wall-Mount
Wall-mount adalah bentuk fisik terumum kedua untuk sensor presensi. Ini adalah perangkat persegi panjang dengan dimensi sekitar 80×120 mm dan tinggi 20–30 mm, dirancang untuk dipasang di dinding dan tampak mirip dengan termostat atau panel rumah pintar kecil. Wall-mount biasanya berwarna putih atau putih gading agar serasi dengan warna dinding.
Wall-mount biasanya dipasang menggunakan sekrup yang menembus bagian belakang rumah ke dinding, dan diposisikan pada ketinggian 1,5–2,0 m. Wall-mount sesuai untuk koridor, area masuk, dan toilet, di mana sensor yang dipasang di plafon mungkin tidak praktis atau di mana sudut pandang yang lebih sempit diinginkan.
Visual Sensor Presensi: Recessed Mount
Recessed mount adalah bentuk fisik premium yang dipasang rata dengan plafon, dengan hanya cincin trim tipis yang terlihat. Recessed mount lebih estetis dibandingkan ceiling puck atau wall-mount, tetapi memerlukan rongga plafon dengan kedalaman minimal 30 mm dan pemasangannya lebih rumit.
Recessed mount sesuai untuk pemasangan premium (kamar hotel mewah, kantor eksekutif, hunian kelas atas) di mana estetika sangat penting.
Visual Sensor Presensi: Posisi Pemasangan
Posisi pemasangan sensor presensi sangat menentukan kinerjanya, dan diagram berikut mengilustrasikan posisi pemasangan yang direkomendasikan untuk berbagai jenis ruangan.
Visual Sensor Presensi: Pemasangan Kamar Hotel
Untuk kamar hotel, posisi pemasangan yang direkomendasikan adalah di tengah plafon, pada ketinggian 2,5–3,0 m dari lantai, tepat di atas tempat tidur. Sensor harus diorientasikan untuk memberikan cakupan penuh atas tempat tidur, meja kerja, dan pintu masuk kamar mandi.
Ceiling puck adalah bentuk fisik yang direkomendasikan untuk kamar hotel, dipasang dengan sekrup melalui bagian belakang rumah ke plafon, atau dengan pelat pemasangan. Sensor harus berjarak minimal 0,5 m dari dinding mana pun, 0,5 m dari benda logam apa pun, dan 0,5 m dari difusel HVAC apa pun.
Visual Sensor Presensi: Pemasangan Kantor
Untuk kantor, posisi pemasangan yang direkomendasikan adalah di tengah plafon, pada ketinggian 2,5–3,0 m dari lantai, tepat di atas meja kerja. Sensor harus diorientasikan untuk memberikan cakupan penuh atas meja kerja dan area tempat duduk.
Ceiling puck adalah bentuk fisik yang direkomendasikan untuk kantor, dipasang dengan sekrup atau dengan sistem pemasangan pada grid ubin (untuk plafon ubin gantung).
Visual Sensor Presensi: Pemasangan Ruang Rapat
Untuk ruang rapat, posisi pemasangan yang direkomendasikan adalah di tengah plafon, pada ketinggian 2,5–3,0 m dari lantai, tepat di atas meja rapat. Sensor harus diorientasikan untuk memberikan cakupan penuh atas meja dan kursi.
Untuk ruang rapat besar (10+ penghuni), beberapa sensor plafon mungkin diperlukan untuk memberikan cakupan penuh. Sensor harus dikoordinasikan untuk menghindari interferensi antar sensor dan memberikan penghitungan okupansi yang akurat.
Visual Sensor Presensi: Pemasangan Ruang Pasien Layanan Kesehatan
Untuk ruang pasien layanan kesehatan, posisi pemasangan yang direkomendasikan adalah di tengah plafon, pada ketinggian 2,5–3,0 m dari lantai, tepat di atas tempat tidur pasien. Sensor harus diorientasikan untuk memberikan cakupan penuh atas tempat tidur dan area di sekitar tempat tidur.
Untuk deteksi jatuh, sensor kedua dapat dipasang di pintu masuk kamar mandi untuk memberikan cakupan pada area di mana jatuh paling mungkin terjadi.
Visual Sensor Presensi: Pemasangan Residensial
Untuk ruang keluarga residensial, posisi pemasangan yang direkomendasikan adalah di tengah plafon, pada ketinggian 2,5–3,0 m dari lantai, tepat di atas area tempat duduk utama. Sensor harus diorientasikan untuk memberikan cakupan penuh atas area tempat duduk, area menonton TV, dan pintu masuk.
Untuk kamar tidur residensial, posisi pemasangan yang direkomendasikan adalah di tengah plafon, pada ketinggian 2,5–3,0 m dari lantai, tepat di atas tempat tidur.
Visual Sensor Presensi: Diagram Sudut Pandang
Sudut pandang sensor presensi adalah rentang sudut di mana sensor dapat mendeteksi penghuni secara efektif. Diagram berikut mengilustrasikan sudut pandang untuk berbagai konfigurasi sensor.
Visual Sensor Presensi: Sudut Pandang Sensor 60 GHz Terpasang di Plafon
Sensor mmWave 60 GHz yang dipasang di plafon dengan susunan antena 3×3 MIMO biasanya memiliki sudut pandang berupa:
- Azimut: ±60° (total 120°), memberikan cakupan 360 derajat saat dipasang di tengah plafon
- Elevasi: ±40° (total 80°), memberikan cakupan dari tepat di bawah sensor hingga sekitar 2,5 m dari sensor di level lantai (saat dipasang pada ketinggian 3,0 m)
Sudut pandang dapat divisualisasikan sebagai kerucut terbalik, dengan sensor di puncak dan zona deteksi meluas ke bawah dan ke luar.
Visual Sensor Presensi: Sudut Pandang Sensor Wall-Mount
Sensor wall-mount biasanya memiliki sudut pandang yang lebih sempit dibandingkan sensor yang dipasang di plafon:
- Azimut: ±45° hingga ±60° (total 90–120°)
- Elevasi: ±30° hingga ±40° (total 60–80°)
Sudut pandang dapat divisualisasikan sebagai baji, dengan sensor di puncak dan zona deteksi meluas ke luar.
Visual Sensor Presensi: Diagram Jangkauan Deteksi
Jangkauan deteksi sensor presensi adalah jarak maksimum di mana penghuni manusia dapat dideteksi secara andal. Diagram berikut mengilustrasikan jangkauan deteksi untuk berbagai konfigurasi sensor.
Visual Sensor Presensi: Jangkauan Deteksi Sensor 60 GHz
Sensor mmWave 60 GHz dengan susunan antena 3×3 MIMO, dipasang pada ketinggian 2,5–3,0 m, memiliki jangkauan deteksi berupa:
- Penghuni diam: 6–8 m (saat penghuni duduk atau berbaring tanpa gerak, dideteksi melalui gerak mikro pernapasan)
- Penghuni bergerak: 8–12 m (saat penghuni berjalan atau melakukan gerakan signifikan)
Jangkauan deteksi dapat divisualisasikan sebagai lingkaran di lantai, dengan sensor di pusat dan zona deteksi meluas 6–8 m (untuk penghuni diam) atau 8–12 m (untuk penghuni bergerak) ke segala arah.
Visual Sensor Presensi: Jangkauan Deteksi Sensor 24 GHz
Sensor mmWave 24 GHz memiliki jangkauan deteksi lebih panjang tetapi deteksi penghuni diam yang terbatas:
- Penghuni bergerak: 20–30 m
- Penghuni diam: 10–15 m (dengan sensitivitas gerak mikro yang terbatas)
Visual Sensor Presensi: Praktik Terbaik Pemasangan
Pemasangan sensor presensi sangat menentukan kinerjanya, dan praktik terbaik berikut harus diikuti.
Visual Sensor Presensi: Jarak Minimal dari Dinding
Sensor harus dipasang berjarak minimal 0,5 m dari dinding mana pun. Memasang sensor terlalu dekat dengan dinding menciptakan zona mati dalam sudut pandang di sisi ruangan yang berlawanan.
Visual Sensor Presensi: Jarak Minimal dari Benda Logam
Sensor harus dipasang berjarak minimal 0,5 m dari benda logam apa pun (ubin plafon logam, saluran HVAC logam, lampu logam). Benda logam dapat memantulkan sinyal radar dan menyebabkan deteksi palsu atau titik buta.
Visual Sensor Presensi: Jarak Minimal dari Difusel HVAC
Sensor harus dipasang berjarak minimal 0,5 m dari difusel HVAC apa pun. Aliran udara HVAC dapat memicu deteksi palsu karena udara yang bergerak menghasilkan tanda Doppler yang dapat disalahartikan sebagai gerakan manusia.
Visual Sensor Presensi: Garis Pandang Bebas Halangan
Sensor harus dipasang di lokasi terbuka dengan garis pandang bebas ke seluruh ruangan. Memasang sensor di belakang papan tulis, layar, tanaman, atau penghalang lainnya dapat memblokir sudut pandang dan menciptakan zona mati.
Visual Sensor Presensi: Kesalahan Pemasangan Umum
Beberapa kesalahan pemasangan umum dapat mengurangi kinerja sensor presensi, dan contoh visual berikut mengilustrasikan kesalahan-kesalahan tersebut.
Visual Sensor Presensi: Pemasangan Terlalu Dekat dengan Dinding
Memasang sensor terlalu dekat dengan dinding menciptakan zona mati dalam sudut pandang di sisi ruangan yang berlawanan. Zona mati adalah area di mana sensor tidak dapat mendeteksi penghuni, karena dinding memantulkan sinyal radar kembali ke sensor dan menutupi pantulan dari penghuni di zona mati.
Visual Sensor Presensi: Pemasangan Dekat Benda Logam
Memasang sensor di dekat benda logam (ubin plafon logam, saluran HVAC logam, lampu logam) dapat memantulkan sinyal radar dan menyebabkan deteksi palsu atau titik buta. Benda logam juga dapat menciptakan multipath, yang dapat membingungkan pemrosesan sinyal sensor.
Visual Sensor Presensi: Pemasangan Dekat Difusel HVAC
Memasang sensor di dekat difusel HVAC dapat menyebabkan aliran udara memicu deteksi palsu. Udara yang bergerak menghasilkan tanda Doppler yang dapat disalahartikan sebagai gerakan manusia, terutama jika penyaringan lingkungan sensor tidak cukup tangguh.
Visual Sensor Presensi: Rekomendasi Akhir
Referensi visual sensor presensi membantu pembeli mengidentifikasi bentuk fisik yang tepat untuk penerapan mereka, memahami sudut pandang dan jangkauan deteksi, serta merencanakan pemasangan untuk menghindari kesalahan umum. Bentuk fisik yang direkomendasikan untuk sebagian besar aplikasi adalah ceiling puck (diameter 70 mm, tinggi 25 mm), dipasang di tengah plafon pada ketinggian 2,5–3,0 m, dengan garis pandang bebas ke seluruh ruangan dan berjarak minimal 0,5 m dari dinding, benda logam, atau difusel HVAC apa pun.
Bagi tim pengadaan atau konsumen yang memilih sensor presensi, pendekatan yang tepat adalah memulai dengan definisi kebutuhan aplikasi yang jelas (jenis ruangan, posisi pemasangan, preferensi bentuk fisik), kemudian mengevaluasi sensor yang tersedia terhadap kebutuhan tersebut, lalu memilih vendor dengan rekam jejak yang terbukti di segmen target. Produk yang direkomendasikan untuk sebagian besar aplikasi adalah ceiling-presence-sensor-zigbee, ceiling-presence-sensor-wifi, ceiling-presence-sensor-matter, dan wall-mount-presence-sensor dari vendor dengan portofolio produk yang kuat dan rekam jejak penerapan yang terbukti.
Dengan sensor presensi yang tepat, dipasang dengan benar sesuai praktik terbaik visual yang diuraikan dalam panduan ini, sensor dapat memberikan tingkat kesadaran okupansi yang tidak mungkin dicapai dengan sensor gerak berbasis PIR, dan dapat membenarkan biaya per unit yang lebih tinggi melalui peningkatan efisiensi energi, pengalaman penghuni yang lebih baik, serta data okupansi yang lebih akurat untuk analitik hilir.
Sebagian konten artikel ini dihasilkan oleh AI dan dioptimalkan untuk akurasi profesional serta keterbacaan. A presence sensor visual reference covers the physical appearance, form factors, mounting positions, and field of view diagrams of modern millimeter-wave (mmWave) presence detection devices, which are the dominant technology for commercial occupancy sensing in hotel rooms, offices, healthcare facilities, and residential smart homes. Modern 60 GHz mmWave presence sensors are available in three primary form factors: the ceiling puck (a 70 mm diameter, 25 mm height circular device that looks like a smoke detector), the wall-mount (an 80×120 mm rectangular device that looks like a thermostat or a small smart home panel), and the recessed mount (a flush-mount device that is integrated into the ceiling with only a thin trim ring visible). The presence sensor visual reference helps buyers identify the right form factor for their deployment, understand the field of view and detection range, and plan the installation to avoid the common pitfalls (mounting too close to walls, mounting near metal objects, mounting near HVAC diffusers).
This guide provides a comprehensive visual reference for presence sensors, covering the form factors, the mounting positions, the field of view diagrams, and the installation best practices. Whether you are a procurement specialist evaluating sensors, a system integrator planning a deployment, or a consumer trying to understand what a presence sensor looks like and where to install it, this guide will give you a clear visual reference.
Presence Sensor Visual: Form Factors
The presence sensor market offers three primary form factors, each with different visual characteristics and different deployment scenarios.
Presence Sensor Visual: Ceiling Puck
The ceiling puck is the most common form factor for modern presence sensors. It is a circular device with a diameter of 60–100 mm and a height of 20–30 mm, designed to be mounted on the ceiling and to look similar to a smoke detector or a small ceiling speaker. The ceiling puck is typically white or off-white to match the ceiling color, and has a smooth, unobtrusive design.
The ceiling puck is typically mounted using screws that go through the back of the housing into the ceiling, or using a mounting plate that is screwed to the ceiling and the puck is twisted onto. Some products also support magnetic mounting for easy installation and removal.
The ceiling puck is the recommended form factor for hotel rooms, offices, healthcare patient rooms, and residential living spaces, where it provides a 360-degree field of view of the room and is visually unobtrusive.
Presence Sensor Visual: Wall-Mount
The wall-mount is the second most common form factor for presence sensors. It is a rectangular device with dimensions of approximately 80×120 mm and a height of 20–30 mm, designed to be mounted on the wall and to look similar to a thermostat or a small smart home panel. The wall-mount is typically white or off-white to match the wall color.
The wall-mount is typically mounted using screws that go through the back of the housing into the wall, and is positioned at a height of 1.5–2.0 m. The wall-mount is appropriate for corridors, entryways, and restrooms, where a ceiling-mounted sensor may not be practical or where a narrower field of view is desired.
Presence Sensor Visual: Recessed Mount
The recessed mount is a premium form factor that is mounted flush with the ceiling, with only a thin trim ring visible. The recessed mount is more aesthetically pleasing than the ceiling puck or the wall-mount, but requires a ceiling cavity of at least 30 mm depth and is more complex to install.
The recessed mount is appropriate for premium installations (luxury hotel rooms, executive offices, high-end residential) where the aesthetic is critical.
Presence Sensor Visual: Mounting Positions
The mounting position of a presence sensor is critical to its performance, and the following diagrams illustrate the recommended mounting positions for different room types.
Presence Sensor Visual: Hotel Room Mounting
For a hotel room, the recommended mounting position is the center of the ceiling, 2.5–3.0 m above the floor, directly above the bed. The sensor should be oriented to provide full coverage of the bed, the desk, and the bathroom entry.
The ceiling puck is the recommended form factor for hotel rooms, mounted with screws through the back of the housing into the ceiling, or with a mounting plate. The sensor should be at least 0.5 m from any wall, 0.5 m from any metal object, and 0.5 m from any HVAC diffuser.
Presence Sensor Visual: Office Mounting
For an office, the recommended mounting position is the center of the ceiling, 2.5–3.0 m above the floor, directly above the desk. The sensor should be oriented to provide full coverage of the desk and the seating area.
The ceiling puck is the recommended form factor for offices, mounted with screws or with a tile grid mounting system (for suspended tile ceilings).
Presence Sensor Visual: Conference Room Mounting
For a conference room, the recommended mounting position is the center of the ceiling, 2.5–3.0 m above the floor, directly above the conference table. The sensor should be oriented to provide full coverage of the table and the chairs.
For large conference rooms (10+ occupants), multiple ceiling-mounted sensors may be required to provide full coverage. The sensors should be coordinated to avoid cross-sensor interference and to provide accurate occupancy counting.
Presence Sensor Visual: Healthcare Patient Room Mounting
For a healthcare patient room, the recommended mounting position is the center of the ceiling, 2.5–3.0 m above the floor, directly above the patient bed. The sensor should be oriented to provide full coverage of the bed and the immediate area around the bed.
For fall detection, a second sensor may be mounted at the bathroom entry to provide coverage of the area where falls are most likely to occur.
Presence Sensor Visual: Residential Mounting
For a residential living room, the recommended mounting position is the center of the ceiling, 2.5–3.0 m above the floor, directly above the main seating area. The sensor should be oriented to provide full coverage of the seating area, the TV viewing area, and the entry.
For a residential bedroom, the recommended mounting position is the center of the ceiling, 2.5–3.0 m above the floor, directly above the bed.
Presence Sensor Visual: Field of View Diagrams
The field of view of a presence sensor is the angular range over which the sensor can effectively detect occupants. The following diagrams illustrate the field of view for different sensor configurations.
Presence Sensor Visual: Ceiling-Mounted 60 GHz Sensor Field of View
A ceiling-mounted 60 GHz mmWave sensor with a 3×3 MIMO antenna array typically has a field of view of:
- Azimuth: ±60° (120° total), providing 360-degree coverage when mounted in the center of the ceiling
- Elevation: ±40° (80° total), providing coverage from directly below the sensor to approximately 2.5 m from the sensor at floor level (when mounted at 3.0 m)
The field of view can be visualized as an inverted cone, with the sensor at the apex and the detection zone expanding downward and outward.
Presence Sensor Visual: Wall-Mounted Sensor Field of View
A wall-mounted sensor typically has a narrower field of view than a ceiling-mounted sensor:
- Azimuth: ±45° to ±60° (90–120° total)
- Elevation: ±30° to ±40° (60–80° total)
The field of view can be visualized as a wedge, with the sensor at the apex and the detection zone expanding outward.
Presence Sensor Visual: Detection Range Diagrams
The detection range of a presence sensor is the maximum distance at which a human occupant is reliably detected. The following diagrams illustrate the detection range for different sensor configurations.
Presence Sensor Visual: 60 GHz Sensor Detection Range
A 60 GHz mmWave sensor with a 3×3 MIMO antenna array, mounted at 2.5–3.0 m, has a detection range of:
- Stationary occupants: 6–8 m (when the occupant is sitting or lying still, detected by breathing micro-motion)
- Moving occupants: 8–12 m (when the occupant is walking or making significant movements)
The detection range can be visualized as a circle on the floor, with the sensor at the center and the detection zone extending 6–8 m (for stationary occupants) or 8–12 m (for moving occupants) in all directions.
Presence Sensor Visual: 24 GHz Sensor Detection Range
A 24 GHz mmWave sensor has a longer detection range but limited stationary-occupant detection:
- Moving occupants: 20–30 m
- Stationary occupants: 10–15 m (with limited micro-motion sensitivity)
Presence Sensor Visual: Installation Best Practices
The installation of a presence sensor is critical to its performance, and the following best practices should be followed.
Presence Sensor Visual: Minimum Distance from Walls
The sensor should be mounted at least 0.5 m from any wall. Mounting the sensor too close to a wall creates a dead zone in the field of view on the opposite side of the room.
Presence Sensor Visual: Minimum Distance from Metal Objects
The sensor should be mounted at least 0.5 m from any metal object (metal ceiling tiles, metal HVAC ducts, metal light fixtures). Metal objects can reflect the radar signal and create false detections or blind spots.
Presence Sensor Visual: Minimum Distance from HVAC Diffusers
The sensor should be mounted at least 0.5 m from any HVAC diffuser. HVAC airflow can trigger false detections because the moving air produces a Doppler signature that can be misinterpreted as human motion.
Presence Sensor Visual: Clear Line of Sight
The sensor should be mounted in a clear location with a clear line of sight to the entire room. Mounting the sensor behind a whiteboard, a screen, a plant, or any other obstacle can block the field of view and create dead zones.
Presence Sensor Visual: Common Installation Mistakes
Several common installation mistakes can undermine the performance of a presence sensor, and the following visual examples illustrate these mistakes.
Presence Sensor Visual: Mounting Too Close to a Wall
Mounting the sensor too close to a wall creates a dead zone in the field of view on the opposite side of the room. The dead zone is the area where the sensor cannot detect occupants, because the wall is reflecting the radar signal back to the sensor and masking the reflections from the occupants in the dead zone.
Presence Sensor Visual: Mounting Near Metal Objects
Mounting the sensor near metal objects (metal ceiling tiles, metal HVAC ducts, metal light fixtures) can reflect the radar signal and create false detections or blind spots. The metal objects can also create multipath, which can confuse the sensor's signal processing.
Presence Sensor Visual: Mounting Near HVAC Diffusers
Mounting the sensor near an HVAC diffuser can cause the airflow to trigger false detections. The moving air produces a Doppler signature that can be misinterpreted as human motion, especially if the sensor's environmental filtering is not robust.
Presence Sensor Visual: Final Recommendation
The presence sensor visual reference helps buyers identify the right form factor for their deployment, understand the field of view and detection range, and plan the installation to avoid the common pitfalls. The recommended form factor for most applications is the ceiling puck (70 mm diameter, 25 mm height), mounted in the center of the ceiling at 2.5–3.0 m, with a clear line of sight to the entire room and at least 0.5 m from any wall, metal object, or HVAC diffuser.
For a procurement team or a consumer selecting a presence sensor, the right approach is to start with a clear definition of the application requirements (room type, mounting position, form factor preference), then evaluate the available sensors against those requirements, then select a vendor with a proven track record in the target vertical. The recommended products for most applications are the ceiling-presence-sensor-zigbee, ceiling-presence-sensor-wifi, ceiling-presence-sensor-matter, and wall-mount-presence-sensor from vendors with strong product portfolios and proven deployment track records.
With the right presence sensor, correctly installed following the visual best practices outlined in this guide, the sensor can deliver a level of occupancy awareness that is impossible to achieve with PIR-based motion sensors, and can justify the higher unit cost through improved energy efficiency, better occupant experience, and more accurate occupancy data for downstream analytics.
Part of this article content is generated by AI and optimized for professional accuracy and readability.
blog.inArticleCta.title
blog.inArticleCta.description
contentGraph.title
contentGraph.description
contentGraph.sections.products
3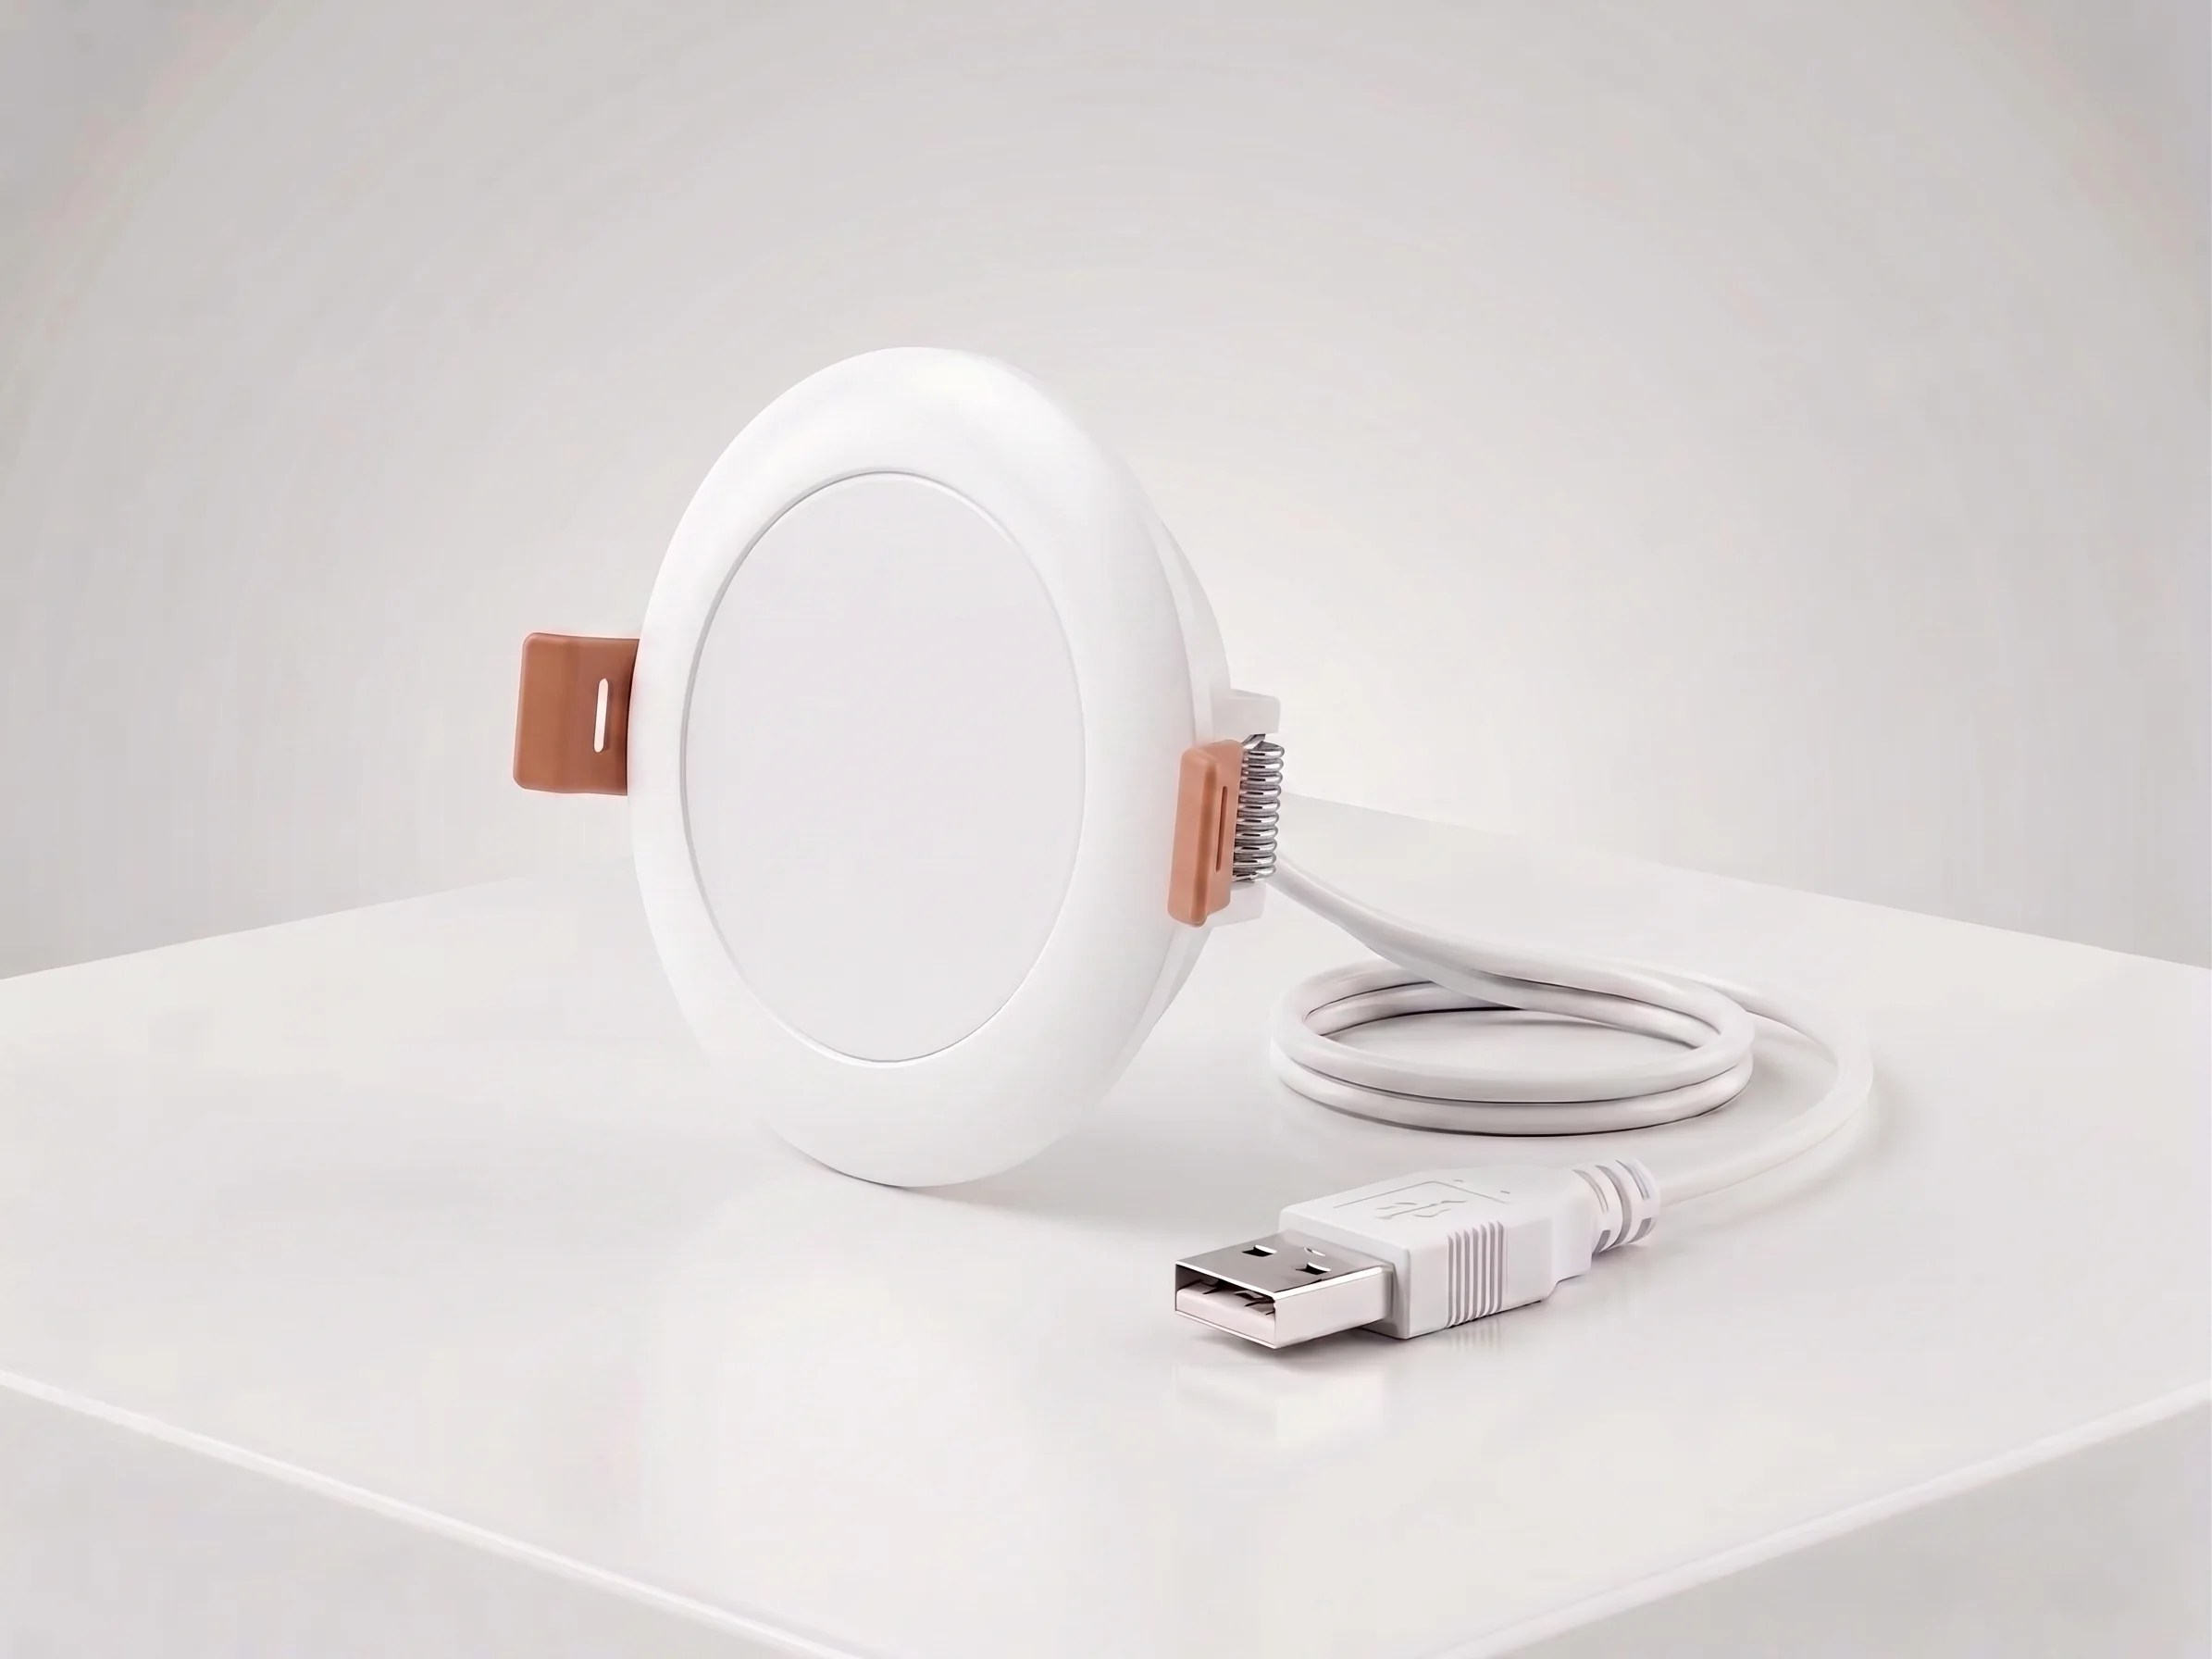
Sensor Kehadiran Manusia mmWave Pasang Plafon — Zigbee
Sensor kehadiran mmWave 24GHz pita lebar untuk plafon: deteksi gerak 10m, mikro-gerak 2,5m, deteksi napas. Sudut 120°, DC5V, Zigbee 3.0, untuk kamar hotel.
contentGraph.reasons.explicit
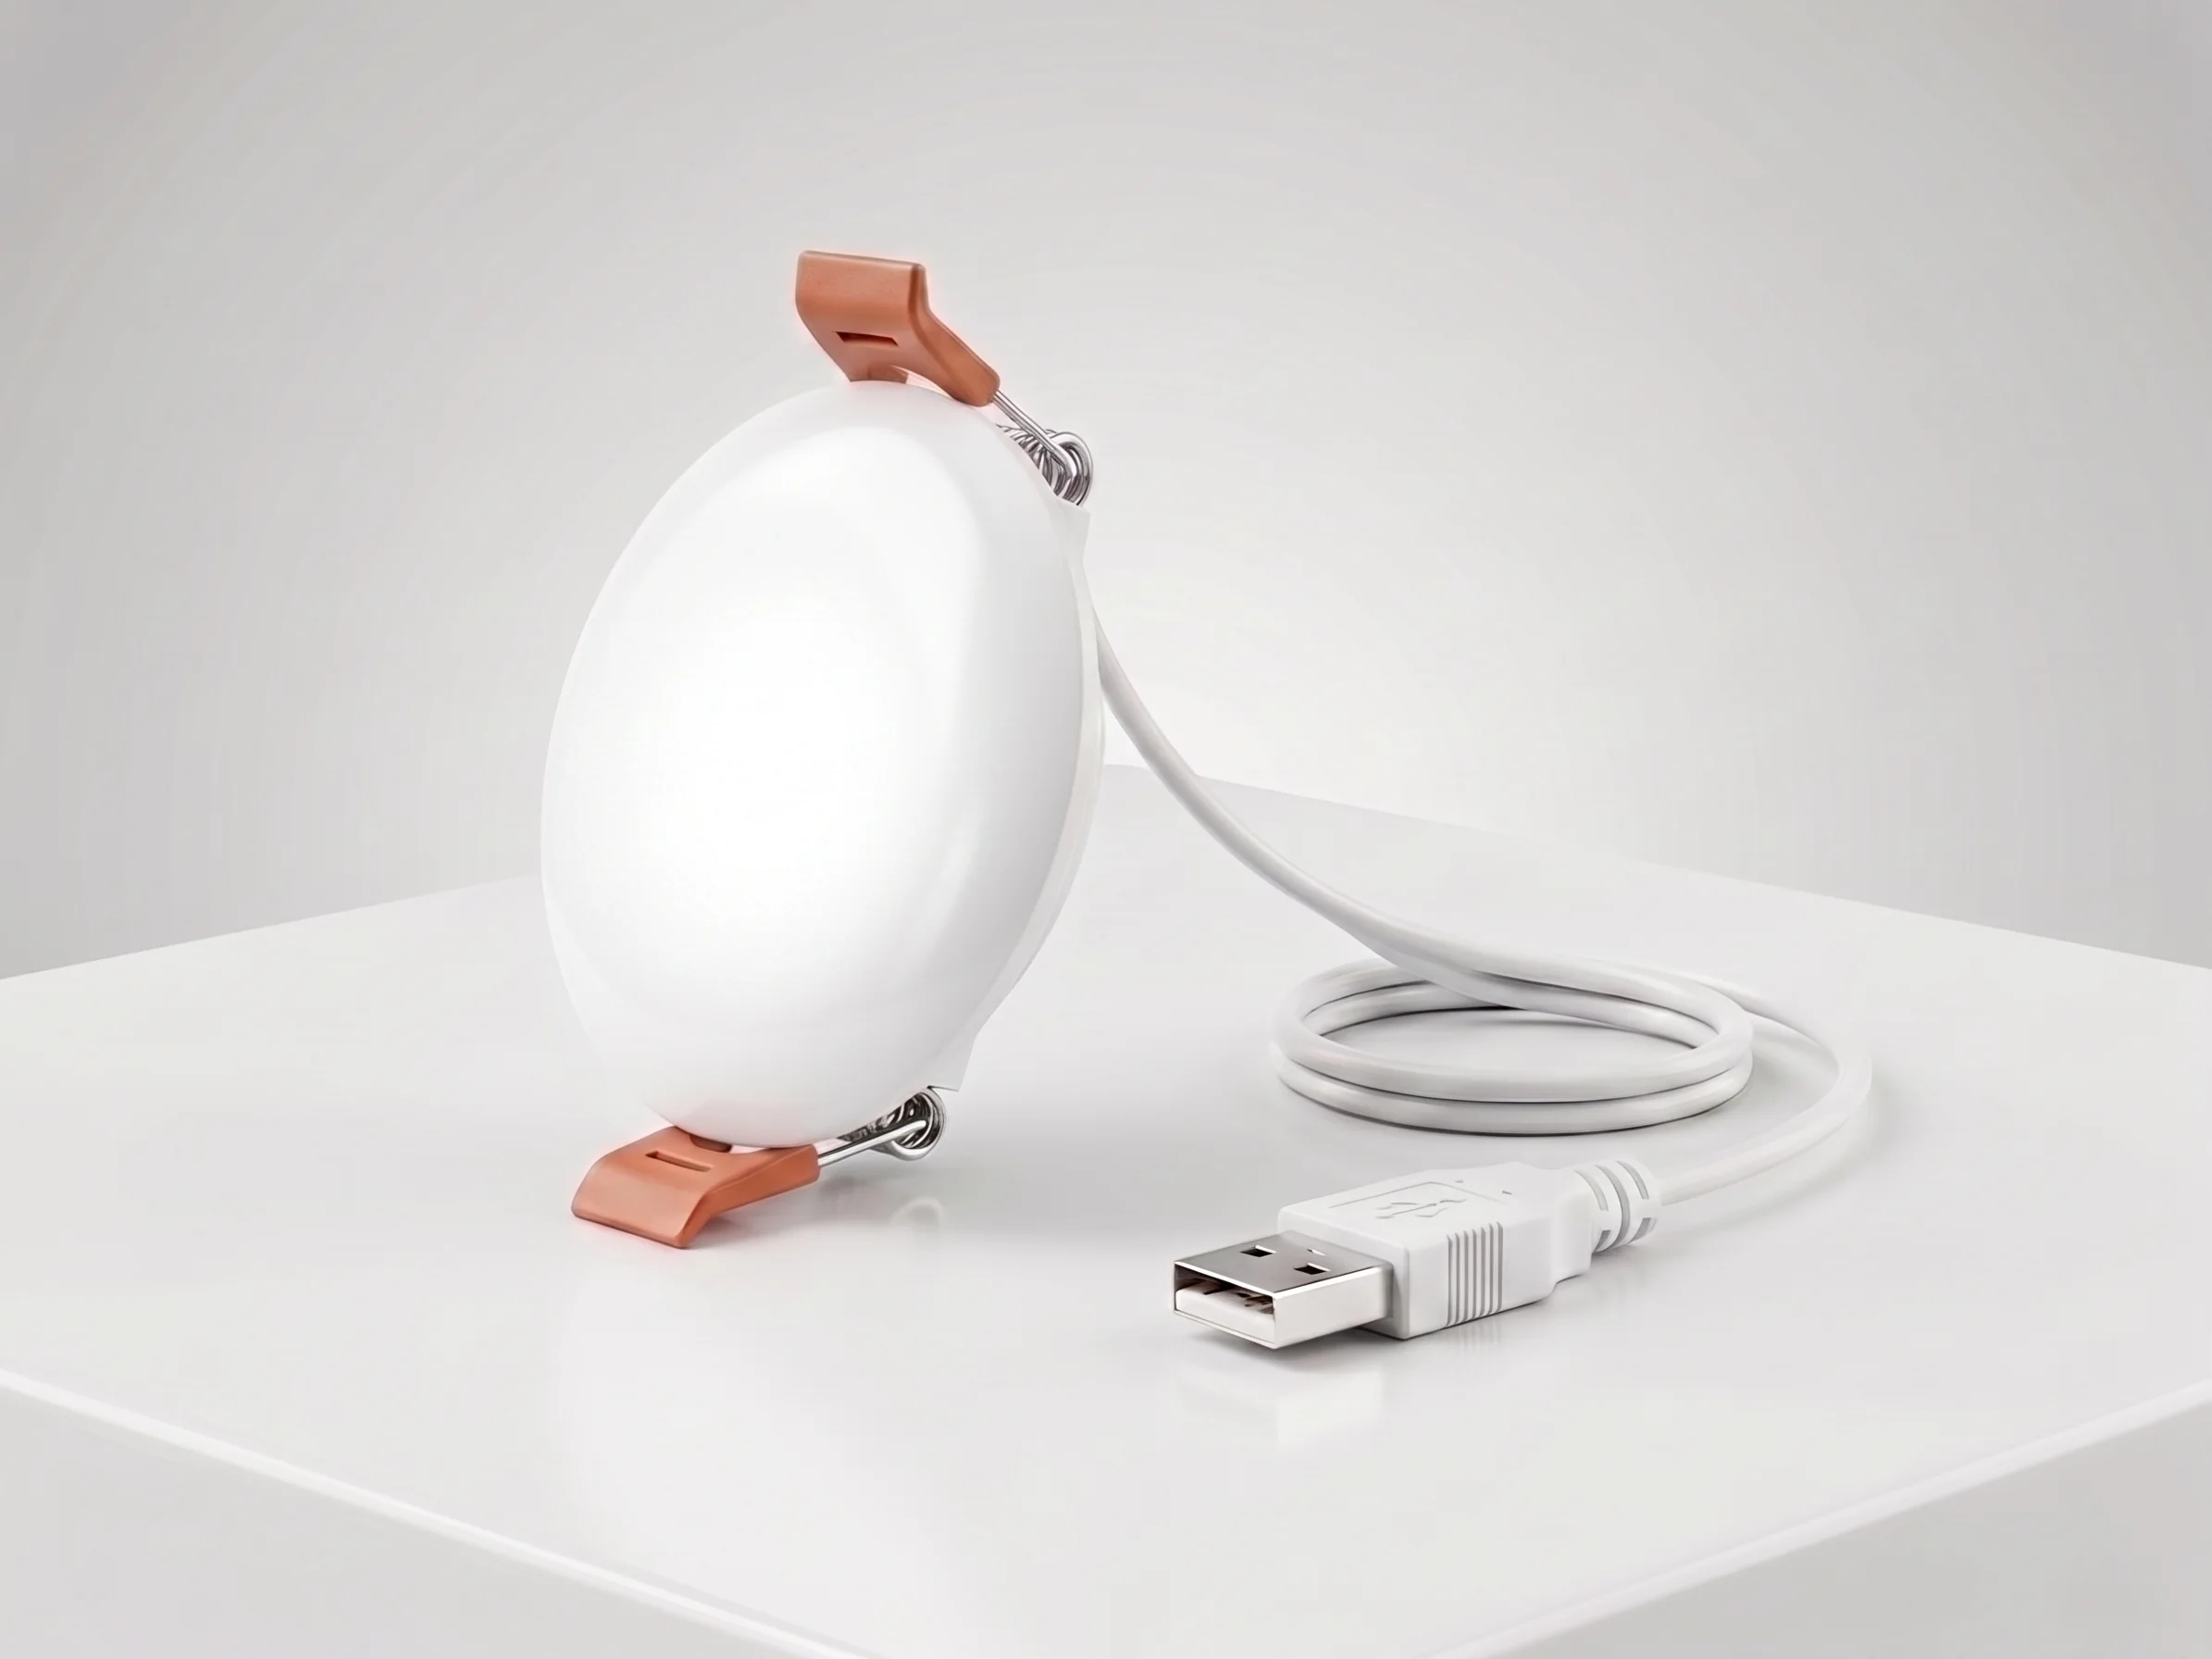
Sensor Kehadiran Manusia mmWave Plafon — WiFi
Sensor kehadiran mmWave 24GHz plafon, deteksi gerak 10m, mikro-gerak 2.5m, pernapasan. Sudut 120°, DC5V, WiFi 2.4GHz. Tanpa gateway, ideal retrofit hotel.
contentGraph.reasons.explicit
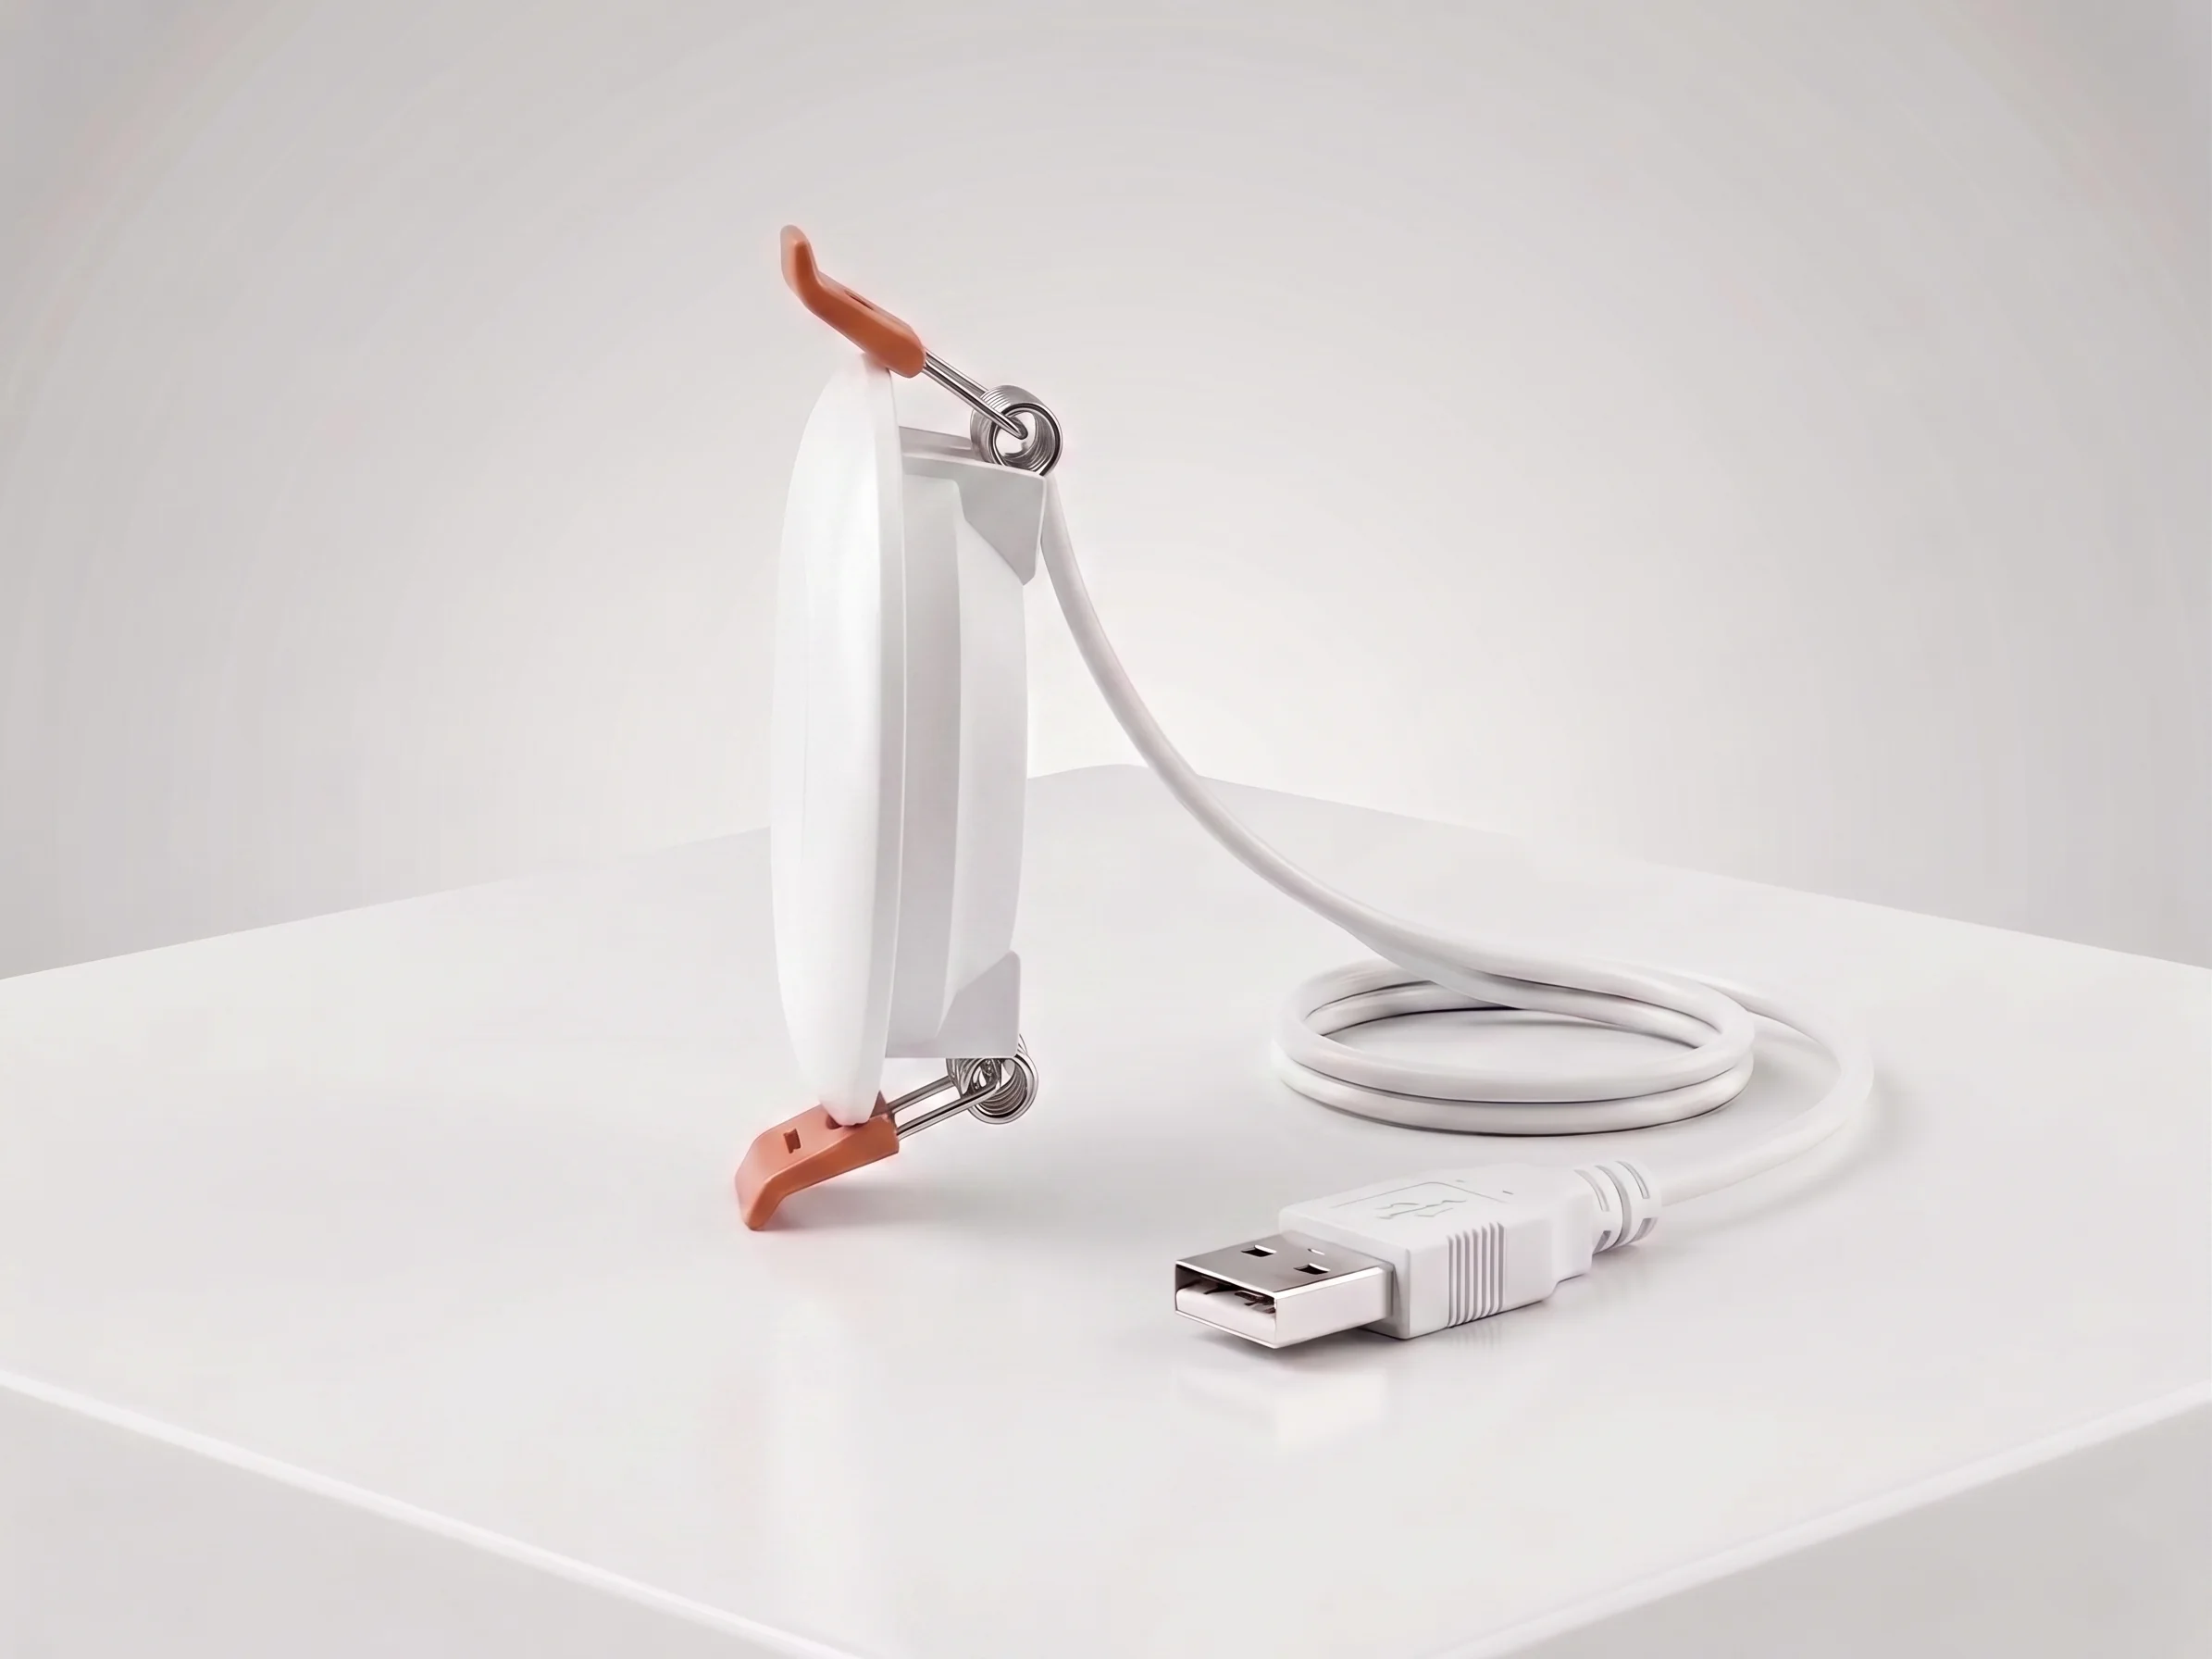
Sensor Kehadiran Manusia mmWave Pasang Dinding
Sensor kehadiran mmWave 24GHz bentuk dinding 86mm. Gerak 10m, mikro-gerak 2.5m, deteksi pernapasan, 120°, DC5V. Zigbee + WiFi untuk otomasi kantor dan hunian.
contentGraph.reasons.explicit
contentGraph.sections.solutions
1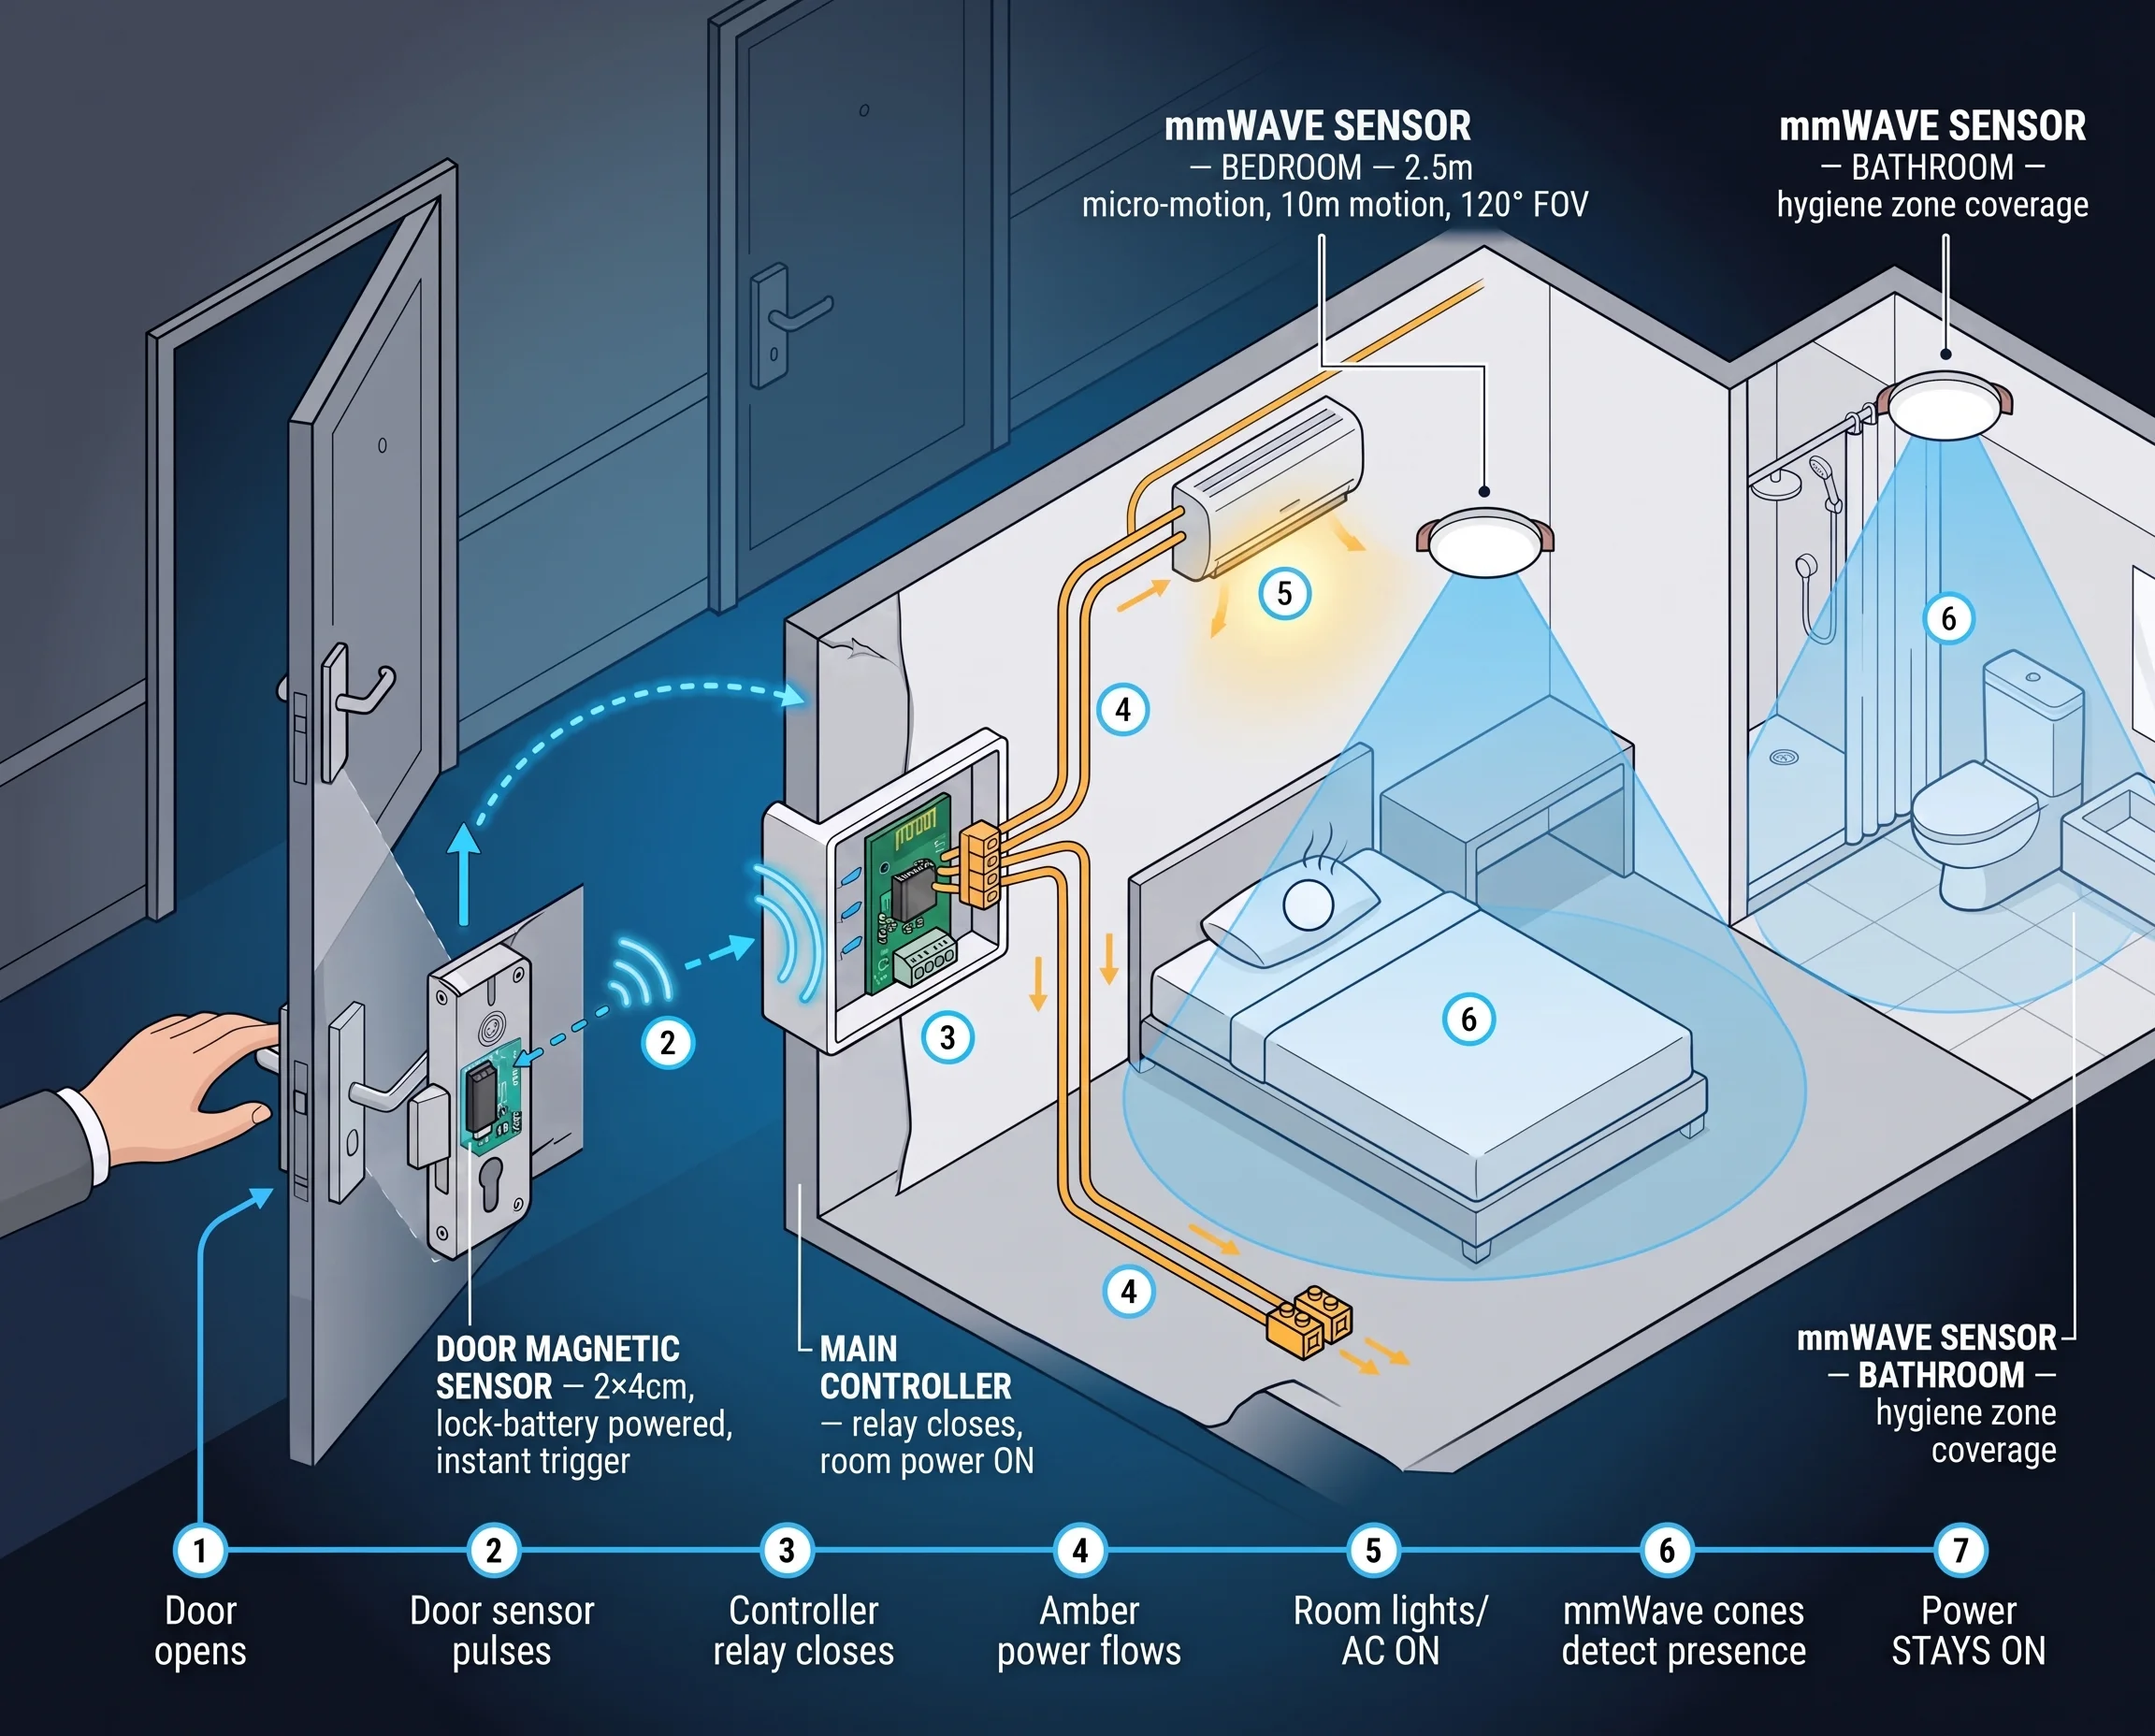
Solusi Sensor Okupansi & Gerak Kamar Hotel
Sensor okupansi radar mmWave untuk kamar hotel: deteksi tamu yang tidur, jadwalkan housekeeping, hemat energi HVAC 20-40% tanpa alarm kosong palsu.
contentGraph.reasons.productContext
contentGraph.sections.blog
3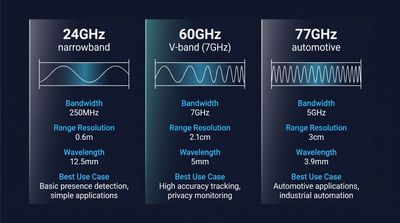
Sensor mmWave 60GHz vs 24GHz vs 77GHz: Memilih Frekuensi yang Tepat untuk Deteksi Kehadiran Komersial
Bandingkan sensor mmWave 60GHz, 24GHz, dan 77GHz untuk deteksi kehadiran komersial. Spesifikasi teknis, jangkauan deteksi, privasi, dan panduan sourcing OEM.
contentGraph.reasons.productContext
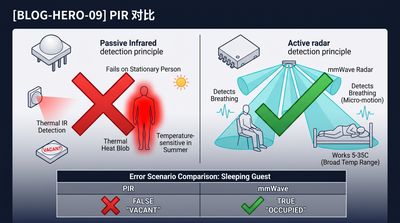
Apa Itu Sensor Kehadiran Elektronik? Teknologi dan Akurasi
Pelajari apa itu sensor kehadiran elektronik, cara mendeteksi manusia diam, dan perbedaannya dengan sensor gerak PIR. Membahas mmWave, akurasi, dan penerapan.
contentGraph.reasons.productContext
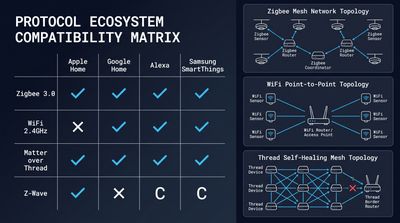
Cara Integrasi Sensor Kehadiran mmWave dengan Home Assistant
Panduan lengkap kontrol lokal perangkat mmWave: konfigurasi MQTT/Matter, skrip otomasi, kalibrasi, dan tips integrasi sensor kehadiran plafon OEM.
contentGraph.reasons.productContext
nextStep.blog.title
nextStep.blog.description
- nextStep.blog.points.one
- nextStep.blog.points.two
- nextStep.blog.points.three