Sensor Kehadiran Plafon: Instalasi dan Praktik Terbaik
Panduan lengkap instalasi sensor kehadiran plafon: lokasi pemasangan, cara menghindari kesalahan umum, dan jenis sensor terbaik untuk aplikasi Anda.
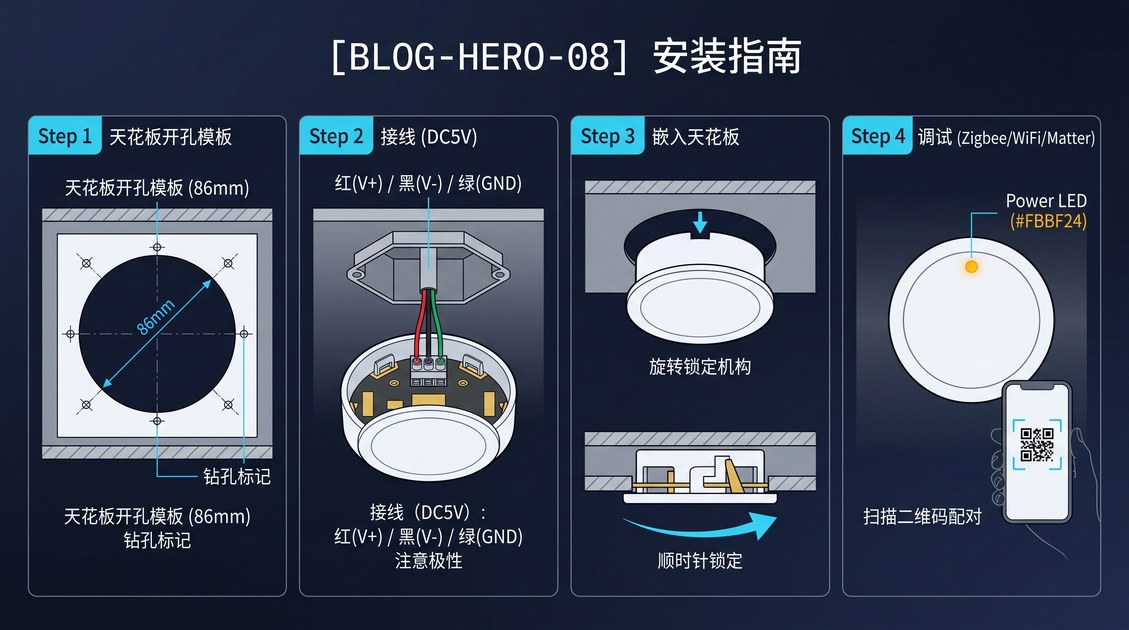
Sensor kehadiran plafon adalah perangkat deteksi kehadiran yang dirancang dan dikonfigurasi secara khusus untuk pemasangan di plafon, dengan bentuk fisik yang meminimalkan dampak visual (biasanya berupa puck bulat berdiameter 60–100 mm), sudut pandang 360 derajat atau sudut lebar yang dioptimalkan untuk deteksi dari atas, serta jangkauan deteksi 6–8 meter untuk penghuni dalam kondisi diam saat dipasang pada ketinggian plafon standar 2,5–3,0 m. Posisi pemasangan di plafon merupakan bentuk fisik dominan untuk deteksi kehadiran komersial karena memberikan garis pandang yang jelas ke semua penghuni di ruangan, tidak mencolok, sulit diganggu, dan tidak terpengaruh oleh penataan ulang perabot. Instalasi sensor kehadiran plafon yang mengikuti praktik terbaik — ketinggian pemasangan yang benar, lokasi yang benar, orientasi yang benar, daya dan konektivitas yang benar — dapat mencapai tingkat true positive penghuni diam di atas 99% dalam pengujian terkontrol dan di atas 95% dalam penerapan di dunia nyata, dengan tingkat false positive di bawah 1% dalam periode 24 jam.
Posisi pemasangan di plafon sangat penting bagi kinerja sensor, dan beberapa faktor harus dipertimbangkan selama perencanaan dan pelaksanaan instalasi. Panduan ini memberikan gambaran menyeluruh tentang instalasi sensor kehadiran plafon, termasuk ketinggian dan lokasi pemasangan yang disarankan, kesalahan instalasi umum yang harus dihindari, pilihan daya dan konektivitas, serta praktik terbaik spesifik untuk penerapan di hotel, kantor, dan layanan kesehatan.
Sensor Kehadiran Plafon: Mengapa Posisi Pemasangan di Plafon
Posisi pemasangan di plafon lebih dipilih daripada pemasangan di dinding atau sudut karena beberapa alasan yang mendasar bagi kinerja sensor dan pengalaman pengguna.
Sensor Kehadiran Plafon: Sudut Pandang 360 Derajat
Sensor kehadiran yang dipasang di plafon pada ketinggian 2,5–3,0 m memiliki sudut pandang 360 derajat ke seluruh ruangan, dengan kemampuan mendeteksi penghuni ke segala arah. Sebaliknya, sensor yang dipasang di dinding memiliki sudut pandang terbatas (biasanya ±60° hingga ±120° tergantung desain lensa atau antena), dan sudut pandangnya hanya mencakup area di depan sensor. Untuk ruangan di mana penghuni dapat berada di mana saja (kamar hotel dengan tempat tidur, meja kerja, dan kamar mandi; kantor dengan meja kerja, area duduk, dan pintu; ruang rapat dengan meja konferensi dan kursi), sensor plafon memberikan cakupan yang lebih merata dibandingkan sensor dinding.
Sensor Kehadiran Plafon: Garis Pandang yang Jelas
Sensor kehadiran plafon memiliki garis pandang yang jelas ke semua penghuni di ruangan, karena biasanya tidak ada penghalang antara plafon dan penghuni. Sebaliknya, sensor dinding dapat terhalang oleh perabot, gorden, atau penghuni itu sendiri. Di kantor biasa, sensor dinding dapat terhalang oleh kursi kantor, meja kerja, atau penghuni yang duduk di meja, sehingga menciptakan dead zone dalam sudut pandang. Sensor plafon yang dipasang 2,5–3,0 m di atas lantai berada di atas sebagian besar perabot dan tidak terhalang oleh penghuni.
Sensor Kehadiran Plafon: Kehalusan Visual
Sensor kehadiran plafon tampak tidak mencolok secara visual, mirip detektor asap atau speaker plafon kecil. Sebagian besar penghuni tidak memperhatikan sensor tersebut, dan bahkan jika mereka memperhatikannya, mereka tidak merasa terganggu. Sebaliknya, sensor dinding lebih terlihat dan dapat dianggap mengganggu, terutama di kamar hotel atau ruang tinggal residensial yang mengutamakan estetika.
Sensor Kehadiran Plafon: Ketahanan terhadap Perusakan
Sensor kehadiran plafon sulit diganggu karena berada tinggi di plafon dan tidak mudah dijangkau. Sebaliknya, sensor dinding dapat ditutupi, diblokir, atau dilepas oleh penghuni (baik disengaja maupun tidak). Untuk aplikasi di mana ketahanan terhadap perusakan penting (keamanan, layanan housekeeping hotel, layanan kesehatan), sensor plafon lebih dipilih.
Sensor Kehadiran Plafon: Ketinggian Pemasangan yang Disarankan
Ketinggian pemasangan instalasi sensor kehadiran plafon sangat penting bagi kinerja sensor, dan ketinggian yang disarankan bergantung pada geometri ruangan dan sudut pandang sensor.
Sensor Kehadiran Plafon: Tinggi Plafon Standar (2,5–3,0 m)
Tinggi plafon standar di sebagian besar bangunan komersial adalah 2,5–3,0 m, dan ini merupakan ketinggian pemasangan yang disarankan untuk sensor kehadiran mmWave 60 GHz dengan sudut pandang azimut ±60° dan sudut pandang elevasi ±40°. Pada ketinggian ini, sensor dapat mencakup ruangan hingga 5×5 m, dengan cakupan penuh area lantai dalam sudut pandang.
Untuk kamar hotel biasa (3×4 m hingga 4×5 m), satu sensor kehadiran plafon pada ketinggian 2,5–3,0 m memberikan cakupan penuh. Untuk ruangan yang lebih besar (5×6 m atau lebih), mungkin diperlukan beberapa sensor untuk cakupan penuh.
Sensor Kehadiran Plafon: Plafon Tinggi (3,0–4,0 m)
Untuk ruangan dengan plafon tinggi (3,0–4,0 m, umum di lobi, atrium, dan beberapa gedung kantor modern), ketinggian pemasangan sebaiknya tetap pada standar 2,5–3,0 m dengan menggunakan braket pemasangan atau tiang gantung untuk menurunkan sensor. Memasang sensor langsung pada plafon tinggi mengurangi sudut pandang pada level lantai dan dapat menciptakan dead zone.
Jika sensor harus dipasang langsung pada plafon tinggi (karena tiang gantung tidak praktis), gunakan sensor dengan sudut pandang elevasi yang lebih lebar (atau sensor yang dirancang khusus untuk aplikasi plafon tinggi).
Sensor Kehadiran Plafon: Plafon Rendah (2,0–2,5 m)
Untuk ruangan dengan plafon rendah (2,0–2,5 m, umum di beberapa aplikasi residensial dan bangunan lama), sensor dapat dipasang langsung pada plafon. Pada ketinggian 2,0–2,5 m, sudut pandang sensor pada level lantai lebih lebar daripada pada 2,5–3,0 m, yang justru dapat menjadi keuntungan di ruangan kecil.
Namun, pemasangan sensor di bawah 2,0 m tidak disarankan karena sensor dapat dianggap mengganggu dan rentan terhadap perusakan. Untuk aplikasi plafon rendah, dapat dipertimbangkan opsi pemasangan tertanam (recessed), di mana sensor dipasang rata dengan plafon.
Sensor Kehadiran Plafon: Lokasi Pemasangan yang Disarankan
Lokasi pemasangan pada plafon ditentukan oleh geometri ruangan, lokasi area aktivitas utama, serta lokasi penghalang dan difuser HVAC.
Sensor Kehadiran Plafon: Pusat Plafon
Lokasi pemasangan yang disarankan adalah pusat plafon, tepat di atas area aktivitas utama. Untuk kamar hotel, area aktivitas utama adalah tempat tidur, sehingga sensor sebaiknya dipasang di atas tengah tempat tidur. Untuk kantor, area aktivitas utama adalah meja kerja, sehingga sensor sebaiknya dipasang di atas tengah meja. Untuk ruang rapat, area aktivitas utama adalah meja konferensi, sehingga sensor sebaiknya dipasang di atas tengah meja.
Memasang sensor tepat di atas area aktivitas utama memastikan sudut pandang sensor mencakup area tempat penghuni menghabiskan waktu paling banyak, dan deteksi penghuni diam menjadi optimal.
Sensor Kehadiran Plafon: Jarak dari Dinding dan Penghalang
Sensor sebaiknya dipasang minimal 0,5 m dari dinding mana pun, 0,5 m dari benda logam apa pun (ubin plafon logam, saluran HVAC logam, perabot logam di atas plafon), dan 0,5 m dari difuser HVAC apa pun. Jarak minimum ini mencegah sensor terpengaruh oleh pantulan, penghalangan, atau aliran udara yang diakibatkan HVAC.
Untuk ruangan dengan lampu plafon di tengah, sensor sebaiknya dipasang minimal 0,5 m dari lampu untuk menghindari interferensi dari sumber panas lampu dan komponen logam pada lampu.
Sensor Kehadiran Plafon: Orientasi
Array antena sensor harus diorientasikan untuk memberikan cakupan penuh ruangan, dengan sumbu lebar sudut pandang sejajar dengan dimensi terpanjang ruangan. Untuk ruangan persegi panjang, sensor harus diorientasikan agar sumbu lebar sudut pandang sejajar dengan sumbu panjang ruangan, memberikan cakupan lebih lebar sepanjang sumbu panjang.
Untuk ruangan persegi, orientasi kurang kritis dan sensor dapat diorientasikan ke arah mana pun.
Sensor Kehadiran Plafon: Kesalahan Instalasi Umum
Beberapa kesalahan instalasi umum dapat menurunkan kinerja instalasi sensor kehadiran plafon. Kesalahan yang paling sering terjadi adalah:
Sensor Kehadiran Plafon: Pemasangan Terlalu Dekat dengan Dinding
Memasang sensor terlalu dekat dengan dinding menciptakan dead zone dalam sudut pandang di sisi ruangan yang berlawanan, tempat sensor tidak dapat mendeteksi penghuni. Jarak minimum yang disarankan dari dinding adalah 0,5 m untuk sensor plafon.
Sensor Kehadiran Plafon: Pemasangan di Dekat Benda Logam
Memasang sensor di dekat benda logam (ubin plafon logam, saluran HVAC logam, lampu plafon logam) dapat memantulkan sinyal radar dan menyebabkan deteksi palsu atau blind spot. Jarak minimum yang disarankan dari benda logam adalah 0,5 m untuk sensor plafon.
Sensor Kehadiran Plafon: Pemasangan di Dekat Difuser HVAC
Memasang sensor di dekat difuser HVAC dapat menyebabkan aliran udara memicu deteksi palsu, karena udara yang bergerak menghasilkan tanda Doppler yang dapat salah diartikan sebagai gerakan manusia. Jarak minimum yang disarankan dari difuser HVAC adalah 0,5 m untuk sensor plafon.
Sensor Kehadiran Plafon: Menghalangi Sudut Pandang
Memasang sensor di belakang papan tulis, layar, tanaman, atau penghalang lainnya dapat memblokir sudut pandang dan menciptakan dead zone. Sensor harus dipasang di lokasi terbuka dengan garis pandang yang jelas ke seluruh ruangan.
Sensor Kehadiran Plafon: Ketinggian Pemasangan yang Salah
Memasang sensor terlalu tinggi (di atas 3,5 m) mengurangi sudut pandang pada level lantai dan dapat menciptakan dead zone di sudut ruangan. Memasang sensor terlalu rendah (di bawah 2,0 m) membuat sensor rentan terhadap perusakan dan dapat menghasilkan instalasi yang kurang estetis.
Sensor Kehadiran Plafon: Daya dan Konektivitas yang Salah
Menggunakan sumber daya yang salah (misalnya sensor bertenaga baterai di lokasi yang memiliki daya listrik dan menginginkan PoE) atau konektivitas yang salah (misalnya sensor Zigbee di lokasi di mana WiFi adalah satu-satunya jaringan yang tersedia) dapat membatasi kinerja sensor dan kemampuan integrasinya.
Sensor Kehadiran Plafon: Pilihan Daya dan Konektivitas
Pilihan daya dan konektivitas untuk instalasi sensor kehadiran plafon ditentukan oleh infrastruktur yang ada dan kebutuhan integrasi.
Sensor Kehadiran Plafon: Pilihan Daya
- Daya listrik utama (mains power): pilihan paling umum untuk penerapan hotel dan kantor. Sensor ditenagai dari sirkuit penerangan ruangan atau sirkuit daya khusus. Daya utama memberikan operasi yang andal dan berkelanjutan serta cocok untuk semua jenis sensor.
- Power over Ethernet (PoE): pilihan utama untuk penerapan kantor yang tersedia kabel Ethernet. PoE menyediakan daya dan data melalui satu kabel, menyederhanakan instalasi. PoE cocok untuk sensor dengan konektivitas Ethernet.
- Daya baterai: digunakan pada beberapa penerapan retrofit di mana daya utama tidak mudah tersedia. Umur baterai sensor plafon 60 GHz biasanya 12–18 bulan dengan sel CR123A, dengan siklus tugas radar 2–3 detik. Daya baterai cocok untuk sensor nirkabel Zigbee atau sensor hemat daya lainnya.
Sensor Kehadiran Plafon: Pilihan Konektivitas
- Zigbee: konektivitas paling umum untuk penerapan hotel dan residensial. Zigbee memberikan hemat daya, jaringan mesh, dan integrasi native dengan sistem manajemen gedung serta platform smart home.
- WiFi: konektivitas paling umum untuk penerapan kantor. WiFi memberikan bandwidth tinggi dan integrasi mudah dengan infrastruktur WiFi yang ada.
- Matter: standar smart home yang sedang berkembang dan menyediakan kompatibilitas lintas ekosistem. Matter semakin menjadi pilihan default untuk penerapan residensial baru.
- BACnet/IP atau Modbus TCP: konektivitas paling umum untuk integrasi sistem manajemen gedung. BACnet cocok untuk penerapan kantor dan layanan kesehatan di mana BMS menjadi sistem utama.
- Ethernet (dengan PoE): konektivitas paling andal untuk penerapan kantor. Ethernet memberikan bandwidth tertinggi dan transmisi data paling andal.
Sensor Kehadiran Plafon: Praktik Terbaik Spesifik per Use Case
Praktik terbaik untuk instalasi sensor kehadiran plafon bervariasi sesuai use case, dan bagian berikut menjelaskan rekomendasi spesifik untuk vertikal aplikasi utama.
Sensor Kehadiran Plafon: Kamar Hotel
Untuk penerapan kamar hotel, sensor kehadiran plafon sebaiknya dipasang di tengah plafon, 2,5–3,0 m di atas lantai, tepat di atas tempat tidur. Sensor sebaiknya ditenagai daya utama dan terhubung melalui Zigbee ke sistem manajemen gedung.
Praktik terbaik yang umum adalah memasang sensor saat konstruksi atau renovasi kamar, dengan instalasi kabel direncanakan sejak fase desain. Sensor harus terintegrasi dengan sistem HVAC, pencahayaan, dan housekeeping kamar, serta dikonfigurasi untuk memberikan data hunian waktu nyata ke sistem manajemen gedung.
Untuk penerapan retrofit hotel, sensor bertenaga baterai atau daya utama dapat dipasang tanpa konstruksi besar. Sensor harus dikonfigurasi untuk memberikan data hunian ke sistem manajemen gedung melalui Zigbee, dan terintegrasi dengan kontrol HVAC serta pencahayaan kamar yang ada.
Sensor Kehadiran Plafon: Kantor dan Ruang Rapat
Untuk penerapan kantor, sensor kehadiran plafon sebaiknya dipasang di tengah plafon, 2,5–3,0 m di atas lantai, dengan konektivitas PoE untuk daya dan data yang andal. Sensor harus terintegrasi dengan sistem manajemen gedung untuk kontrol HVAC dan pencahayaan, serta dengan platform penjadwalan untuk ketersediaan ruangan waktu nyata.
Praktik terbaik yang umum adalah menggunakan sistem pemasangan grid ubin (tile grid) untuk memudahkan instalasi dan pemindahan pada plafon ubin gantung. Sensor harus dikonfigurasi dengan latensi deteksi yang sesuai untuk aplikasi (1–2 detik untuk kontrol pencahayaan, 2–3 detik untuk kontrol HVAC).
Untuk ruang rapat besar (10+ penghuni), mungkin diperlukan beberapa sensor plafon untuk cakupan penuh. Sensor-sensor tersebut harus dikoordinasikan untuk menghindari interferensi antar-sensor dan memberikan penghitungan hunian yang akurat.
Sensor Kehadiran Plafon: Layanan Kesehatan dan Ruang Pasien
Untuk penerapan layanan kesehatan, sensor kehadiran plafon sebaiknya dipasang di ruang pasien, 2,5–3,0 m di atas lantai, dengan daya utama dan koneksi jaringan kabel. Sensor harus terintegrasi dengan sistem panggil perawat dan sistem EHR, serta dirancang agar mudah dibersihkan dan didisinfeksi.
Praktik terbaik yang umum adalah menggunakan konfigurasi dua sensor (satu sensor di atas tempat tidur untuk pemantauan tidur, satu sensor di pintu masuk kamar mandi untuk deteksi jatuh), dengan kedua sensor dikoordinasikan untuk memberikan gambaran aktivitas pasien yang menyeluruh. Sensor harus memenuhi persyaratan keandalan dan privasi rumah sakit yang ketat, serta dikonfigurasi untuk memberikan data hunian waktu nyata ke sistem panggil perawat.
Sensor Kehadiran Plafon: Smart Home Residensial
Untuk penerapan smart home residensial, sensor kehadiran plafon sebaiknya dipasang di tengah plafon, 2,5–3,0 m di atas lantai, dengan daya utama dan konektivitas Matter atau Zigbee. Sensor harus terintegrasi dengan platform smart home untuk pencahayaan berbasis hunian, kontrol HVAC, dan pemantauan keamanan.
Praktik terbaik yang umum adalah menggunakan opsi pemasangan tertanam (recessed) untuk instalasi premium, di mana sensor dipasang rata dengan plafon. Sensor harus dikonfigurasi untuk memberikan data hunian ke platform smart home, serta terintegrasi dengan sistem pencahayaan, HVAC, dan keamanan rumah.
Sensor Kehadiran Plafon: Kalibrasi dan Commissioning
Setelah instalasi fisik, sensor harus dikalibrasi dan di-commissioning untuk memastikan sensor beroperasi dengan benar dan integrasi dengan sistem hilir berfungsi sesuai harapan.
Sensor Kehadiran Plafon: Kalibrasi Awal
Sebagian besar sensor kehadiran modern dirancang untuk melakukan kalibrasi mandiri (self-calibrating), artinya sensor mempelajari tanda latar belakang ruangan selama beberapa jam pertama operasi dan menggunakannya sebagai baseline untuk deteksi hunian. Namun, beberapa kalibrasi awal mungkin diperlukan:
- Zona deteksi sensor harus diverifikasi dengan berkeliling ruangan dan memastikan sensor melaporkan kehadiran di semua lokasi yang diharapkan.
- Tingkat false positive sensor harus diverifikasi dengan membiarkan ruangan kosong selama beberapa jam dan memastikan sensor tidak melaporkan kehadiran palsu.
- Integrasi sensor dengan sistem hilir harus diverifikasi dengan memicu peristiwa hunian dan memastikan sistem merespons dengan benar.
Sensor Kehadiran Plafon: Pemeliharaan Berkala
Sensor harus diperiksa secara berkala (biasanya setiap 6–12 bulan) untuk memastikan sensor beroperasi dengan benar. Pemeriksaan harus mencakup:
- Pemeriksaan visual rumah sensor terhadap kerusakan atau kotoran
- Verifikasi zona deteksi dengan berkeliling ruangan
- Verifikasi integrasi dengan sistem hilir
- Penggantian baterai (untuk sensor bertenaga baterai)
- Pembaruan firmware (jika berlaku)
Sensor Kehadiran Plafon: Rekomendasi Akhir
Instalasi sensor kehadiran plafon merupakan bentuk fisik dominan untuk deteksi kehadiran komersial, memberikan sudut pandang 360 derajat, garis pandang jelas ke semua penghuni, kehalusan visual, dan ketahanan terhadap perusakan. Ketinggian pemasangan yang disarankan adalah 2,5–3,0 m, lokasi yang disarankan adalah pusat plafon di atas area aktivitas utama, dan instalasi yang disarankan mengikuti praktik terbaik yang diuraikan dalam panduan ini.
Bagi tim pengadaan yang merencanakan penerapan sensor kehadiran plafon, pendekatan yang tepat adalah memulai dengan definisi kebutuhan aplikasi yang jelas, lalu memilih sensor dengan teknologi yang sesuai (60 GHz mmWave sebagai pilihan default), bentuk fisik, dan konektivitas. Sensor harus dipasang oleh teknisi yang kompeten dengan mengikuti prosedur yang direkomendasikan vendor, serta dikalibrasi dan di-commissioning sebelum penerapan dianggap selesai. Dengan sensor yang tepat, instalasi yang tepat, dan integrasi yang tepat, penerapan sensor kehadiran plafon dapat memberikan tingkat kesadaran hunian yang tidak mungkin dicapai dengan sensor gerak berbasis PIR, dan dapat membenarkan biaya per unit yang lebih tinggi melalui efisiensi energi yang lebih baik, pengalaman penghuni yang lebih baik, dan data hunian yang lebih akurat untuk analitik hilir.
Sebagian konten artikel ini dihasilkan oleh AI dan dioptimalkan untuk akurasi profesional serta keterbacaan. A presence sensor ceiling is a presence detection device specifically designed and configured for ceiling mounting, with a form factor that minimizes visual impact (typically a 60–100 mm diameter circular puck), a 360-degree or wide-angle field of view optimized for overhead detection, and a detection range of 6–8 meters for stationary occupants when mounted at the standard ceiling height of 2.5–3.0 m. The ceiling mounting position is the dominant form factor for commercial presence detection because it provides a clear line of sight to all occupants in the room, is unobtrusive, is difficult to tamper with, and is not affected by furniture rearrangement. A presence sensor ceiling installation that follows best practices — correct mounting height, correct location, correct orientation, correct power and connectivity — can achieve a stationary-occupant true positive rate above 99% in controlled testing and above 95% in real-world deployment, with a false positive rate below 1% over a 24-hour period.
The ceiling mounting position is critical to the sensor's performance, and several factors must be considered during the installation planning and execution. This guide provides a comprehensive overview of presence sensor ceiling installation, including the recommended mounting height and location, the common installation mistakes to avoid, the power and connectivity options, and the use case-specific best practices for hotel, office, and healthcare deployments.
Presence Sensor Ceiling: Why the Ceiling Mounting Position
The ceiling mounting position is preferred over wall mounting or corner mounting for several reasons that are fundamental to the sensor's performance and the user experience.
Presence Sensor Ceiling: 360-Degree Field of View
A presence sensor mounted on the ceiling at a height of 2.5–3.0 m has a 360-degree field of view of the room, with the sensor able to detect occupants in any direction. A wall-mounted sensor, by contrast, has a limited field of view (typically ±60° to ±120° depending on the lens or antenna design), and the field of view is restricted to the area in front of the sensor. For a room where occupants may be located anywhere (a hotel room with the bed, the desk, and the bathroom; an office with the desk, the seating area, and the door; a meeting room with the conference table and the chairs), a ceiling-mounted sensor provides more uniform coverage than a wall-mounted sensor.
Presence Sensor Ceiling: Clear Line of Sight
A ceiling-mounted presence sensor has a clear line of sight to all occupants in the room, because there are typically no obstacles between the ceiling and the occupants. A wall-mounted sensor, by contrast, can be occluded by furniture, curtains, or the occupants themselves. In a typical office, a wall-mounted sensor may be occluded by the office chair, the desk, or the occupant sitting at the desk, creating dead zones in the field of view. A ceiling-mounted sensor, mounted 2.5–3.0 m above the floor, is above most furniture and is not occluded by the occupants.
Presence Sensor Ceiling: Visual Discretion
A ceiling-mounted presence sensor is visually discrete, looking like a smoke detector or a small ceiling speaker. Most occupants do not notice the sensor, and even if they do notice it, they do not find it intrusive. A wall-mounted sensor, by contrast, is more visible and can be perceived as intrusive, especially in a hotel room or a residential living space where the aesthetic is important.
Presence Sensor Ceiling: Tamper Resistance
A ceiling-mounted presence sensor is difficult to tamper with, because it is high on the ceiling and not easily accessible. A wall-mounted sensor, by contrast, can be covered, blocked, or removed by an occupant (intentionally or unintentionally). For applications where tamper resistance is important (security, hotel housekeeping, healthcare), a ceiling-mounted sensor is preferred.
Presence Sensor Ceiling: Recommended Mounting Height
The mounting height of a presence sensor ceiling installation is critical to the sensor's performance, and the recommended height depends on the room geometry and the sensor's field of view.
Presence Sensor Ceiling: Standard Ceiling Height (2.5–3.0 m)
The standard ceiling height in most commercial buildings is 2.5–3.0 m, and this is the recommended mounting height for a 60 GHz mmWave presence sensor with a ±60° azimuth field of view and a ±40° elevation field of view. At this height, the sensor can cover a room of up to 5×5 m, with full coverage of the floor area within the field of view.
For a typical hotel room (3×4 m to 4×5 m), a single ceiling-mounted presence sensor at 2.5–3.0 m provides full coverage. For a larger room (5×6 m or larger), multiple sensors may be required to provide full coverage.
Presence Sensor Ceiling: High Ceilings (3.0–4.0 m)
For rooms with high ceilings (3.0–4.0 m, common in lobbies, atriums, and some modern office buildings), the mounting height should be at the standard 2.5–3.0 m by using a mounting bracket or a drop pole to lower the sensor. Mounting the sensor directly on a high ceiling reduces the field of view at floor level and may create dead zones.
If the sensor must be mounted directly on a high ceiling (because a drop pole is not practical), a sensor with a wider elevation field of view (or a sensor designed specifically for high-ceiling applications) should be used.
Presence Sensor Ceiling: Low Ceilings (2.0–2.5 m)
For rooms with low ceilings (2.0–2.5 m, common in some residential applications and older buildings), the sensor can be mounted directly on the ceiling. At a height of 2.0–2.5 m, the sensor's field of view at floor level is wider than at 2.5–3.0 m, which can actually be an advantage in small rooms.
However, mounting the sensor below 2.0 m is not recommended, because the sensor may be perceived as intrusive and may be vulnerable to tampering. For low-ceiling applications, a recessed mounting option (where the sensor is mounted flush with the ceiling) can be considered.
Presence Sensor Ceiling: Recommended Mounting Location
The mounting location within the ceiling is determined by the room geometry, the location of the main activity area, and the location of obstacles and HVAC diffusers.
Presence Sensor Ceiling: Center of the Ceiling
The recommended mounting location is the center of the ceiling, directly above the main activity area. For a hotel room, the main activity area is the bed, so the sensor should be mounted above the center of the bed. For an office, the main activity area is the desk, so the sensor should be mounted above the center of the desk. For a meeting room, the main activity area is the conference table, so the sensor should be mounted above the center of the table.
Mounting the sensor directly above the main activity area ensures that the sensor's field of view covers the area where the occupant spends the most time, and that the detection of stationary occupants is optimized.
Presence Sensor Ceiling: Distance from Walls and Obstacles
The sensor should be mounted at least 0.5 m from any wall, 0.5 m from any metal object (metal ceiling tiles, metal HVAC ducts, metal furniture above the ceiling), and 0.5 m from any HVAC diffuser. These minimum distances prevent the sensor from being affected by reflections, occlusions, or HVAC-induced air currents.
For a room with a center light fixture, the sensor should be mounted at least 0.5 m from the light fixture to avoid interference from the light's heat source and from any metal components in the fixture.
Presence Sensor Ceiling: Orientation
The sensor's antenna array should be oriented to provide full coverage of the room, with the broad axis of the field of view aligned with the longest dimension of the room. For a rectangular room, the sensor should be oriented so that the broad axis of the field of view is aligned with the long axis of the room, providing wider coverage along the long axis.
For a square room, the orientation is less critical, and the sensor can be oriented in any direction.
Presence Sensor Ceiling: Common Installation Mistakes
Several common installation mistakes can undermine the performance of a presence sensor ceiling installation. The most frequent mistakes are:
Presence Sensor Ceiling: Mounting Too Close to a Wall
Mounting the sensor too close to a wall creates a dead zone in the field of view on the opposite side of the room, where the sensor cannot detect occupants. The recommended minimum distance from a wall is 0.5 m for a ceiling-mounted sensor.
Presence Sensor Ceiling: Mounting Near Metal Objects
Mounting the sensor near metal objects (metal ceiling tiles, metal HVAC ducts, metal light fixtures) can reflect the radar signal and create false detections or blind spots. The recommended minimum distance from metal objects is 0.5 m for a ceiling-mounted sensor.
Presence Sensor Ceiling: Mounting Near HVAC Diffusers
Mounting the sensor near an HVAC diffuser can cause the airflow to trigger false detections, because the moving air produces a Doppler signature that can be misinterpreted as human motion. The recommended minimum distance from an HVAC diffuser is 0.5 m for a ceiling-mounted sensor.
Presence Sensor Ceiling: Blocking the Field of View
Mounting the sensor behind a whiteboard, a screen, a plant, or any other obstacle can block the field of view and create dead zones. The sensor should be mounted in a clear location with a clear line of sight to the entire room.
Presence Sensor Ceiling: Incorrect Mounting Height
Mounting the sensor too high (above 3.5 m) reduces the field of view at floor level and may create dead zones in the corners of the room. Mounting the sensor too low (below 2.0 m) makes the sensor vulnerable to tampering and may create a less aesthetically pleasing installation.
Presence Sensor Ceiling: Incorrect Power and Connectivity
Using the wrong power source (e.g., a battery-powered sensor in a location where mains power is available and PoE is desired) or the wrong connectivity (e.g., a Zigbee sensor in a location where WiFi is the only available network) can limit the sensor's performance and integration capabilities.
Presence Sensor Ceiling: Power and Connectivity Options
The power and connectivity options for a presence sensor ceiling installation are determined by the existing infrastructure and the integration requirements.
Presence Sensor Ceiling: Power Options
- Mains power: the most common option for hotel and office deployments. The sensor is powered from the room's lighting circuit or from a dedicated power circuit. Mains power provides reliable, continuous operation and is suitable for any sensor type.
- Power over Ethernet (PoE): the preferred option for office deployments where Ethernet cabling is available. PoE provides both power and data over a single cable, simplifying the installation. PoE is suitable for sensors with Ethernet connectivity.
- Battery power: used in some retrofit deployments where mains power is not readily available. Battery life for a typical 60 GHz ceiling sensor is 12–18 months on a CR123A cell, with a 2–3 second radar duty cycle. Battery power is suitable for Zigbee or other low-power wireless sensors.
Presence Sensor Ceiling: Connectivity Options
- Zigbee: the most common connectivity for hotel and residential deployments. Zigbee provides low-power, mesh networking, and native integration with building management systems and smart home platforms.
- WiFi: the most common connectivity for office deployments. WiFi provides high bandwidth and easy integration with existing WiFi infrastructure.
- Matter: the emerging smart home standard that provides cross-ecosystem compatibility. Matter is increasingly the default choice for new residential deployments.
- BACnet/IP or Modbus TCP: the most common connectivity for building management system integration. BACnet is suitable for office and healthcare deployments where the BMS is the system of record.
- Ethernet (with PoE): the most reliable connectivity for office deployments. Ethernet provides the highest bandwidth and the most reliable data transmission.
Presence Sensor Ceiling: Use Case-Specific Best Practices
The best practices for a presence sensor ceiling installation vary by use case, and the following sections describe the specific recommendations for the major application verticals.
Presence Sensor Ceiling: Hotel Room
For hotel room deployments, the ceiling presence sensor should be mounted in the center of the ceiling, 2.5–3.0 m above the floor, directly above the bed. The sensor should be mains-powered and connected via Zigbee to the building management system.
A common best practice is to install the sensor during the room's construction or renovation, with the wiring planned during the design phase. The sensor should be integrated with the room's HVAC, lighting, and housekeeping systems, and should be configured to provide real-time occupancy data to the building management system.
For retrofit hotel deployments, a battery-powered or mains-powered sensor can be installed without major construction. The sensor should be configured to provide occupancy data to the building management system via Zigbee, and should be integrated with the room's existing HVAC and lighting controls.
Presence Sensor Ceiling: Office and Conference Room
For office deployments, the ceiling presence sensor should be mounted in the center of the ceiling, 2.5–3.0 m above the floor, with PoE connectivity for reliable power and data. The sensor should be integrated with the building management system for HVAC and lighting control, and with the scheduling platform for real-time room availability.
A common best practice is to use a tile grid mounting system for easy installation and relocation in suspended tile ceilings. The sensor should be configured with a detection latency appropriate for the application (1–2 seconds for lighting control, 2–3 seconds for HVAC control).
For large conference rooms (10+ occupants), multiple ceiling-mounted sensors may be required to provide full coverage. The sensors should be coordinated to avoid cross-sensor interference and to provide accurate occupancy counting.
Presence Sensor Ceiling: Healthcare and Patient Room
For healthcare deployments, the ceiling presence sensor should be mounted in the patient room, 2.5–3.0 m above the floor, with mains power and a wired network connection. The sensor should be integrated with the nurse call system and the EHR system, and should be designed for easy cleaning and disinfection.
A common best practice is to use a dual-sensor configuration (one sensor above the bed for sleep monitoring, one sensor at the bathroom entry for fall detection), with the two sensors coordinated to provide a comprehensive view of the patient's activity. The sensor should meet the hospital's stringent reliability and privacy requirements, and should be configured to provide real-time occupancy data to the nurse call system.
Presence Sensor Ceiling: Residential Smart Home
For residential smart home deployments, the ceiling presence sensor should be mounted in the center of the ceiling, 2.5–3.0 m above the floor, with mains power and Matter or Zigbee connectivity. The sensor should be integrated with the smart home platform for occupancy-based lighting, HVAC control, and security monitoring.
A common best practice is to use a recessed mounting option for premium installations, where the sensor is mounted flush with the ceiling. The sensor should be configured to provide occupancy data to the smart home platform, and should be integrated with the home's lighting, HVAC, and security systems.
Presence Sensor Ceiling: Calibration and Commissioning
After the physical installation, the sensor should be calibrated and commissioned to ensure that it is operating correctly and that the integration with the downstream system is working as expected.
Presence Sensor Ceiling: Initial Calibration
Most modern presence sensors are designed to be self-calibrating, meaning that they learn the background signature of the room during the first few hours of operation and use this as a baseline for occupancy detection. However, some initial calibration may be required:
- The sensor's detection zone should be verified by walking through the room and confirming that the sensor reports presence in all expected locations.
- The sensor's false positive rate should be verified by leaving the room empty for several hours and confirming that the sensor does not report false presences.
- The sensor's integration with the downstream system should be verified by triggering occupancy events and confirming that the system responds correctly.
Presence Sensor Ceiling: Ongoing Maintenance
The sensor should be inspected periodically (typically every 6–12 months) to ensure that it is operating correctly. The inspection should include:
- Visual inspection of the sensor housing for damage or dirt
- Verification of the detection zone by walking through the room
- Verification of the integration with the downstream system
- Battery replacement (for battery-powered sensors)
- Firmware update (if applicable)
Presence Sensor Ceiling: Final Recommendation
The presence sensor ceiling installation is the dominant form factor for commercial presence detection, providing a 360-degree field of view, a clear line of sight to all occupants, visual discretion, and tamper resistance. The recommended mounting height is 2.5–3.0 m, the recommended location is the center of the ceiling above the main activity area, and the recommended installation follows the best practices outlined in this guide.
For a procurement team planning a presence sensor ceiling deployment, the right approach is to start with a clear definition of the application requirements, then select a sensor with the appropriate technology (60 GHz mmWave is the default), form factor, and connectivity. The sensor should be installed by a qualified technician following the vendor's recommended procedures, and should be calibrated and commissioned before the deployment is considered complete. With the right sensor, the right installation, and the right integration, a presence sensor ceiling deployment can deliver a level of occupancy awareness that is impossible to achieve with PIR-based motion sensors, and can justify the higher unit cost through improved energy efficiency, better occupant experience, and more accurate occupancy data for downstream analytics.
Part of this article content is generated by AI and optimized for professional accuracy and readability.
blog.inArticleCta.title
blog.inArticleCta.description
contentGraph.title
contentGraph.description
contentGraph.sections.products
3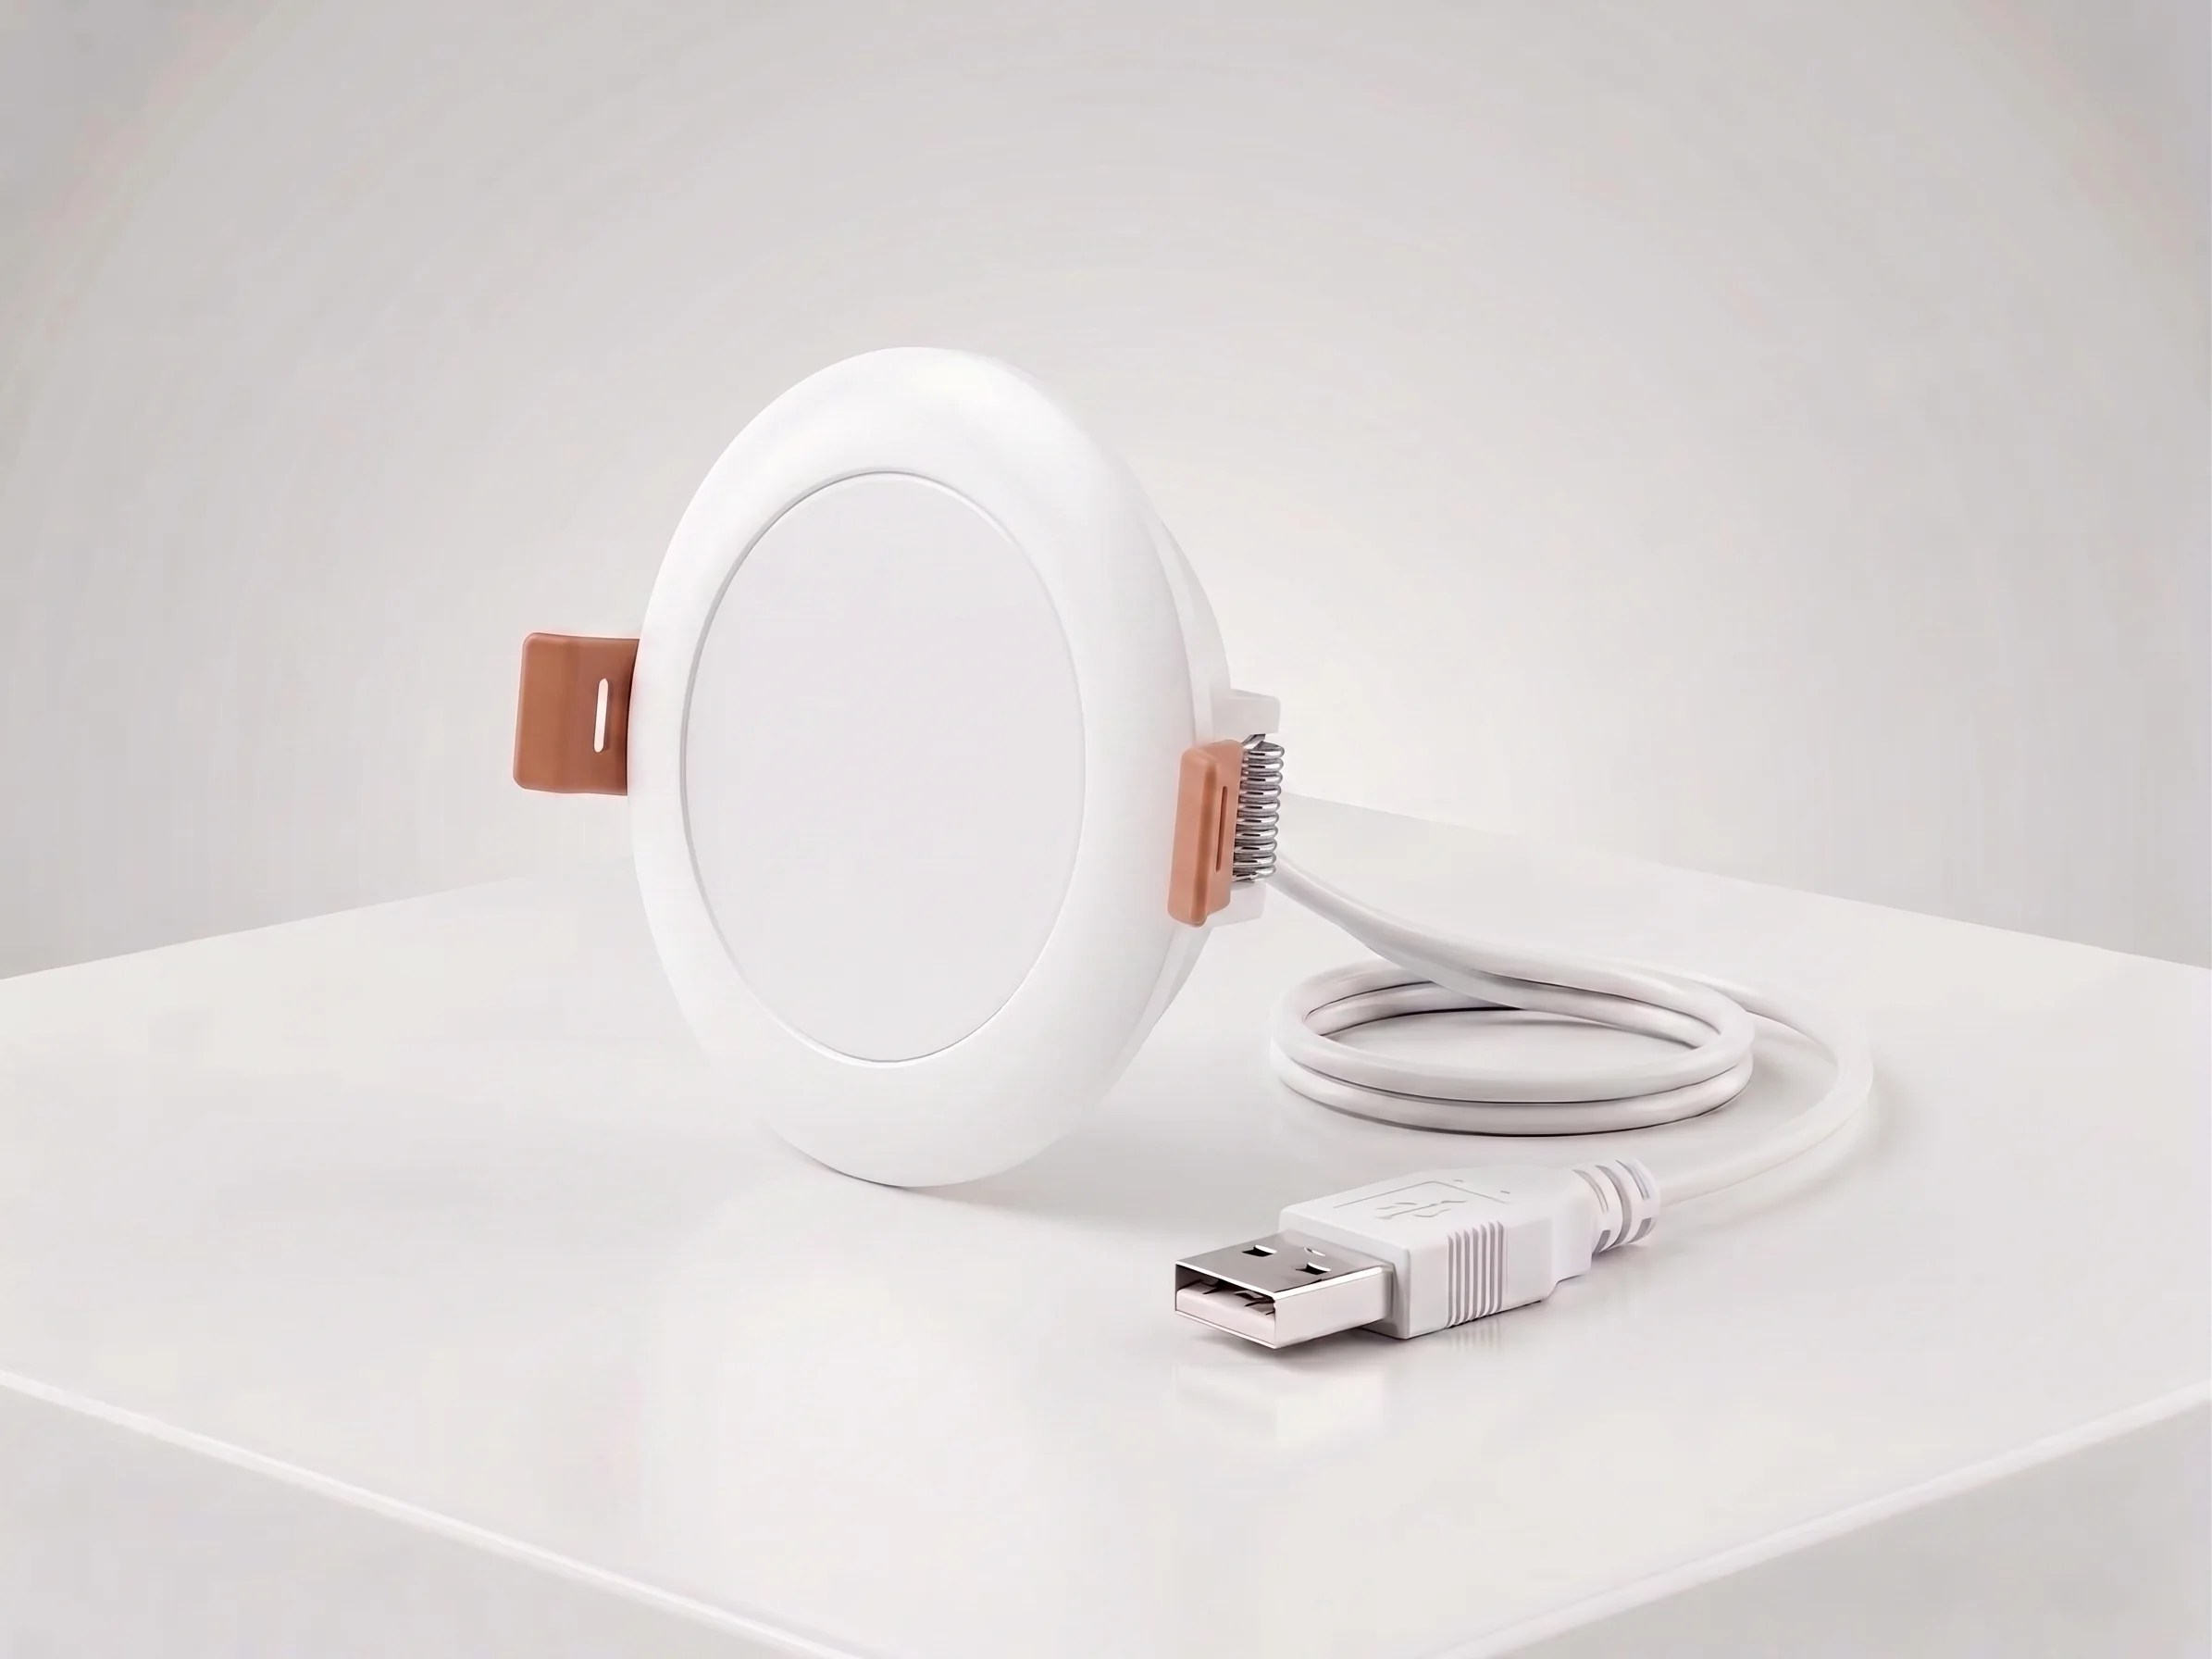
Sensor Kehadiran Manusia mmWave Pasang Plafon — Zigbee
Sensor kehadiran mmWave 24GHz pita lebar untuk plafon: deteksi gerak 10m, mikro-gerak 2,5m, deteksi napas. Sudut 120°, DC5V, Zigbee 3.0, untuk kamar hotel.
contentGraph.reasons.explicit
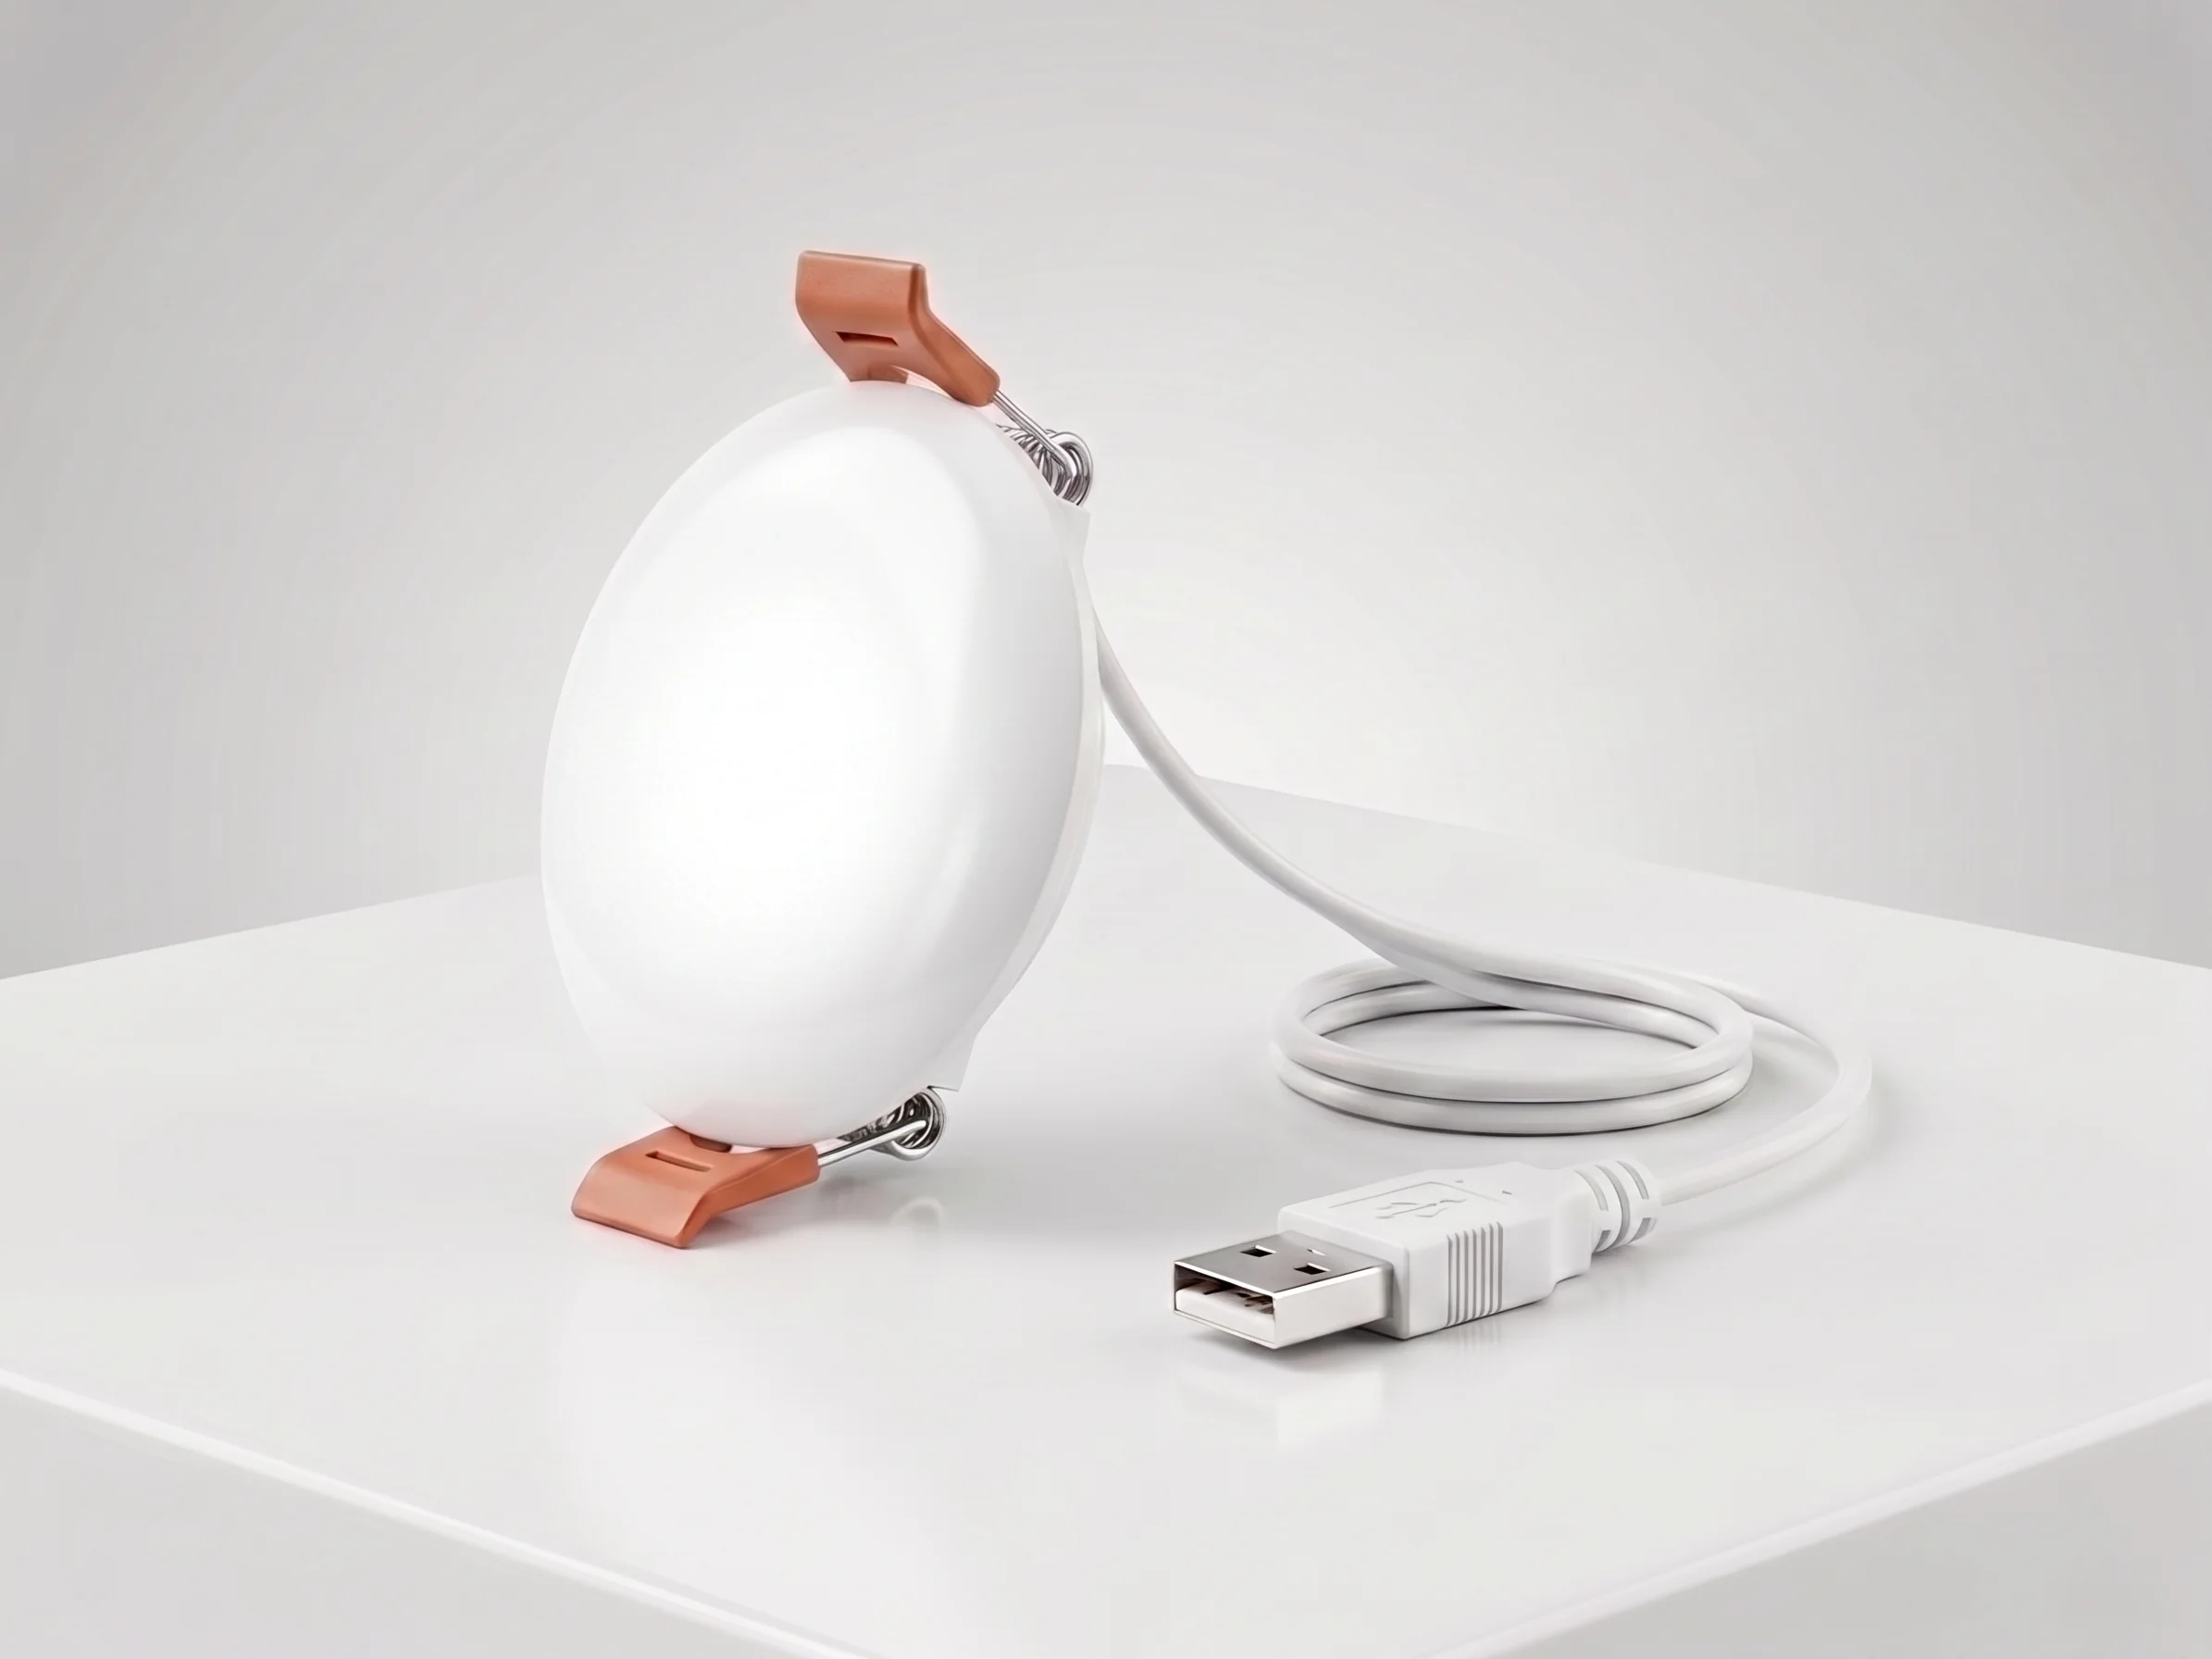
Sensor Kehadiran Manusia mmWave Plafon — WiFi
Sensor kehadiran mmWave 24GHz plafon, deteksi gerak 10m, mikro-gerak 2.5m, pernapasan. Sudut 120°, DC5V, WiFi 2.4GHz. Tanpa gateway, ideal retrofit hotel.
contentGraph.reasons.explicit
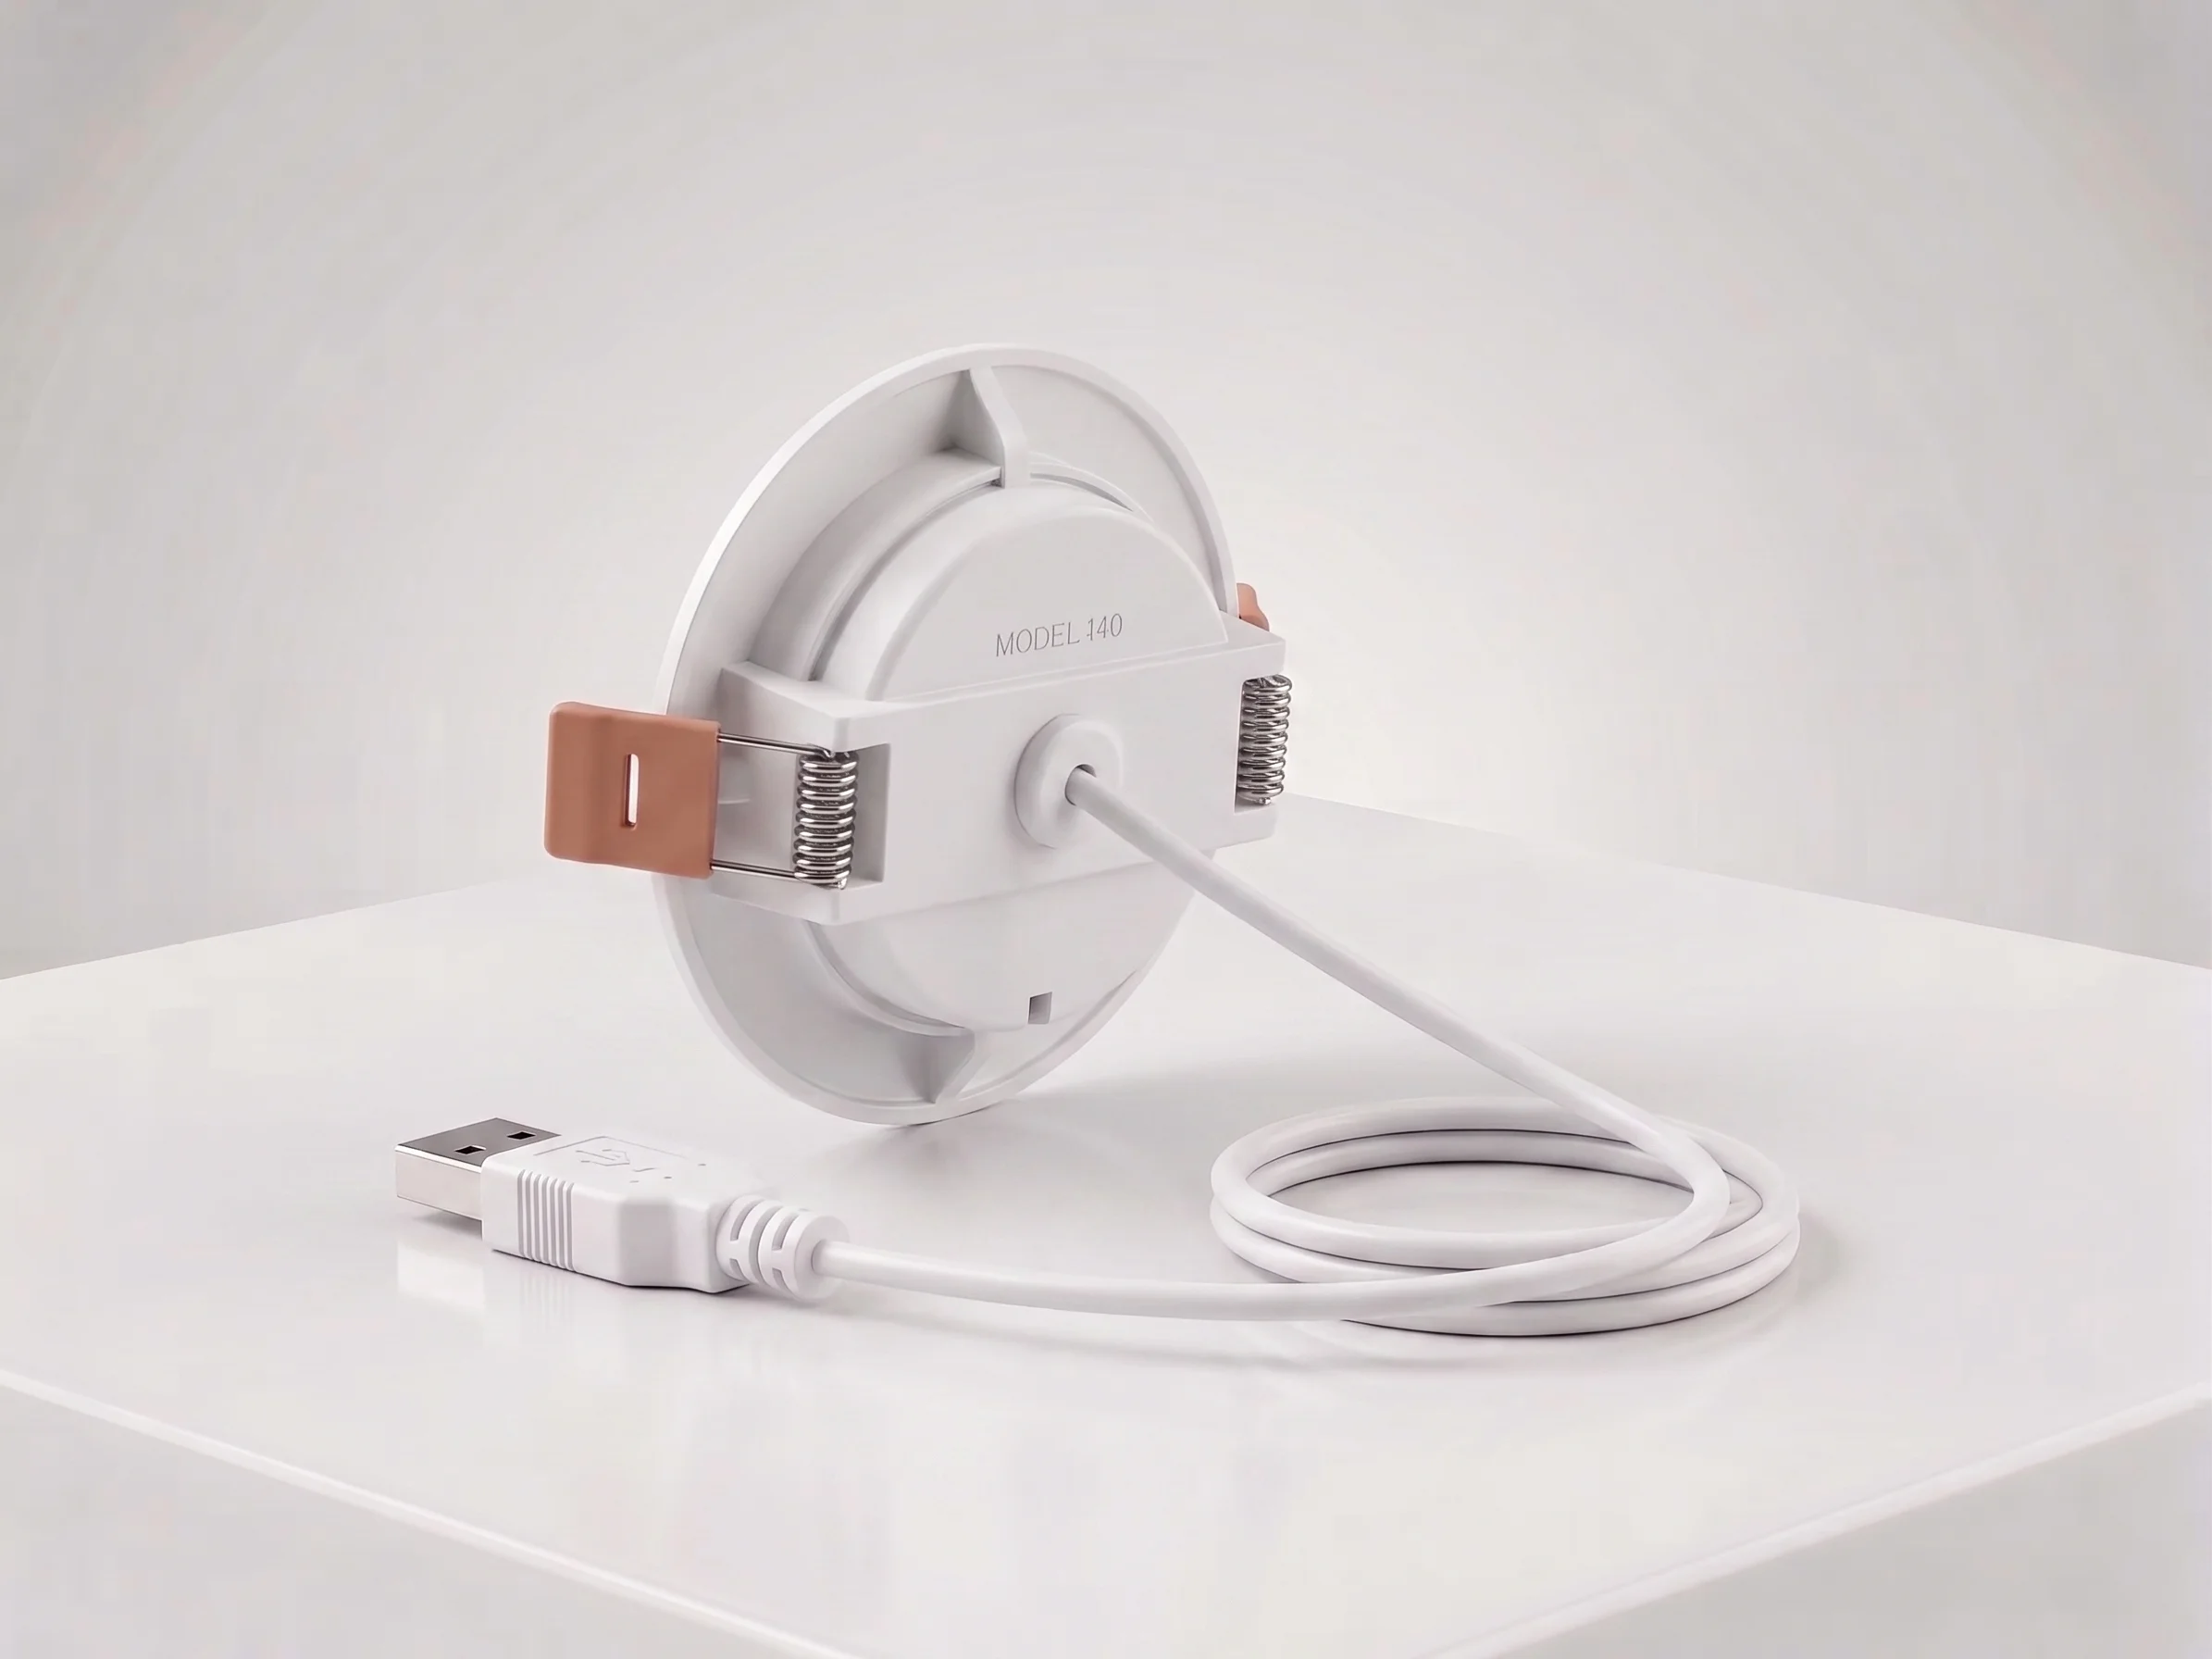
Sensor Kehadiran Manusia mmWave Plafon — Matter over Thread
Sensor kehadiran mmWave plafon 24GHz: gerak 10m, mikro-gerak 2.5m, deteksi napas. 120°, DC5V, Matter over Thread untuk Apple Home, Google Home, dan Alexa.
contentGraph.reasons.explicit
contentGraph.sections.solutions
1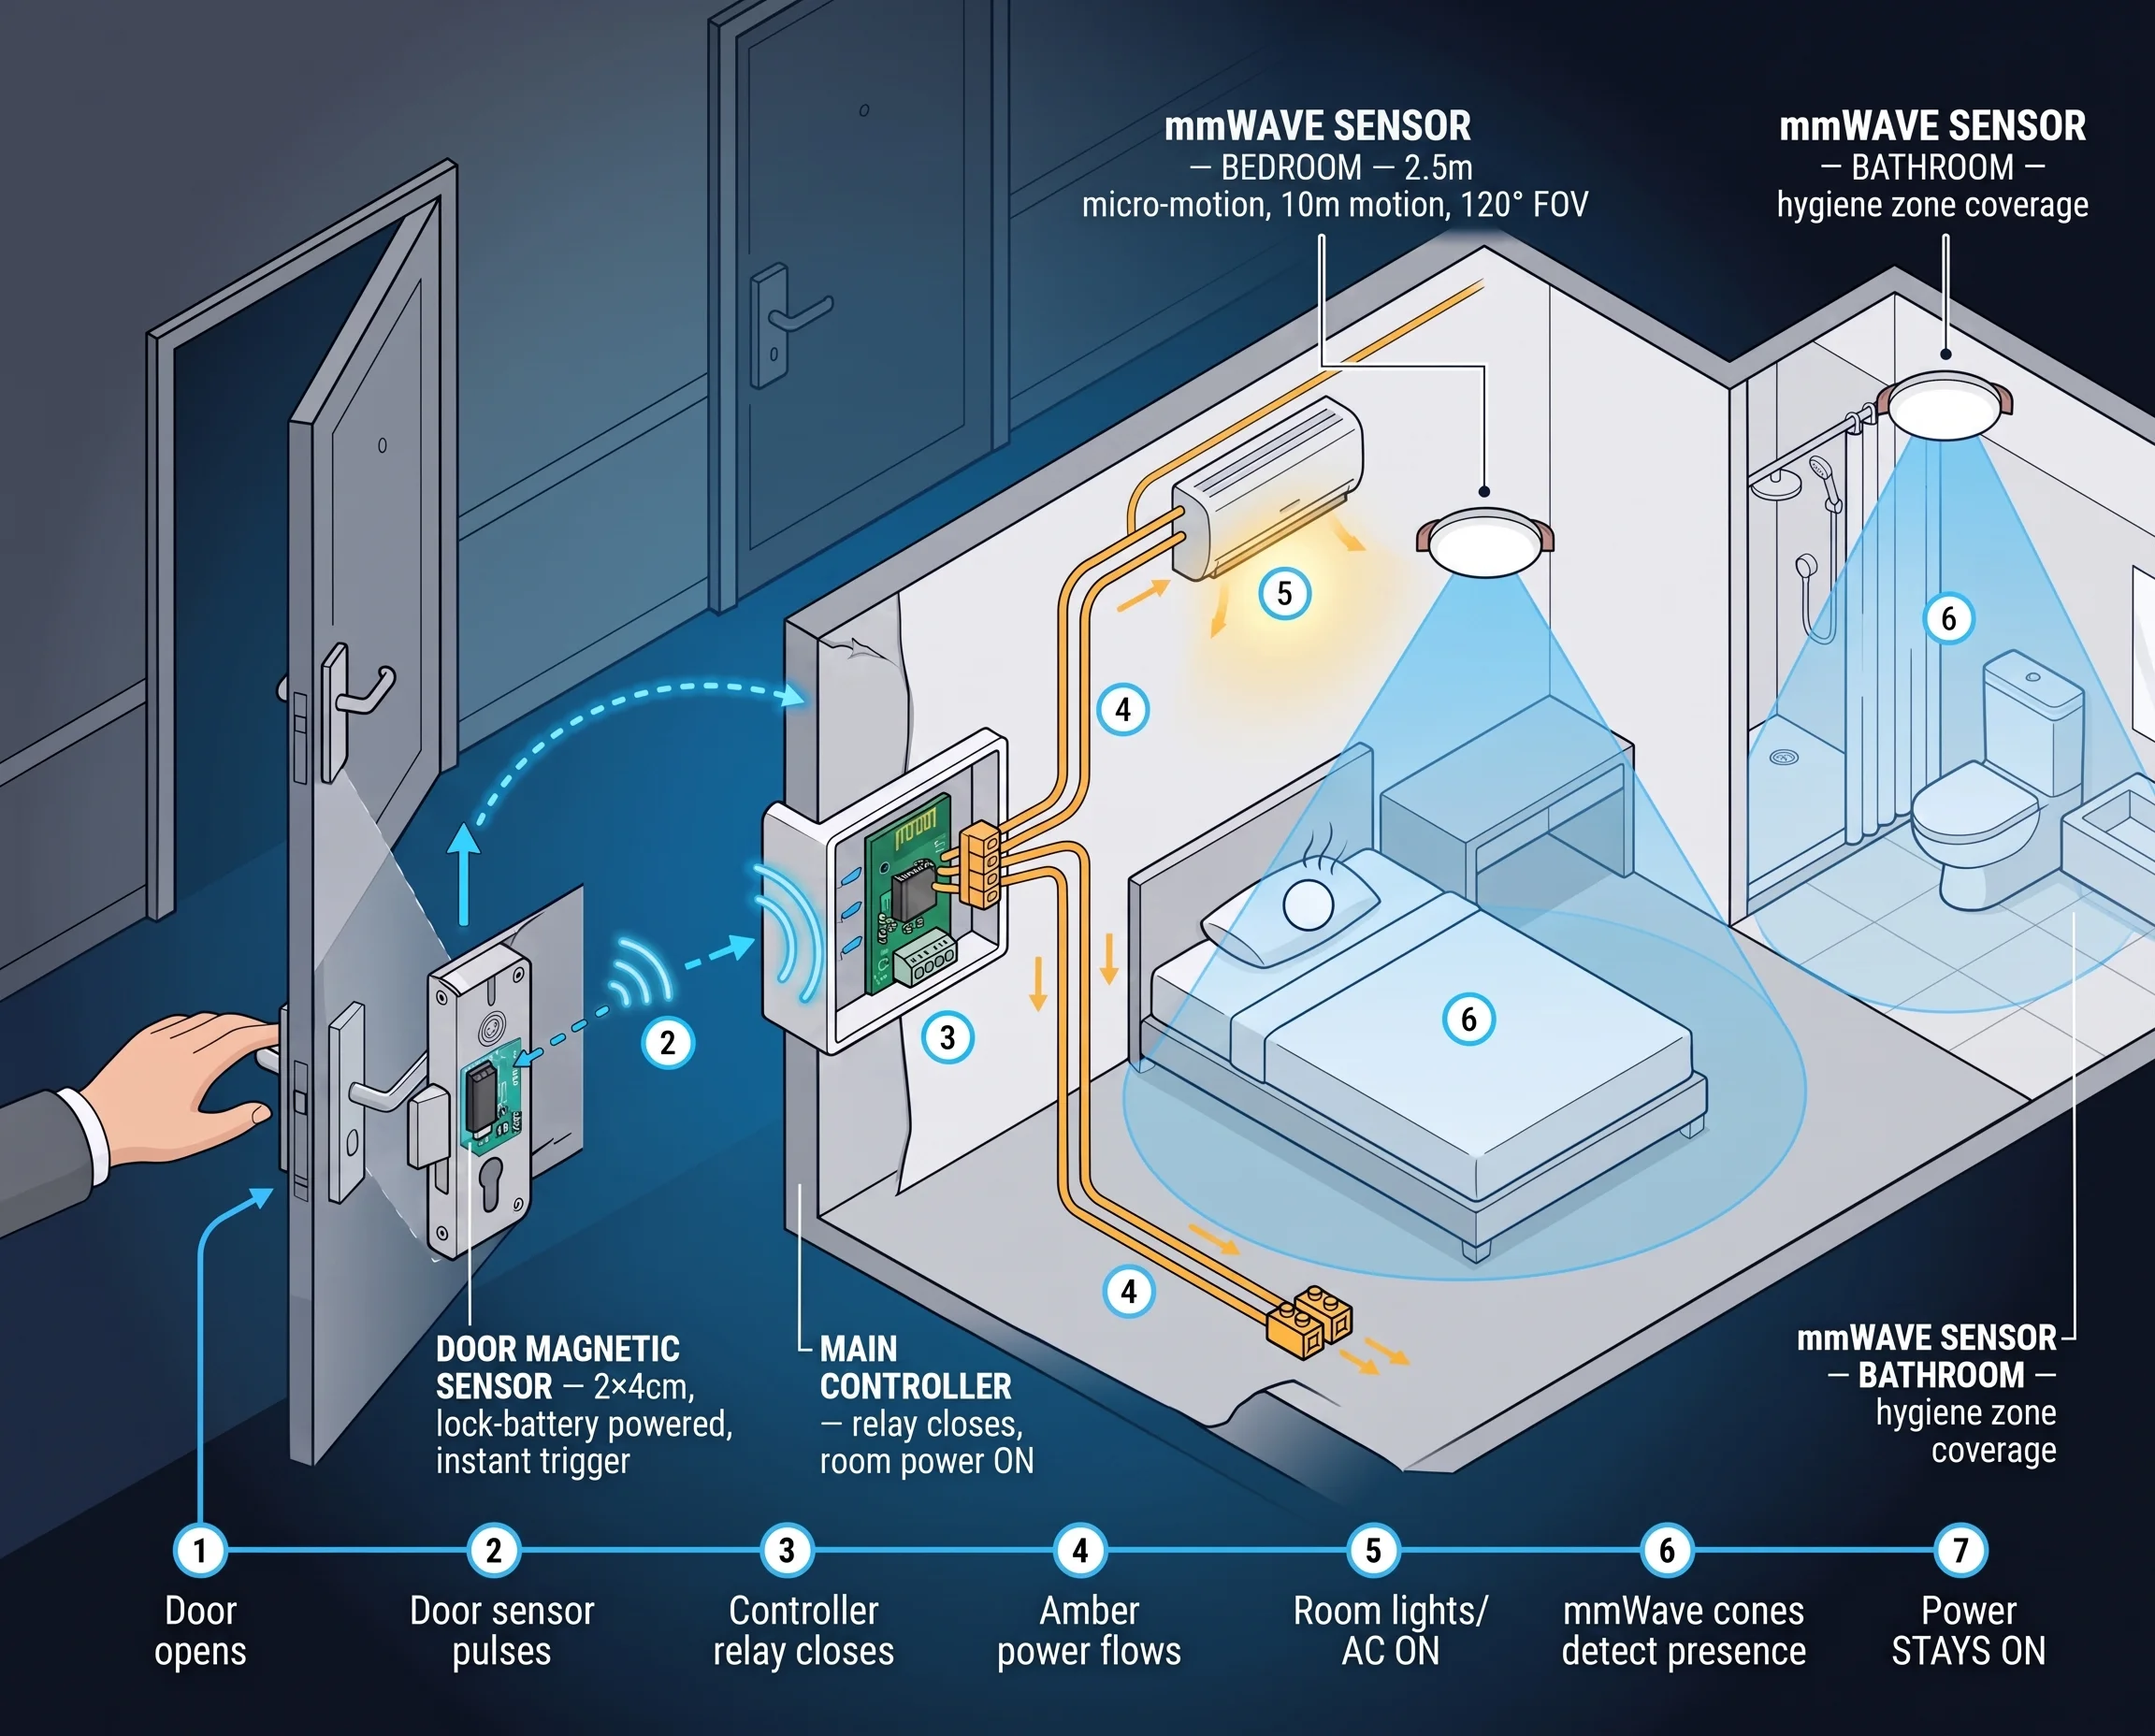
Solusi Sensor Okupansi & Gerak Kamar Hotel
Sensor okupansi radar mmWave untuk kamar hotel: deteksi tamu yang tidur, jadwalkan housekeeping, hemat energi HVAC 20-40% tanpa alarm kosong palsu.
contentGraph.reasons.productContext
contentGraph.sections.blog
3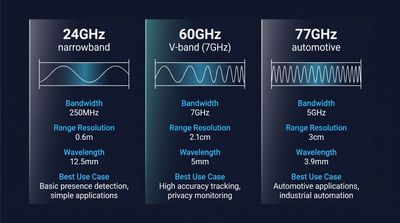
Sensor mmWave 60GHz vs 24GHz vs 77GHz: Memilih Frekuensi yang Tepat untuk Deteksi Kehadiran Komersial
Bandingkan sensor mmWave 60GHz, 24GHz, dan 77GHz untuk deteksi kehadiran komersial. Spesifikasi teknis, jangkauan deteksi, privasi, dan panduan sourcing OEM.
contentGraph.reasons.productContext
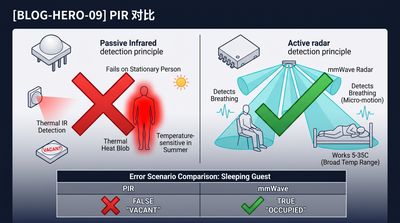
Apa Itu Sensor Kehadiran Elektronik? Teknologi dan Akurasi
Pelajari apa itu sensor kehadiran elektronik, cara mendeteksi manusia diam, dan perbedaannya dengan sensor gerak PIR. Membahas mmWave, akurasi, dan penerapan.
contentGraph.reasons.productContext
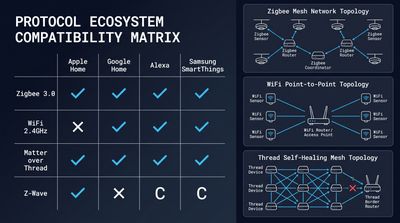
Cara Integrasi Sensor Kehadiran mmWave dengan Home Assistant
Panduan lengkap kontrol lokal perangkat mmWave: konfigurasi MQTT/Matter, skrip otomasi, kalibrasi, dan tips integrasi sensor kehadiran plafon OEM.
contentGraph.reasons.productContext
nextStep.blog.title
nextStep.blog.description
- nextStep.blog.points.one
- nextStep.blog.points.two
- nextStep.blog.points.three