Presence Sensor Ceiling: Installation, Selection, and Best Practices for Commercial Deployment
A complete guide to presence sensor ceiling installation. Learn where to mount, how to avoid common mistakes, and which sensor type works best for your application.
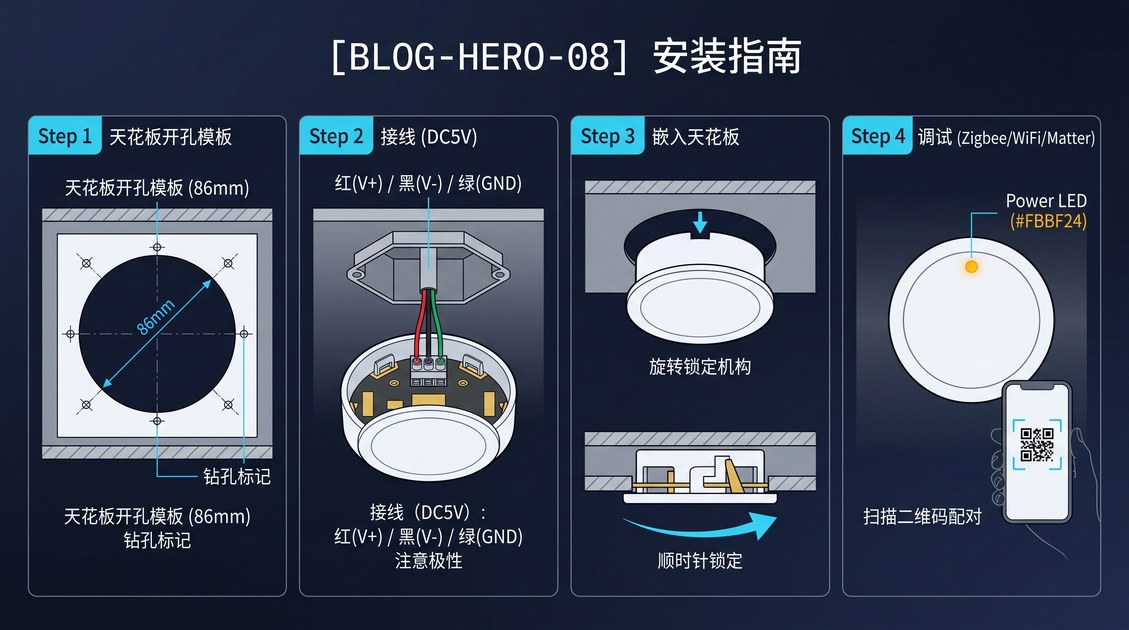
A presence sensor ceiling is a presence detection device specifically designed and configured for ceiling mounting, with a form factor that minimizes visual impact (typically a 60–100 mm diameter circular puck), a 360-degree or wide-angle field of view optimized for overhead detection, and a detection range of 6–8 meters for stationary occupants when mounted at the standard ceiling height of 2.5–3.0 m. The ceiling mounting position is the dominant form factor for commercial presence detection because it provides a clear line of sight to all occupants in the room, is unobtrusive, is difficult to tamper with, and is not affected by furniture rearrangement. A presence sensor ceiling installation that follows best practices — correct mounting height, correct location, correct orientation, correct power and connectivity — can achieve a stationary-occupant true positive rate above 99% in controlled testing and above 95% in real-world deployment, with a false positive rate below 1% over a 24-hour period.
The ceiling mounting position is critical to the sensor's performance, and several factors must be considered during the installation planning and execution. This guide provides a comprehensive overview of presence sensor ceiling installation, including the recommended mounting height and location, the common installation mistakes to avoid, the power and connectivity options, and the use case-specific best practices for hotel, office, and healthcare deployments.
Presence Sensor Ceiling: Why the Ceiling Mounting Position
The ceiling mounting position is preferred over wall mounting or corner mounting for several reasons that are fundamental to the sensor's performance and the user experience.
Presence Sensor Ceiling: 360-Degree Field of View
A presence sensor mounted on the ceiling at a height of 2.5–3.0 m has a 360-degree field of view of the room, with the sensor able to detect occupants in any direction. A wall-mounted sensor, by contrast, has a limited field of view (typically ±60° to ±120° depending on the lens or antenna design), and the field of view is restricted to the area in front of the sensor. For a room where occupants may be located anywhere (a hotel room with the bed, the desk, and the bathroom; an office with the desk, the seating area, and the door; a meeting room with the conference table and the chairs), a ceiling-mounted sensor provides more uniform coverage than a wall-mounted sensor.
Presence Sensor Ceiling: Clear Line of Sight
A ceiling-mounted presence sensor has a clear line of sight to all occupants in the room, because there are typically no obstacles between the ceiling and the occupants. A wall-mounted sensor, by contrast, can be occluded by furniture, curtains, or the occupants themselves. In a typical office, a wall-mounted sensor may be occluded by the office chair, the desk, or the occupant sitting at the desk, creating dead zones in the field of view. A ceiling-mounted sensor, mounted 2.5–3.0 m above the floor, is above most furniture and is not occluded by the occupants.
Presence Sensor Ceiling: Visual Discretion
A ceiling-mounted presence sensor is visually discrete, looking like a smoke detector or a small ceiling speaker. Most occupants do not notice the sensor, and even if they do notice it, they do not find it intrusive. A wall-mounted sensor, by contrast, is more visible and can be perceived as intrusive, especially in a hotel room or a residential living space where the aesthetic is important.
Presence Sensor Ceiling: Tamper Resistance
A ceiling-mounted presence sensor is difficult to tamper with, because it is high on the ceiling and not easily accessible. A wall-mounted sensor, by contrast, can be covered, blocked, or removed by an occupant (intentionally or unintentionally). For applications where tamper resistance is important (security, hotel housekeeping, healthcare), a ceiling-mounted sensor is preferred.
Presence Sensor Ceiling: Recommended Mounting Height
The mounting height of a presence sensor ceiling installation is critical to the sensor's performance, and the recommended height depends on the room geometry and the sensor's field of view.
Presence Sensor Ceiling: Standard Ceiling Height (2.5–3.0 m)
The standard ceiling height in most commercial buildings is 2.5–3.0 m, and this is the recommended mounting height for a 60 GHz mmWave presence sensor with a ±60° azimuth field of view and a ±40° elevation field of view. At this height, the sensor can cover a room of up to 5×5 m, with full coverage of the floor area within the field of view.
For a typical hotel room (3×4 m to 4×5 m), a single ceiling-mounted presence sensor at 2.5–3.0 m provides full coverage. For a larger room (5×6 m or larger), multiple sensors may be required to provide full coverage.
Presence Sensor Ceiling: High Ceilings (3.0–4.0 m)
For rooms with high ceilings (3.0–4.0 m, common in lobbies, atriums, and some modern office buildings), the mounting height should be at the standard 2.5–3.0 m by using a mounting bracket or a drop pole to lower the sensor. Mounting the sensor directly on a high ceiling reduces the field of view at floor level and may create dead zones.
If the sensor must be mounted directly on a high ceiling (because a drop pole is not practical), a sensor with a wider elevation field of view (or a sensor designed specifically for high-ceiling applications) should be used.
Presence Sensor Ceiling: Low Ceilings (2.0–2.5 m)
For rooms with low ceilings (2.0–2.5 m, common in some residential applications and older buildings), the sensor can be mounted directly on the ceiling. At a height of 2.0–2.5 m, the sensor's field of view at floor level is wider than at 2.5–3.0 m, which can actually be an advantage in small rooms.
However, mounting the sensor below 2.0 m is not recommended, because the sensor may be perceived as intrusive and may be vulnerable to tampering. For low-ceiling applications, a recessed mounting option (where the sensor is mounted flush with the ceiling) can be considered.
Presence Sensor Ceiling: Recommended Mounting Location
The mounting location within the ceiling is determined by the room geometry, the location of the main activity area, and the location of obstacles and HVAC diffusers.
Presence Sensor Ceiling: Center of the Ceiling
The recommended mounting location is the center of the ceiling, directly above the main activity area. For a hotel room, the main activity area is the bed, so the sensor should be mounted above the center of the bed. For an office, the main activity area is the desk, so the sensor should be mounted above the center of the desk. For a meeting room, the main activity area is the conference table, so the sensor should be mounted above the center of the table.
Mounting the sensor directly above the main activity area ensures that the sensor's field of view covers the area where the occupant spends the most time, and that the detection of stationary occupants is optimized.
Presence Sensor Ceiling: Distance from Walls and Obstacles
The sensor should be mounted at least 0.5 m from any wall, 0.5 m from any metal object (metal ceiling tiles, metal HVAC ducts, metal furniture above the ceiling), and 0.5 m from any HVAC diffuser. These minimum distances prevent the sensor from being affected by reflections, occlusions, or HVAC-induced air currents.
For a room with a center light fixture, the sensor should be mounted at least 0.5 m from the light fixture to avoid interference from the light's heat source and from any metal components in the fixture.
Presence Sensor Ceiling: Orientation
The sensor's antenna array should be oriented to provide full coverage of the room, with the broad axis of the field of view aligned with the longest dimension of the room. For a rectangular room, the sensor should be oriented so that the broad axis of the field of view is aligned with the long axis of the room, providing wider coverage along the long axis.
For a square room, the orientation is less critical, and the sensor can be oriented in any direction.
Presence Sensor Ceiling: Common Installation Mistakes
Several common installation mistakes can undermine the performance of a presence sensor ceiling installation. The most frequent mistakes are:
Presence Sensor Ceiling: Mounting Too Close to a Wall
Mounting the sensor too close to a wall creates a dead zone in the field of view on the opposite side of the room, where the sensor cannot detect occupants. The recommended minimum distance from a wall is 0.5 m for a ceiling-mounted sensor.
Presence Sensor Ceiling: Mounting Near Metal Objects
Mounting the sensor near metal objects (metal ceiling tiles, metal HVAC ducts, metal light fixtures) can reflect the radar signal and create false detections or blind spots. The recommended minimum distance from metal objects is 0.5 m for a ceiling-mounted sensor.
Presence Sensor Ceiling: Mounting Near HVAC Diffusers
Mounting the sensor near an HVAC diffuser can cause the airflow to trigger false detections, because the moving air produces a Doppler signature that can be misinterpreted as human motion. The recommended minimum distance from an HVAC diffuser is 0.5 m for a ceiling-mounted sensor.
Presence Sensor Ceiling: Blocking the Field of View
Mounting the sensor behind a whiteboard, a screen, a plant, or any other obstacle can block the field of view and create dead zones. The sensor should be mounted in a clear location with a clear line of sight to the entire room.
Presence Sensor Ceiling: Incorrect Mounting Height
Mounting the sensor too high (above 3.5 m) reduces the field of view at floor level and may create dead zones in the corners of the room. Mounting the sensor too low (below 2.0 m) makes the sensor vulnerable to tampering and may create a less aesthetically pleasing installation.
Presence Sensor Ceiling: Incorrect Power and Connectivity
Using the wrong power source (e.g., a battery-powered sensor in a location where mains power is available and PoE is desired) or the wrong connectivity (e.g., a Zigbee sensor in a location where WiFi is the only available network) can limit the sensor's performance and integration capabilities.
Presence Sensor Ceiling: Power and Connectivity Options
The power and connectivity options for a presence sensor ceiling installation are determined by the existing infrastructure and the integration requirements.
Presence Sensor Ceiling: Power Options
- Mains power: the most common option for hotel and office deployments. The sensor is powered from the room's lighting circuit or from a dedicated power circuit. Mains power provides reliable, continuous operation and is suitable for any sensor type.
- Power over Ethernet (PoE): the preferred option for office deployments where Ethernet cabling is available. PoE provides both power and data over a single cable, simplifying the installation. PoE is suitable for sensors with Ethernet connectivity.
- Battery power: used in some retrofit deployments where mains power is not readily available. Battery life for a typical 60 GHz ceiling sensor is 12–18 months on a CR123A cell, with a 2–3 second radar duty cycle. Battery power is suitable for Zigbee or other low-power wireless sensors.
Presence Sensor Ceiling: Connectivity Options
- Zigbee: the most common connectivity for hotel and residential deployments. Zigbee provides low-power, mesh networking, and native integration with building management systems and smart home platforms.
- WiFi: the most common connectivity for office deployments. WiFi provides high bandwidth and easy integration with existing WiFi infrastructure.
- Matter: the emerging smart home standard that provides cross-ecosystem compatibility. Matter is increasingly the default choice for new residential deployments.
- BACnet/IP or Modbus TCP: the most common connectivity for building management system integration. BACnet is suitable for office and healthcare deployments where the BMS is the system of record.
- Ethernet (with PoE): the most reliable connectivity for office deployments. Ethernet provides the highest bandwidth and the most reliable data transmission.
Presence Sensor Ceiling: Use Case-Specific Best Practices
The best practices for a presence sensor ceiling installation vary by use case, and the following sections describe the specific recommendations for the major application verticals.
Presence Sensor Ceiling: Hotel Room
For hotel room deployments, the ceiling presence sensor should be mounted in the center of the ceiling, 2.5–3.0 m above the floor, directly above the bed. The sensor should be mains-powered and connected via Zigbee to the building management system.
A common best practice is to install the sensor during the room's construction or renovation, with the wiring planned during the design phase. The sensor should be integrated with the room's HVAC, lighting, and housekeeping systems, and should be configured to provide real-time occupancy data to the building management system.
For retrofit hotel deployments, a battery-powered or mains-powered sensor can be installed without major construction. The sensor should be configured to provide occupancy data to the building management system via Zigbee, and should be integrated with the room's existing HVAC and lighting controls.
Presence Sensor Ceiling: Office and Conference Room
For office deployments, the ceiling presence sensor should be mounted in the center of the ceiling, 2.5–3.0 m above the floor, with PoE connectivity for reliable power and data. The sensor should be integrated with the building management system for HVAC and lighting control, and with the scheduling platform for real-time room availability.
A common best practice is to use a tile grid mounting system for easy installation and relocation in suspended tile ceilings. The sensor should be configured with a detection latency appropriate for the application (1–2 seconds for lighting control, 2–3 seconds for HVAC control).
For large conference rooms (10+ occupants), multiple ceiling-mounted sensors may be required to provide full coverage. The sensors should be coordinated to avoid cross-sensor interference and to provide accurate occupancy counting.
Presence Sensor Ceiling: Healthcare and Patient Room
For healthcare deployments, the ceiling presence sensor should be mounted in the patient room, 2.5–3.0 m above the floor, with mains power and a wired network connection. The sensor should be integrated with the nurse call system and the EHR system, and should be designed for easy cleaning and disinfection.
A common best practice is to use a dual-sensor configuration (one sensor above the bed for sleep monitoring, one sensor at the bathroom entry for fall detection), with the two sensors coordinated to provide a comprehensive view of the patient's activity. The sensor should meet the hospital's stringent reliability and privacy requirements, and should be configured to provide real-time occupancy data to the nurse call system.
Presence Sensor Ceiling: Residential Smart Home
For residential smart home deployments, the ceiling presence sensor should be mounted in the center of the ceiling, 2.5–3.0 m above the floor, with mains power and Matter or Zigbee connectivity. The sensor should be integrated with the smart home platform for occupancy-based lighting, HVAC control, and security monitoring.
A common best practice is to use a recessed mounting option for premium installations, where the sensor is mounted flush with the ceiling. The sensor should be configured to provide occupancy data to the smart home platform, and should be integrated with the home's lighting, HVAC, and security systems.
Presence Sensor Ceiling: Calibration and Commissioning
After the physical installation, the sensor should be calibrated and commissioned to ensure that it is operating correctly and that the integration with the downstream system is working as expected.
Presence Sensor Ceiling: Initial Calibration
Most modern presence sensors are designed to be self-calibrating, meaning that they learn the background signature of the room during the first few hours of operation and use this as a baseline for occupancy detection. However, some initial calibration may be required:
- The sensor's detection zone should be verified by walking through the room and confirming that the sensor reports presence in all expected locations.
- The sensor's false positive rate should be verified by leaving the room empty for several hours and confirming that the sensor does not report false presences.
- The sensor's integration with the downstream system should be verified by triggering occupancy events and confirming that the system responds correctly.
Presence Sensor Ceiling: Ongoing Maintenance
The sensor should be inspected periodically (typically every 6–12 months) to ensure that it is operating correctly. The inspection should include:
- Visual inspection of the sensor housing for damage or dirt
- Verification of the detection zone by walking through the room
- Verification of the integration with the downstream system
- Battery replacement (for battery-powered sensors)
- Firmware update (if applicable)
Presence Sensor Ceiling: Final Recommendation
The presence sensor ceiling installation is the dominant form factor for commercial presence detection, providing a 360-degree field of view, a clear line of sight to all occupants, visual discretion, and tamper resistance. The recommended mounting height is 2.5–3.0 m, the recommended location is the center of the ceiling above the main activity area, and the recommended installation follows the best practices outlined in this guide.
For a procurement team planning a presence sensor ceiling deployment, the right approach is to start with a clear definition of the application requirements, then select a sensor with the appropriate technology (60 GHz mmWave is the default), form factor, and connectivity. The sensor should be installed by a qualified technician following the vendor's recommended procedures, and should be calibrated and commissioned before the deployment is considered complete. With the right sensor, the right installation, and the right integration, a presence sensor ceiling deployment can deliver a level of occupancy awareness that is impossible to achieve with PIR-based motion sensors, and can justify the higher unit cost through improved energy efficiency, better occupant experience, and more accurate occupancy data for downstream analytics.
Not sure which sensor fits your project?
Talk to our mmWave application engineers for a free consultation.
Find the right presence sensor for your hotel project
Compare the 3 protocols, check hotel-specific case studies, and download the installation guide
Related products
3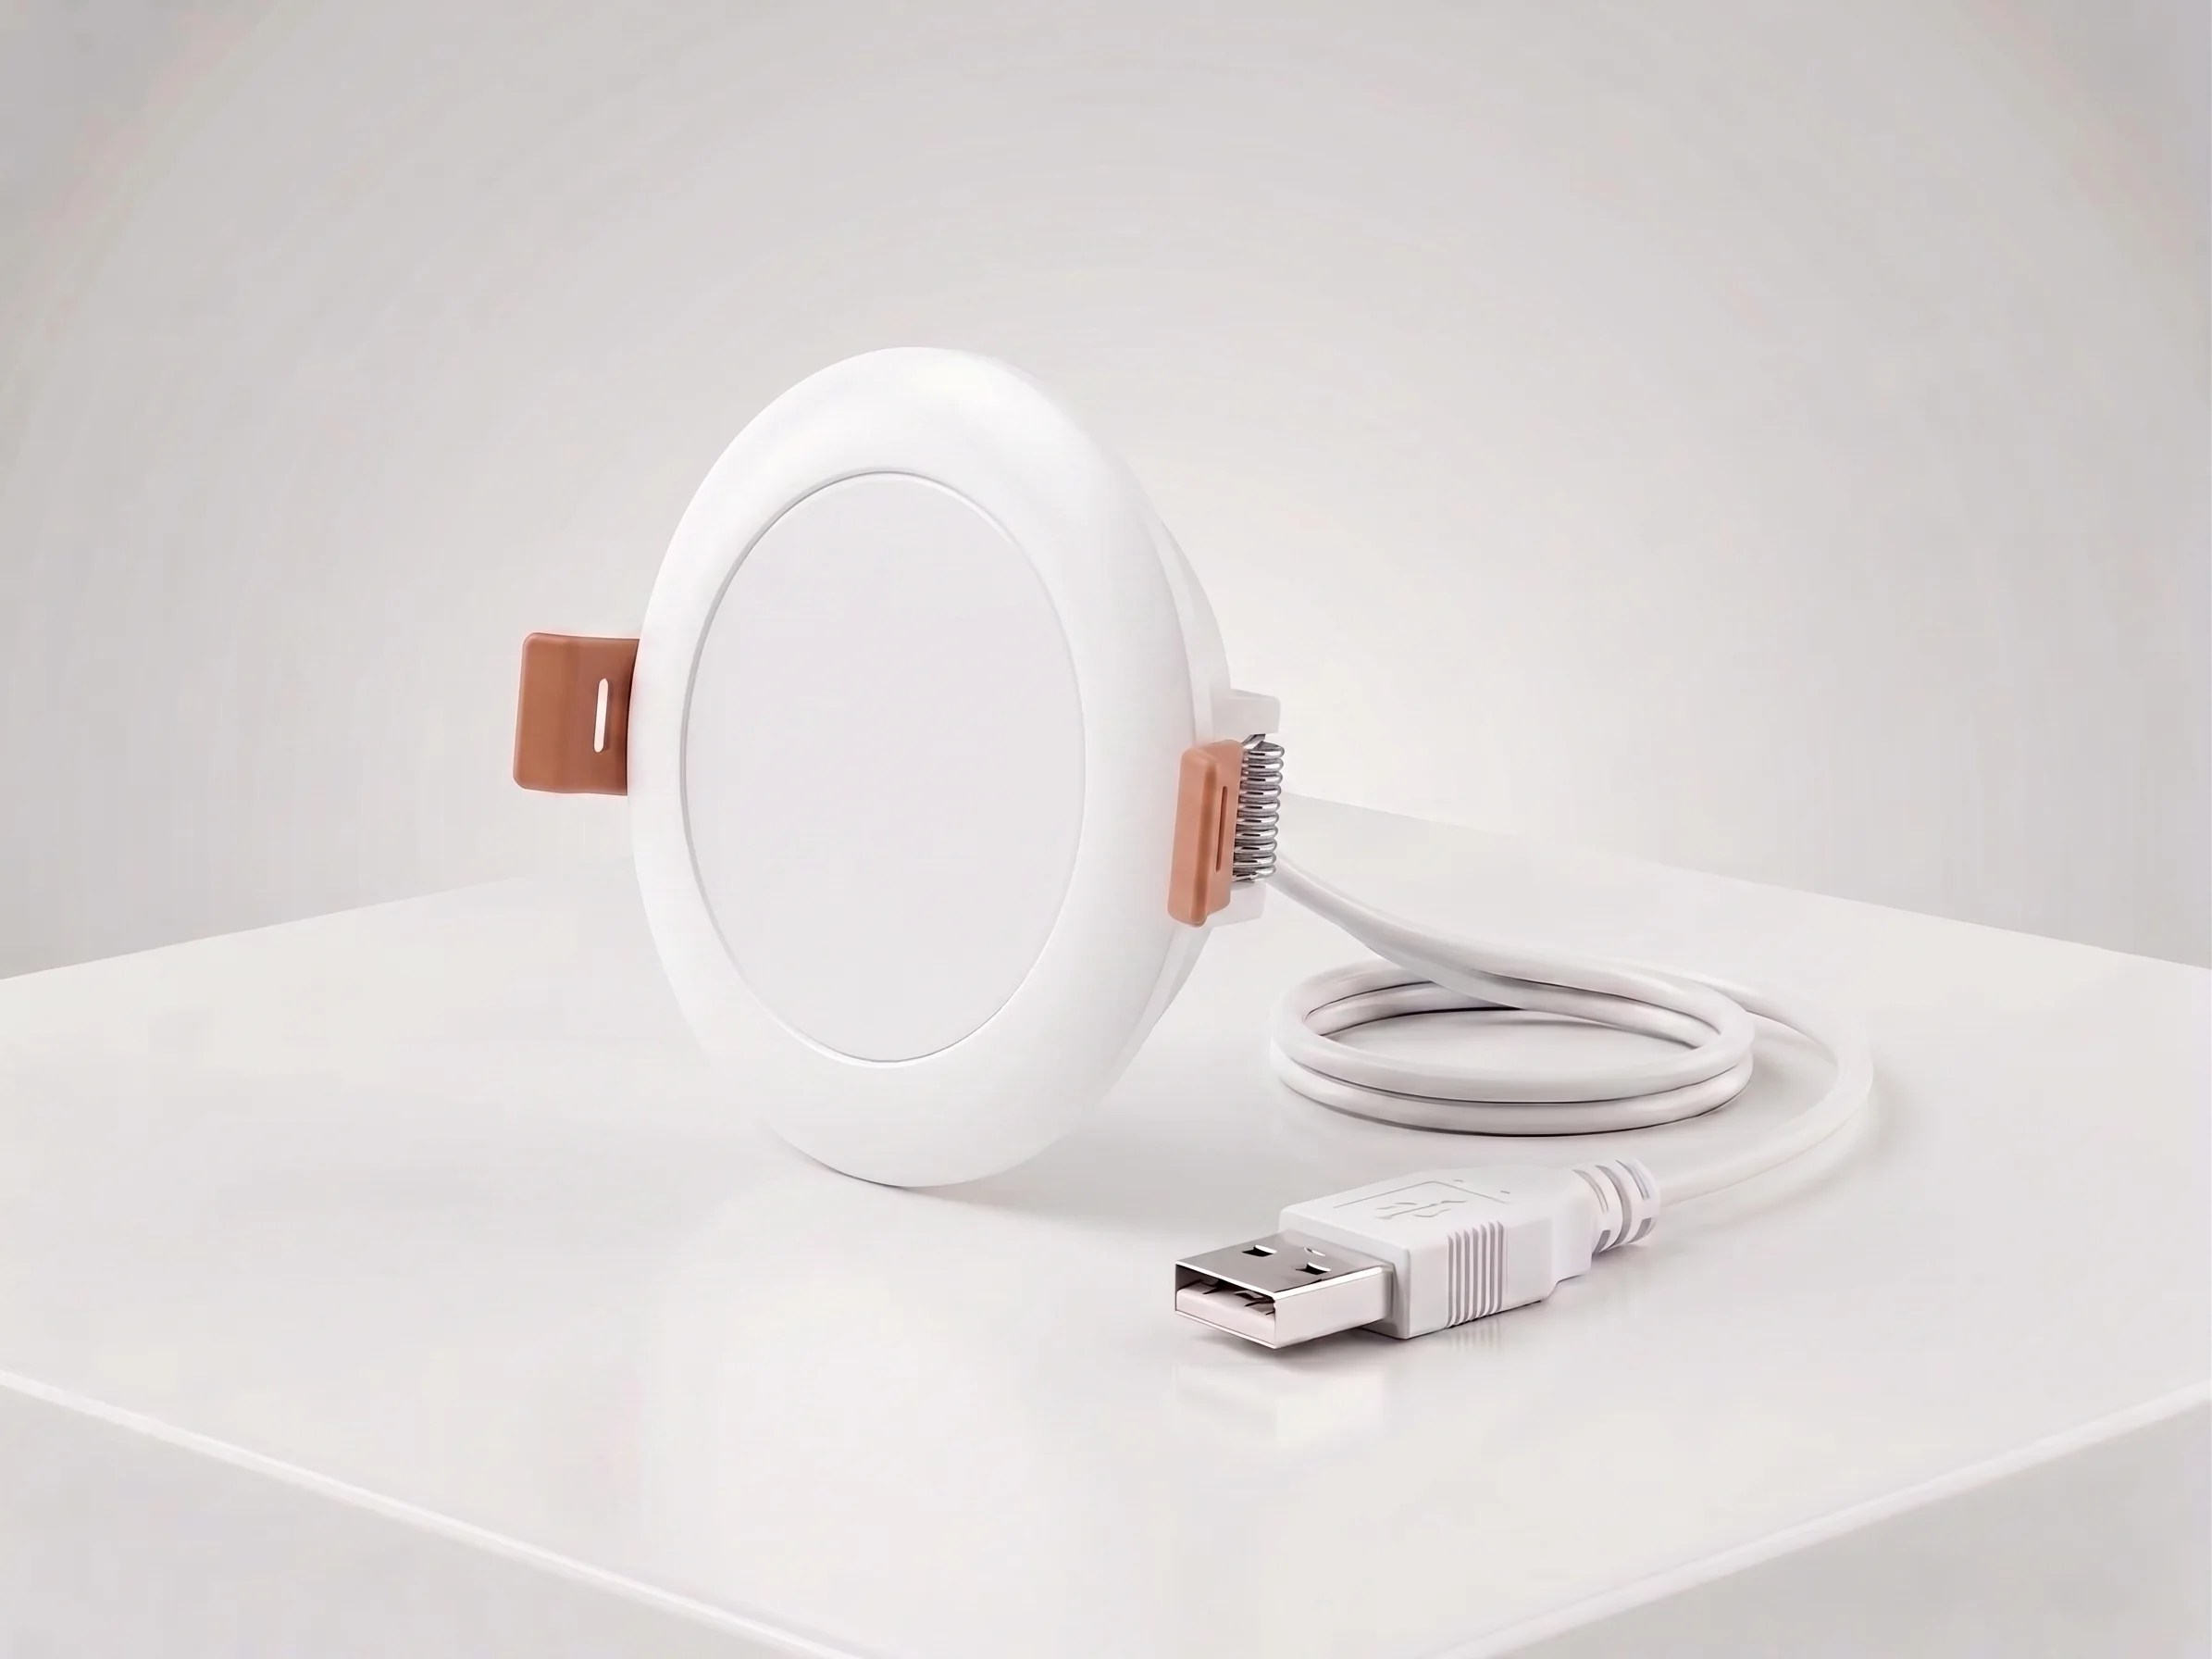
Ceiling Mount mmWave Human Presence Sensor — Zigbee
24GHz wideband mmWave ceiling presence sensor with 10m motion detection, 2.5m micro-motion, and breathing detection. 120° field, DC5V, Zigbee 3.0. For hotel room occupancy and commercial automation.
This page already points to it as the next recommended reference.
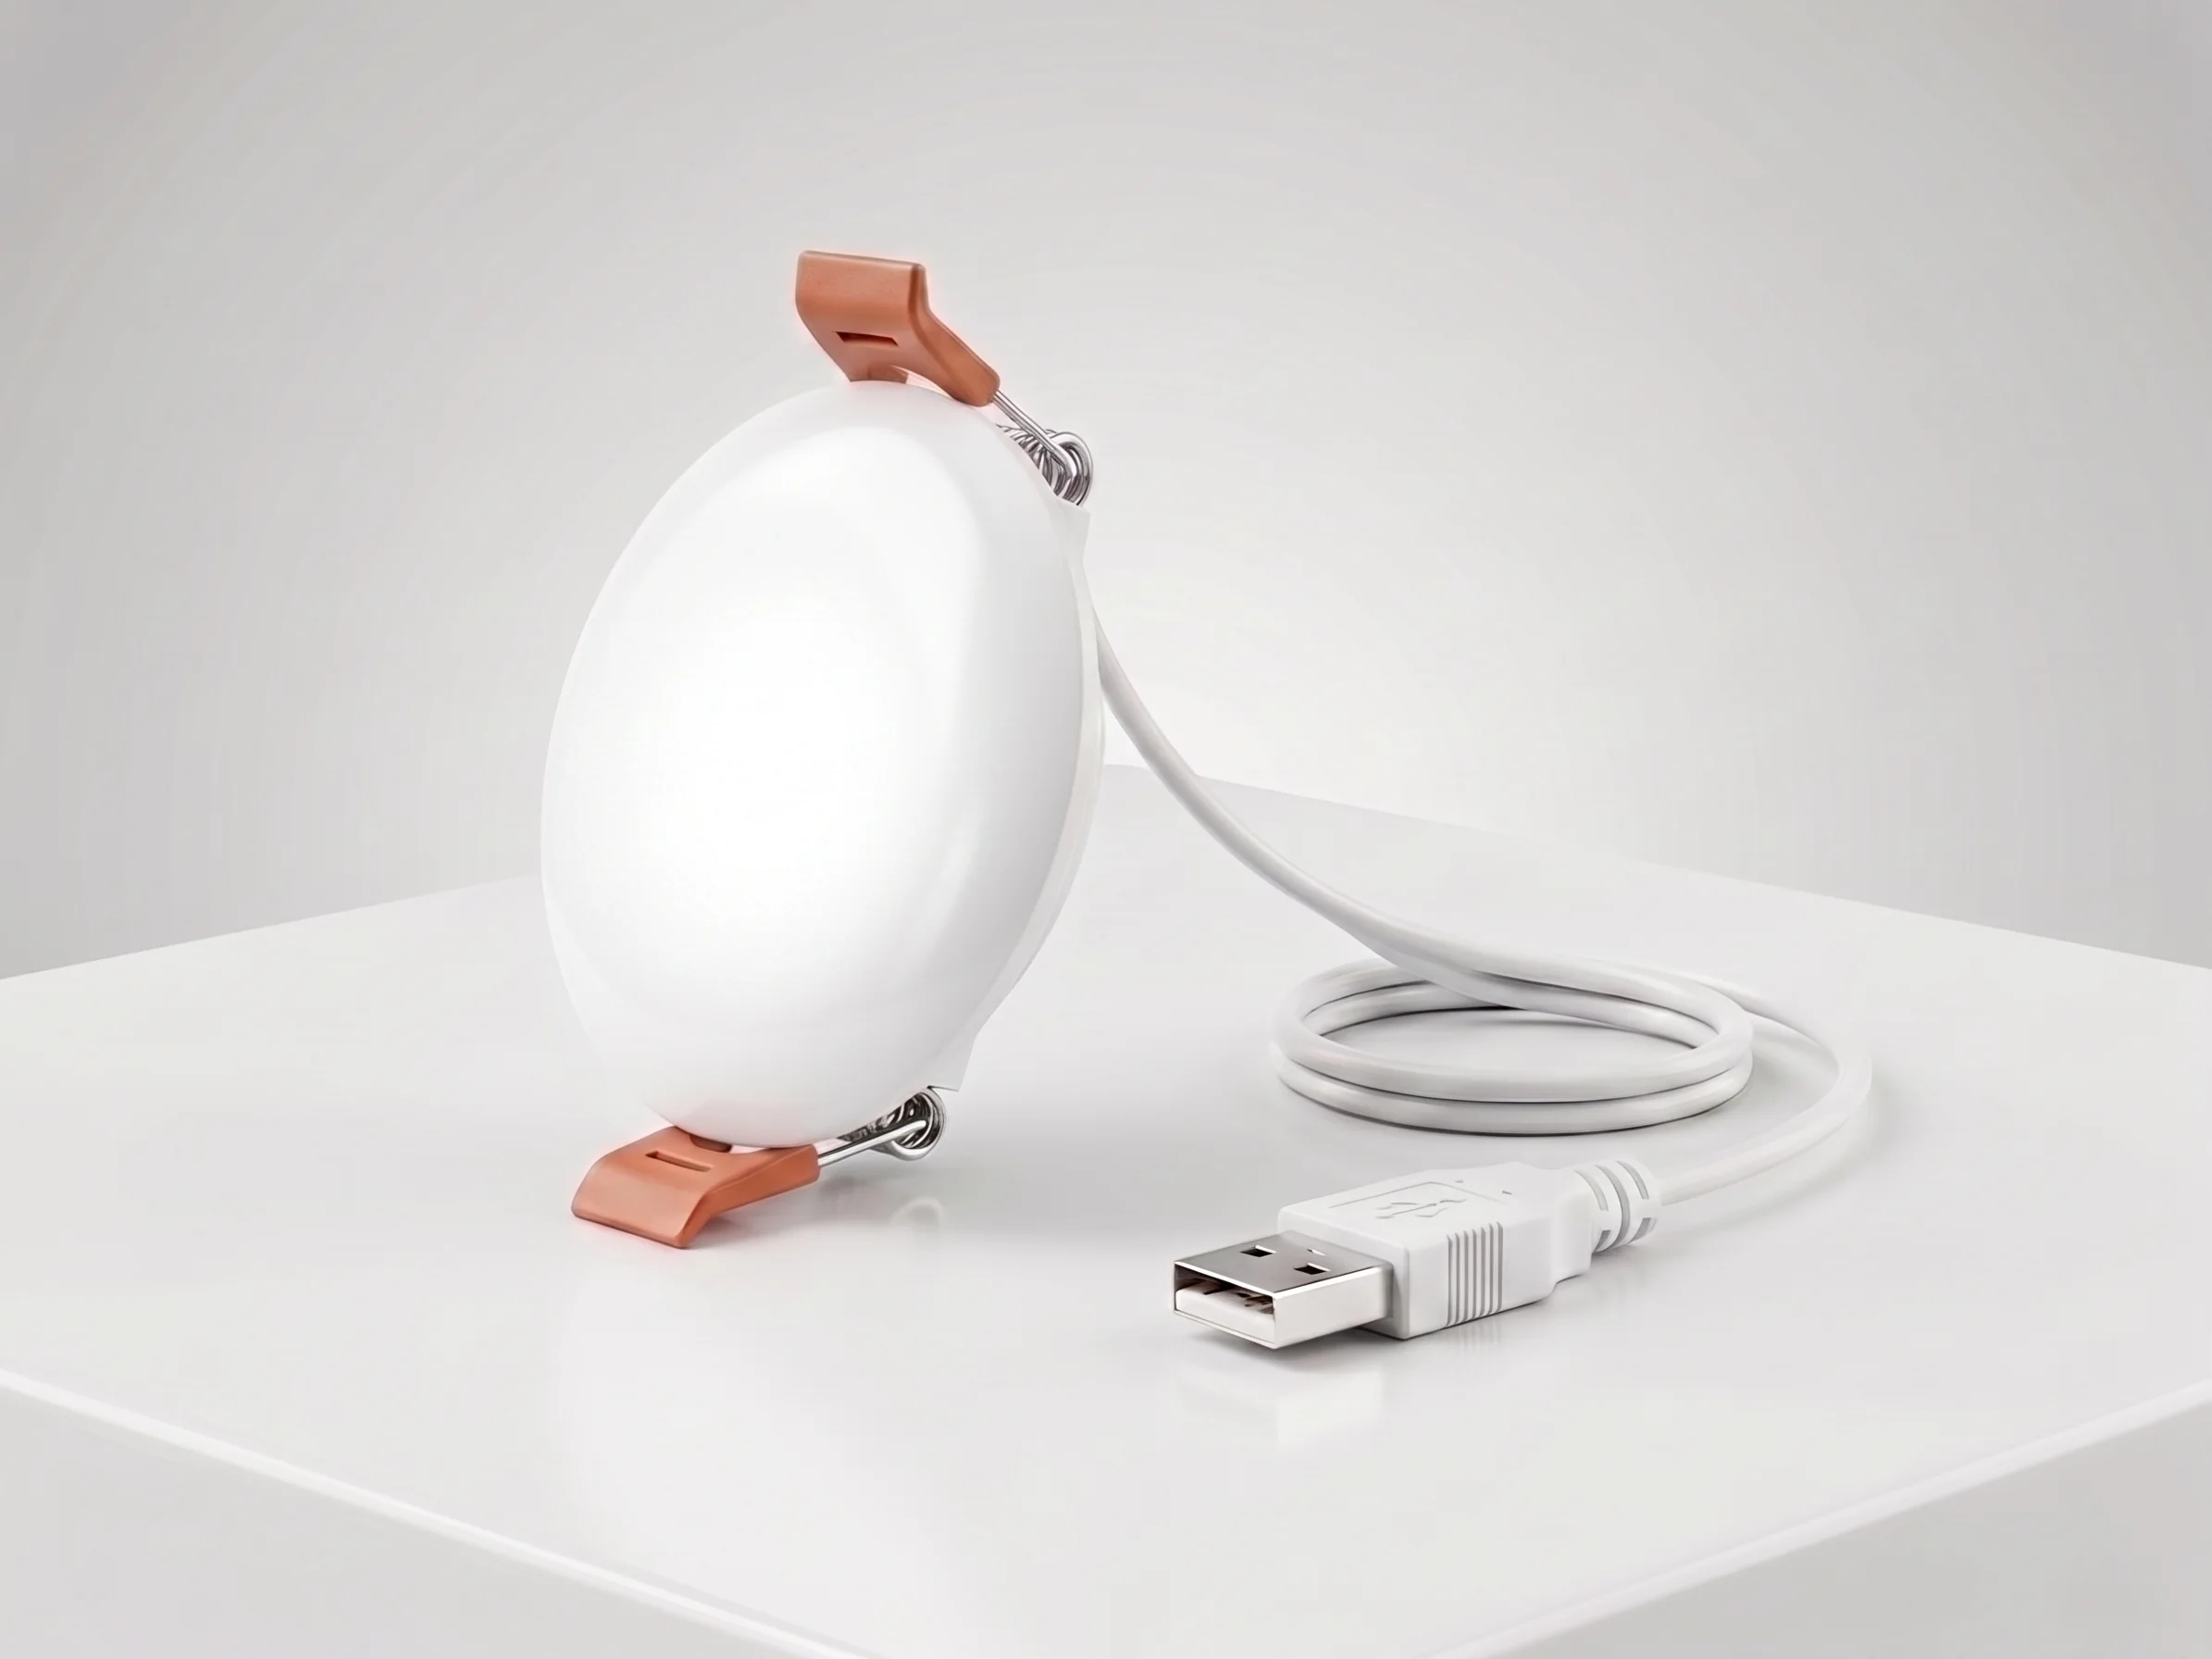
Ceiling Mount mmWave Human Presence Sensor — WiFi
24GHz wideband mmWave ceiling presence sensor with 10m motion detection, 2.5m micro-motion, and breathing detection. 120° field, DC5V, WiFi 2.4GHz. No gateway required for retrofit hotel and apartment projects.
This page already points to it as the next recommended reference.
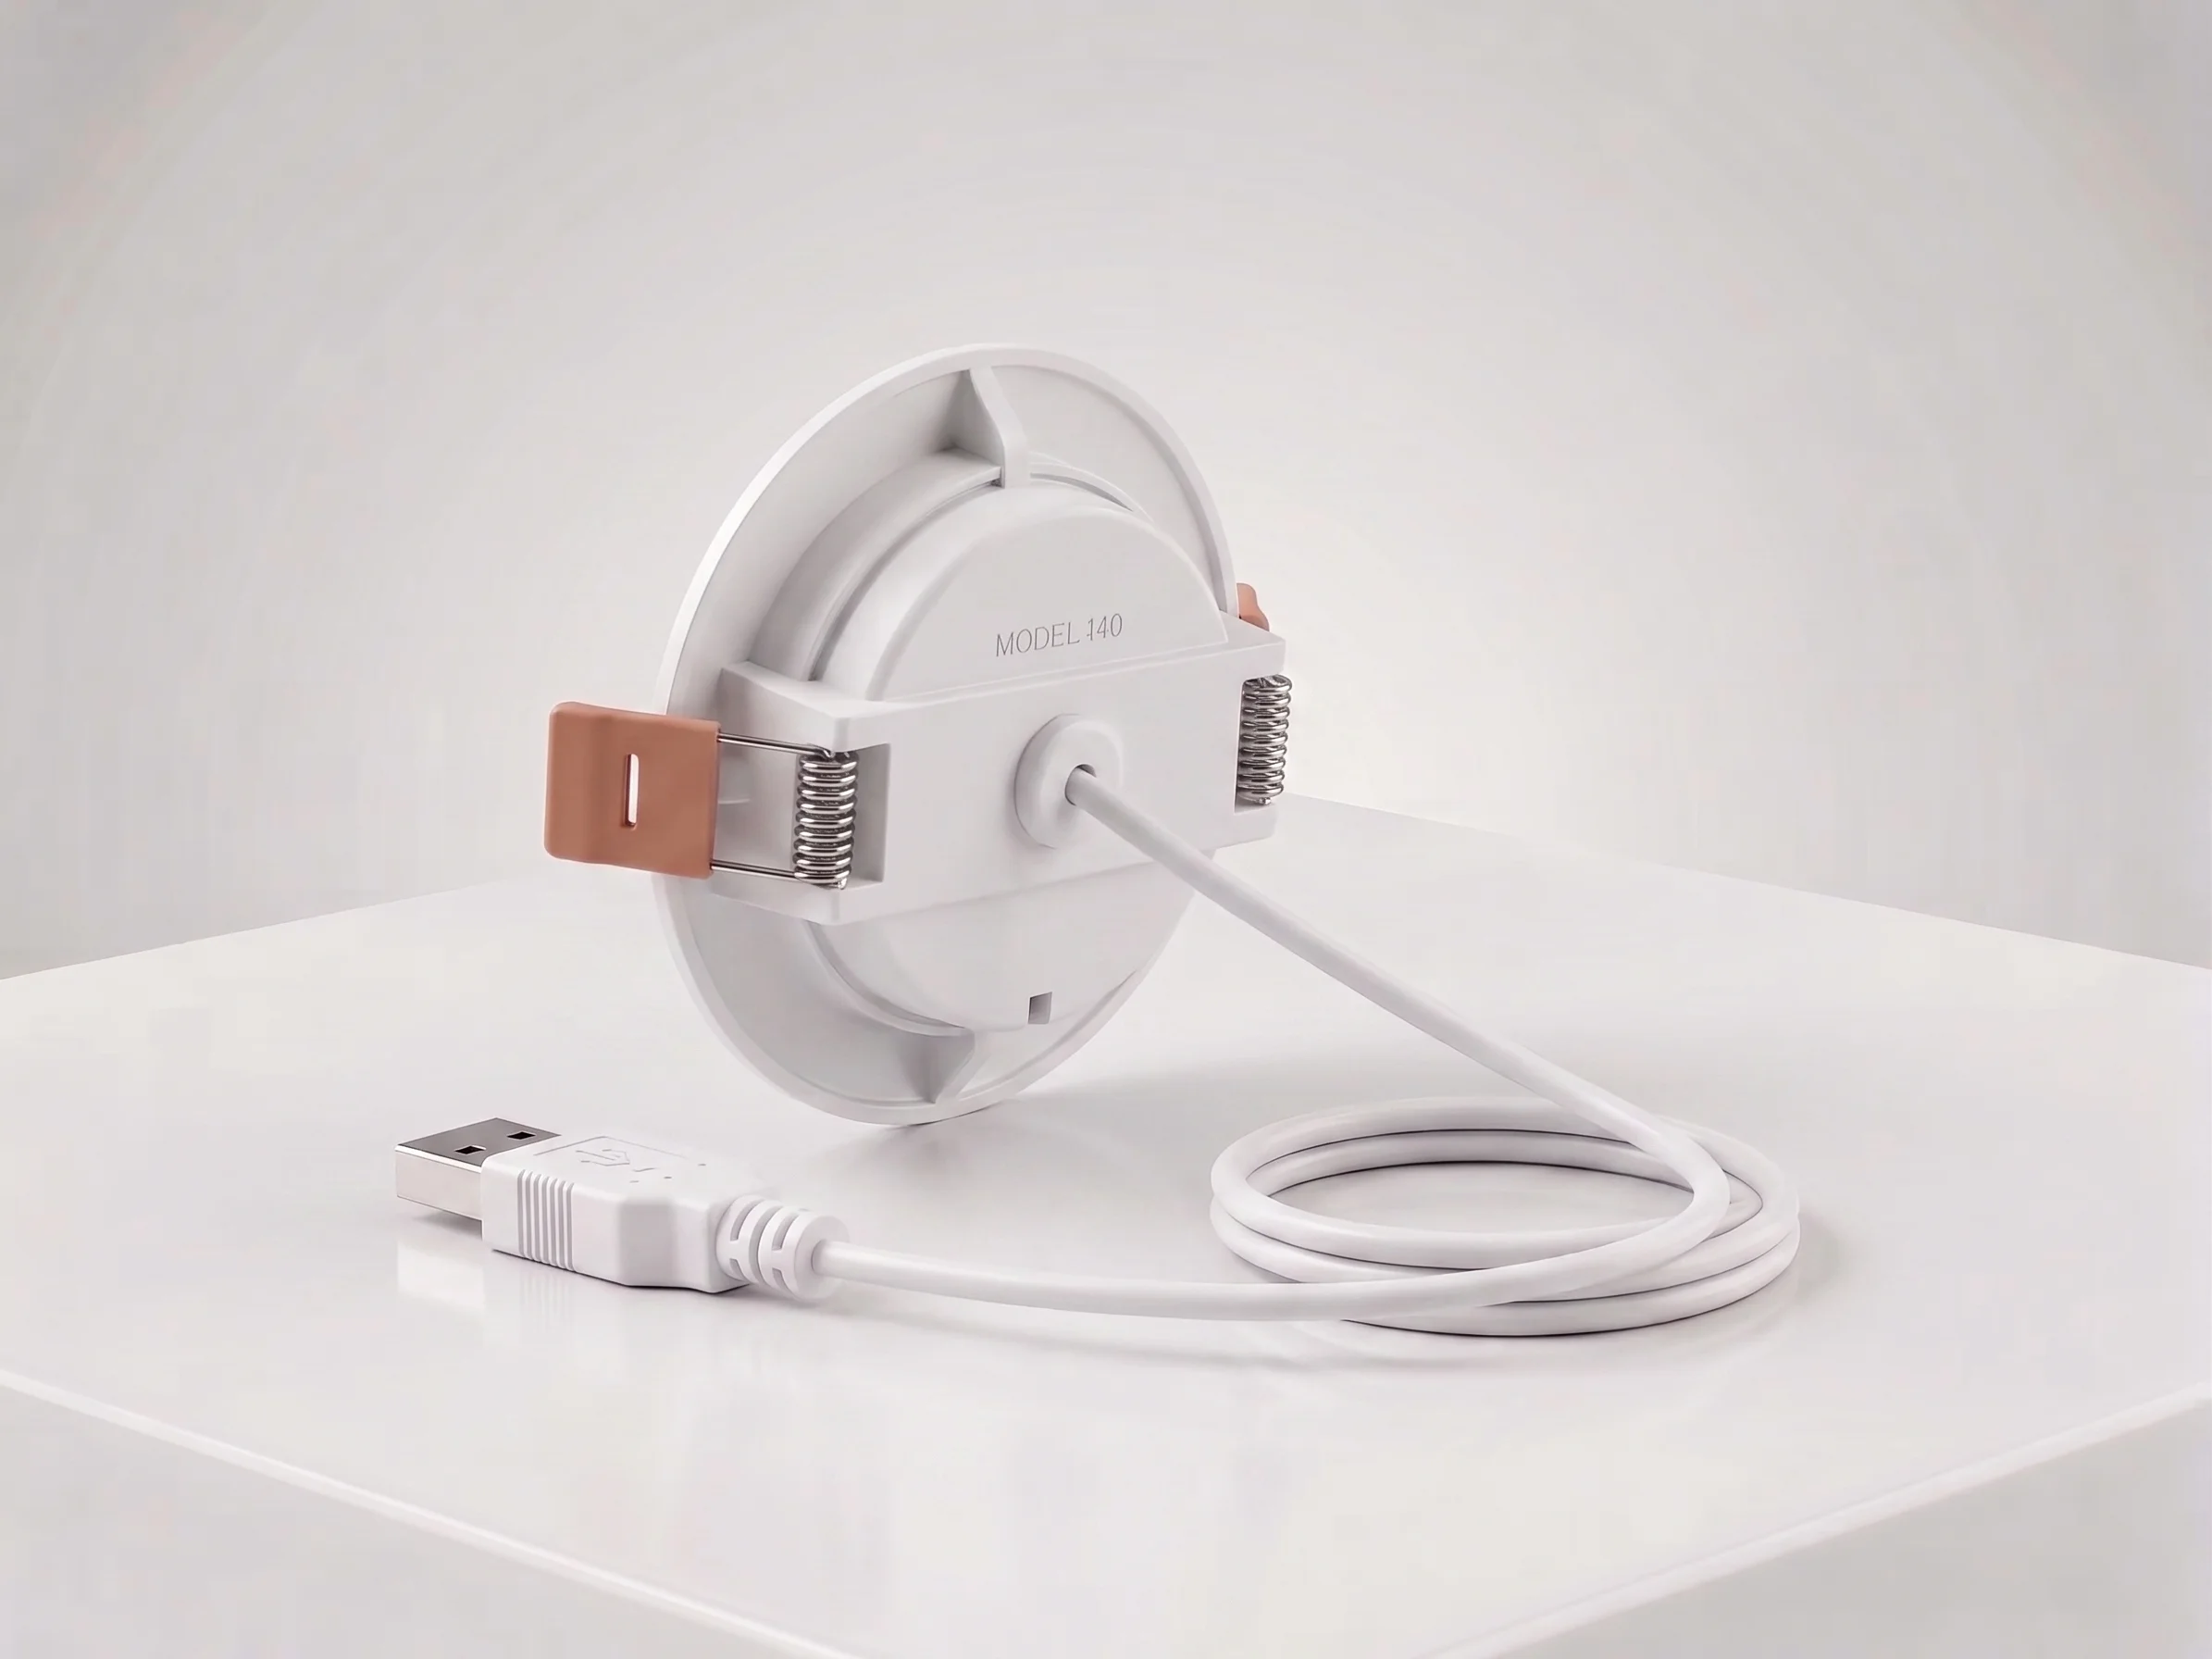
Ceiling Mount mmWave Human Presence Sensor — Matter over Thread
24GHz wideband mmWave ceiling presence sensor with 10m motion, 2.5m micro-motion, and breathing detection. 120° field, DC5V, Matter over Thread. Works natively with Apple Home, Google Home, and Alexa.
This page already points to it as the next recommended reference.
Related solutions
1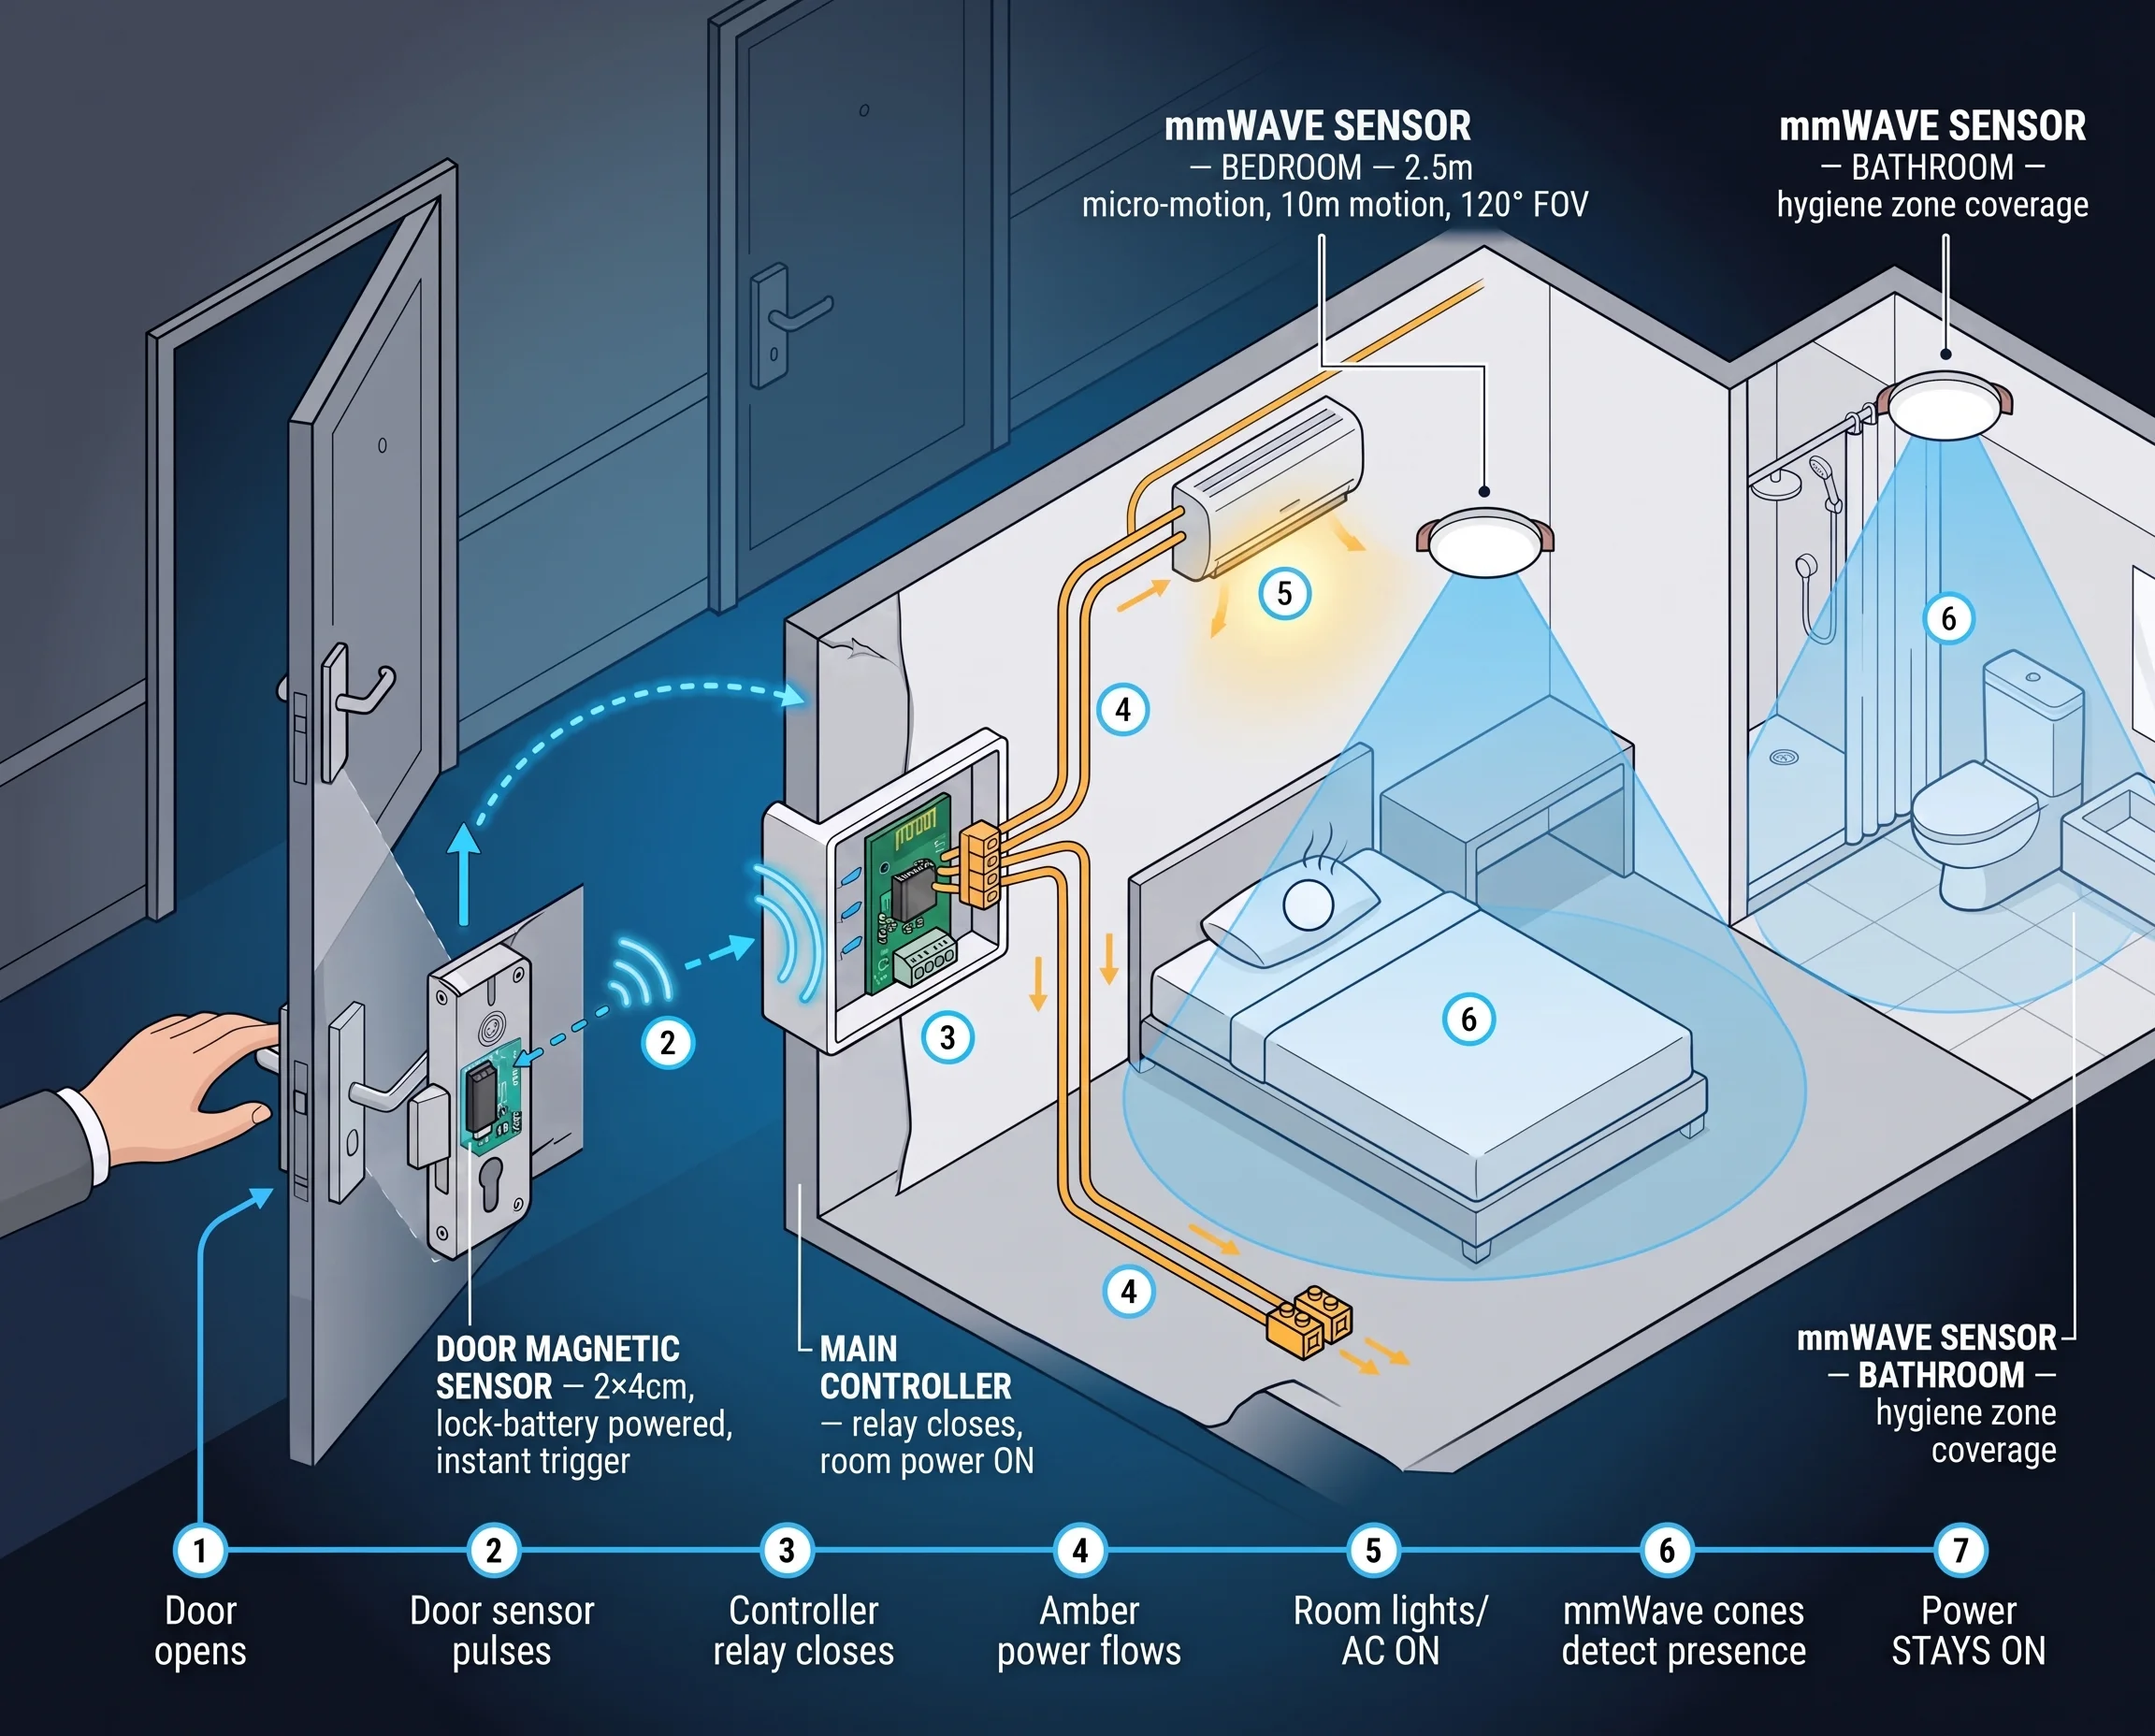
Hotel Room Occupancy & Motion Sensor Solution
mmWave radar presence sensors for hotel room occupancy, housekeeping scheduling, and HVAC energy saving. Detect true occupancy — even when the guest is asleep — with our ceiling-mount hotel room motion sensor.
It supports the same product context: Ceiling Mount mmWave Human Presence Sensor — Zigbee, Ceiling Mount mmWave Human Presence Sensor — WiFi, Ceiling Mount mmWave Human Presence Sensor — Matter over Thread.
Related blog posts
3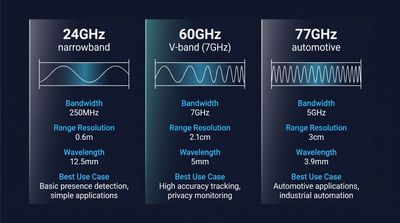
60GHz vs 24GHz vs 77GHz mmWave Sensors: Choosing the Right Frequency for Commercial Presence Detection
Compare 60GHz, 24GHz, and 77GHz mmWave sensors for commercial presence detection. Technical specs, detection range, privacy, and OEM sourcing guidance.
It supports the same product context: Ceiling Mount mmWave Human Presence Sensor — Zigbee, Ceiling Mount mmWave Human Presence Sensor — WiFi.
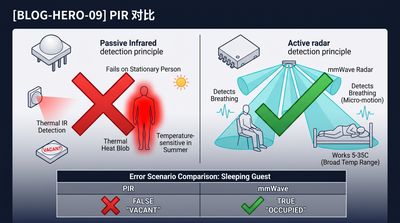
What Is an Electronic Presence Sensor? Technology, Accuracy, and How It Differs From a Motion Sensor
Learn what an electronic presence sensor is, how it detects stationary humans, and how it differs from a PIR motion sensor. Covers mmWave, accuracy, and use cases.
It supports the same product context: Ceiling Mount mmWave Human Presence Sensor — Zigbee, Ceiling Mount mmWave Human Presence Sensor — WiFi, Ceiling Mount mmWave Human Presence Sensor — Matter over Thread.
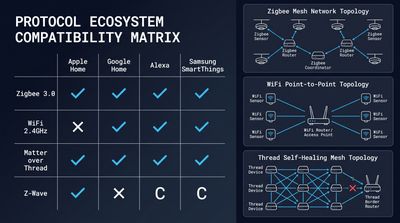
How to Integrate mmWave Presence Sensors With Home Assistant (Local Control Guide)
Step-by-step local control setup guide for mmWave devices, covering MQTT/Matter config, automation scripts, calibration and OEM ceiling presence sensor integration tips.
It supports the same product context: Ceiling Mount mmWave Human Presence Sensor — Matter over Thread, Ceiling Mount mmWave Human Presence Sensor — WiFi, Ceiling Mount mmWave Human Presence Sensor — Zigbee.
Specify your hotel project with our engineers
Send your room count, ceiling type, and protocol preference. We will return a sample plan and quote within 24 business hours.
- Move from general guidance into a product or application discussion.
- Use RFQ when pricing, drawings, MOQ, or launch timing needs structure.
- Keep a direct contact path visible for fast clarifications and handoff.