Ceiling Presence Sensor: The Complete 2026 Guide to Installation, Selection, and Deployment
A complete guide to ceiling presence sensors. Learn how they work, where to install, and how to choose the right sensor for hotel, office, and healthcare deployments.
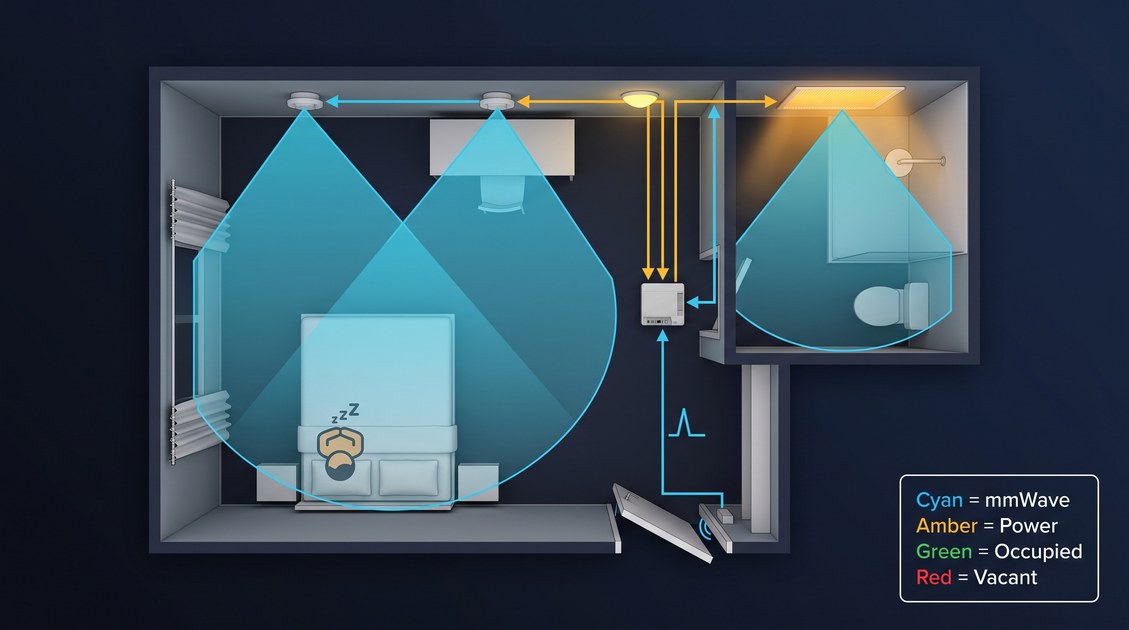
A ceiling presence sensor is a presence detection device mounted on the ceiling of a room to determine whether human occupants are currently present, with the capability to detect both moving and stationary occupants (including sleeping, sitting, and reading persons) by using millimeter-wave (mmWave) radar operating at 60 GHz (57–64 GHz with 7 GHz of bandwidth) to sense the micro-Doppler signature of human breathing at 0.2–0.5 Hz from a typical ceiling mounting height of 2.5–3.0 meters. Modern ceiling presence sensors are the dominant form factor for commercial presence detection in hotel rooms, office conference rooms, healthcare patient rooms, and residential living spaces, where they provide a 360-degree field of view of the room, a detection range of 6–8 meters, and a stationary-occupant true positive rate above 99% in controlled testing when properly installed. The ceiling mounting position provides a clear line of sight to all occupants in the room, is unobtrusive (a typical ceiling presence sensor looks like a small smoke detector or ceiling speaker), is difficult to tamper with, and is not affected by furniture rearrangement, making it the preferred mounting position for any application that requires reliable presence detection across a full room.
Selecting and installing a ceiling presence sensor requires understanding the technology options, the installation best practices, and the use case requirements. This guide provides a comprehensive overview of ceiling presence sensors, explains the technology and form factor options, identifies the installation best practices that determine real-world performance, and provides a structured framework for selecting the right ceiling presence sensor for a specific application.
Ceiling Presence Sensor: Technology Options
The technology options for a ceiling presence sensor are similar to those for any presence sensor, but the ceiling mounting position has specific implications for technology selection.
Ceiling Presence Sensor: mmWave Radar (60 GHz Default)
The 60 GHz mmWave radar is the default technology for modern ceiling presence sensors. The 5 mm wavelength allows a compact 3×3 MIMO antenna array to fit in a small PCB area, enabling a ceiling puck form factor of approximately 70 mm diameter and 25 mm height. The 7 GHz of bandwidth enables 2.1 cm range resolution, and the micro-Doppler sensitivity of the 60 GHz signal enables the detection of human breathing at 0.2–0.5 Hz from a ceiling mounting height of 2.5–3.0 m.
The 60 GHz ceiling presence sensor has a typical field of view of ±60° in azimuth and ±40° in elevation, which provides 360-degree coverage of a room when mounted in the center of the ceiling. The detection range for a stationary occupant is 6–8 m, which is sufficient to cover a typical hotel room or office from a ceiling mounting position.
Ceiling Presence Sensor: PIR Motion Sensor (Legacy Option)
A passive infrared (PIR) motion sensor mounted on the ceiling is a legacy option that is still used in some applications. A ceiling-mounted PIR sensor has a 360-degree field of view (achieved by a special lens that focuses on the floor in all directions), and can detect motion at a range of 5–8 m. However, a ceiling-mounted PIR sensor cannot detect stationary occupants, which limits its use to applications where motion-based control is sufficient.
Ceiling Presence Sensor: Dual-Technology (PIR + Ultrasonic or PIR + mmWave)
A dual-technology ceiling presence sensor combines two sensing technologies to improve accuracy. The most common combination is PIR + ultrasonic, where the PIR sensor detects motion and the ultrasonic sensor provides additional coverage in areas that are not in the PIR's line of sight. A more advanced combination is PIR + mmWave radar, where the PIR sensor provides fast motion detection and the mmWave radar provides stationary-occupant detection. The dual-technology approach can reduce false positives (the sensor only reports presence when both technologies agree) and can extend the coverage area, but it adds cost and complexity.
For most modern deployments, a 60 GHz mmWave-only ceiling presence sensor is the preferred choice, as the single technology is sufficient for most applications and the additional cost of dual-technology is not justified.
| Technology | Stationary occupant | Form factor | Cost | Best for |
|---|---|---|---|---|
| 60 GHz mmWave | Yes (breathing) | 70 mm ceiling puck | $50–150 | Default for most applications |
| PIR | No (motion only) | 100 mm ceiling puck | $10–30 | Budget, motion-only |
| Dual (PIR + mmWave) | Yes | 100 mm ceiling puck | $80–200 | High-reliability applications |
Ceiling Presence Sensor: Form Factor and Mounting
The form factor and mounting of a ceiling presence sensor are determined by the room geometry, the ceiling type, and the aesthetic requirements of the space.
Ceiling Presence Sensor: Standard Ceiling Puck
The standard form factor for a ceiling presence sensor is a "ceiling puck" — a circular device with a diameter of 60–100 mm and a height of 20–30 mm, designed to be mounted on the ceiling and to look similar to a smoke detector or a small ceiling speaker. The standard ceiling puck is appropriate for most applications and is the form factor used by the leading commercial ceiling presence sensor products.
The ceiling puck is typically mounted using screws that go through the back of the housing into the ceiling, or using a mounting plate that is screwed to the ceiling and the puck is twisted onto. Some products also support magnetic mounting for easy installation and removal.
Ceiling Presence Sensor: Recessed Mounting
For premium installations (luxury hotel rooms, executive offices, high-end residential), a recessed mounting option is available, where the sensor is mounted flush with the ceiling, with only a thin trim ring visible. The recessed mounting is more aesthetically pleasing but requires a ceiling cavity of at least 30 mm depth and is more complex to install.
Ceiling Presence Sensor: Tile Grid Mounting
In office buildings with suspended tile ceilings, the ceiling presence sensor can be mounted in the tile grid using a tile bridge or a tile clip mounting system. This is a common installation method for office deployments, as it avoids the need to cut into the ceiling and allows for easy relocation if the office layout changes.
Ceiling Presence Sensor: Junction Box Mounting
In new construction, the ceiling presence sensor can be mounted in a standard electrical junction box in the ceiling, which provides a clean installation and allows for easy wiring. The junction box mounting is the preferred method for new hotel construction, where the wiring can be planned during the design phase.
Ceiling Presence Sensor: Installation Best Practices
The installation of a ceiling presence sensor is critical to its performance, and several factors must be considered to achieve the best results.
Ceiling Presence Sensor: Mounting Height
The recommended mounting height for a ceiling presence sensor is 2.5–3.0 m, which is the standard ceiling height in most commercial buildings. At this height, a 60 GHz sensor with a ±60° azimuth field of view can cover a room of up to 5×5 m, and a sensor with a ±40° elevation field of view can cover a floor area of up to 4×4 m.
Mounting the sensor too high (above 3.5 m) reduces the field of view at floor level and may create dead zones in the corners of the room. Mounting the sensor too low (below 2.0 m) makes the sensor vulnerable to tampering and may create a less aesthetically pleasing installation.
Ceiling Presence Sensor: Mounting Location
The recommended mounting location for a ceiling presence sensor is in the center of the ceiling, with the antenna array oriented to provide full coverage of the room. In an ideal installation, the sensor is directly above the center of the main activity area (e.g., above the bed in a hotel room, above the desk in an office, above the conference table in a meeting room).
The sensor should be mounted at least 0.5 m from any wall, 0.5 m from any metal object (metal ceiling tiles, metal HVAC ducts, metal furniture), and 0.5 m from any HVAC diffuser. These minimum distances prevent the sensor from being affected by reflections, occlusions, or HVAC-induced air currents.
Ceiling Presence Sensor: Avoiding Common Installation Mistakes
Several common installation mistakes can undermine the performance of a ceiling presence sensor:
- Mounting too close to a wall: creates a dead zone in the field of view on the opposite side of the room.
- Mounting near metal objects: the metal can reflect the radar signal and create false detections.
- Mounting near HVAC diffusers: the airflow can trigger false detections.
- Mounting behind obstacles: whiteboards, screens, or plants can block the field of view and create dead zones.
- Incorrect orientation: the antenna array should be oriented to provide full coverage of the room, with the broad axis of the field of view aligned with the longest dimension of the room.
Ceiling Presence Sensor: Power and Connectivity
A ceiling presence sensor can be powered by mains (via a power adapter or a junction box), by Power over Ethernet (PoE), or by battery. Mains power is the most common for hotel and office deployments, while PoE is preferred for office deployments where Ethernet cabling is available. Battery power is used in some retrofit deployments where mains power is not readily available, but battery life is limited to 12–18 months for a typical mmWave ceiling sensor.
The connectivity of a ceiling presence sensor can be Zigbee, WiFi, Matter, BACnet, or a wired protocol. The choice depends on the existing infrastructure and the integration requirements with the downstream system. For hotel deployments, Zigbee is the most common choice because it integrates with the building management system. For office deployments, WiFi or PoE with BACnet is common. For residential smart home deployments, Matter or Zigbee is the most common.
Ceiling Presence Sensor: Use Cases
The ceiling presence sensor is the dominant form factor for several major application verticals, each with specific requirements and deployment patterns.
Ceiling Presence Sensor: Hotel Room Deployment
Hotel rooms are the canonical application for the ceiling presence sensor. A 60 GHz ceiling presence sensor mounted in the center of the ceiling at 2.5–3.0 m provides full coverage of the room, including the bed, the desk, the bathroom entry, and the seating area. The sensor detects the guest throughout the stay, including when they are sleeping, and feeds the occupancy data to the building management system for housekeeping coordination and the HVAC system for energy management.
A typical hotel room ceiling presence sensor is mains-powered (from the room's lighting circuit), connected via Zigbee to the building management system, and integrated with the room's HVAC and lighting controls. The sensor is installed during the room's construction or renovation, with the wiring planned during the design phase.
Ceiling Presence Sensor: Office and Conference Room Deployment
Office buildings use ceiling presence sensors for per-room HVAC and lighting control, conference room availability detection, and space utilization analytics. A ceiling presence sensor in an individual office detects whether the office is occupied and adjusts the HVAC and lighting accordingly. In a conference room, the sensor detects whether the room is occupied and provides the data to the scheduling system for real-time room availability.
A typical office ceiling presence sensor is PoE-powered (using the office's Ethernet cabling), connected via WiFi or BACnet to the building management system, and integrated with the scheduling platform (Microsoft 365, Google Workspace, Robin, Envoy).
Ceiling Presence Sensor: Healthcare and Patient Room Deployment
Healthcare facilities use ceiling presence sensors in patient rooms for fall detection, bed-exit alerting, and occupancy-based environmental control. A ceiling presence sensor in a patient room detects whether the patient is in the room, in the bed, or out of the bed, and provides the data to the nurse call system and the electronic health record (EHR) system.
A typical healthcare ceiling presence sensor is mains-powered, connected via the hospital's wired network, and integrated with the nurse call system. The sensor must meet the hospital's stringent reliability and privacy requirements, and must be designed for easy cleaning and disinfection.
Ceiling Presence Sensor: Residential Smart Home Deployment
Residential smart homes use ceiling presence sensors for occupancy-based lighting, HVAC control, and security monitoring. A ceiling presence sensor in a living room, bedroom, or kitchen detects whether the occupant is present and adjusts the home's automation accordingly.
A typical residential ceiling presence sensor is mains-powered, connected via WiFi, Zigbee, or Matter to the smart home platform, and integrated with the lighting, HVAC, and security systems. The Matter protocol is increasingly the default choice for new residential deployments, as it provides cross-ecosystem compatibility.
Ceiling Presence Sensor: Selection Criteria
Selecting the right ceiling presence sensor for a specific application requires evaluating several criteria: detection performance, form factor, connectivity, certifications, and vendor support.
Ceiling Presence Sensor: Detection Performance
The detection performance is the most important criterion. Key metrics include:
- Stationary-occupant true positive rate: above 99% in controlled testing, above 95% in real-world deployment
- False positive rate: below 1% over a 24-hour period
- Detection range: 6–8 m for a ceiling-mounted 60 GHz sensor
- Field of view: ±60° azimuth, ±40° elevation for a typical ceiling-mounted sensor
- Detection latency: below 3 seconds
The sensor vendor should provide independent test data for these metrics, and the procurement team should request the test methodology and a redacted version of the test report.
Ceiling Presence Sensor: Form Factor
The form factor should be appropriate for the installation. For most applications, a 70 mm diameter ceiling puck is the right choice. For premium installations, a recessed mounting option may be preferred. For office deployments with suspended tile ceilings, a tile grid mounting system is recommended.
Ceiling Presence Sensor: Connectivity
The connectivity should match the existing infrastructure and the integration requirements. For hotel deployments, Zigbee is the most common. For office deployments, WiFi or PoE with BACnet is common. For residential deployments, Matter or Zigbee is the most common. For healthcare deployments, a wired protocol is often preferred for reliability.
Ceiling Presence Sensor: Certifications
The sensor should carry the required certifications for the target market: FCC, CE, RoHS, and any regional certifications. For healthcare deployments, additional certifications may be required (ISO 13485, IEC 60601 for medical device compatibility).
Ceiling Presence Sensor: Vendor Support
The vendor should provide strong technical support, including documentation, application notes, reference designs, and responsive engineering assistance. A vendor with a proven track record in the target vertical is preferred.
Ceiling Presence Sensor: Common Use Cases and Best Practices
The ceiling presence sensor is the most widely deployed form factor for commercial presence detection, and several best practices have emerged from years of deployment experience.
Ceiling Presence Sensor: Hotel Room Best Practices
For hotel room deployments, the ceiling presence sensor should be mounted in the center of the ceiling, 2.5–3.0 m above the floor, with the antenna array oriented to provide full coverage of the bed, the desk, and the bathroom entry. The sensor should be connected to the building management system via Zigbee, and should be integrated with the room's HVAC, lighting, and housekeeping systems.
A common best practice is to install the sensor during the room's construction or renovation, with the wiring planned during the design phase. For retrofit deployments, battery-powered or mains-powered sensors can be installed without major construction, but the wiring and integration are more complex.
Ceiling Presence Sensor: Office Best Practices
For office deployments, the ceiling presence sensor should be mounted in the center of the ceiling, 2.5–3.0 m above the floor, with PoE connectivity for reliable power and data. The sensor should be integrated with the building management system for HVAC and lighting control, and with the scheduling platform for real-time room availability.
A common best practice is to use a tile grid mounting system for easy installation and relocation. The sensor should be configured with a detection latency appropriate for the application (1–2 seconds for lighting control, 2–3 seconds for HVAC control).
Ceiling Presence Sensor: Healthcare Best Practices
For healthcare deployments, the ceiling presence sensor should be mounted in the patient room, 2.5–3.0 m above the floor, with mains power and a wired network connection. The sensor should be integrated with the nurse call system and the EHR system, and should be designed for easy cleaning and disinfection.
A common best practice is to use a dual-sensor configuration (one sensor above the bed for sleep monitoring, one sensor at the bathroom entry for fall detection), with the two sensors coordinated to provide a comprehensive view of the patient's activity.
Ceiling Presence Sensor: Final Recommendation
The ceiling presence sensor is the default form factor for commercial presence detection in hotel rooms, offices, healthcare facilities, and residential smart homes. The 60 GHz mmWave radar is the default technology, providing reliable stationary-occupant detection, a compact form factor, and a mature ecosystem. The ceiling mounting position provides full coverage of the room, is unobtrusive, and is not affected by furniture rearrangement.
For a procurement team selecting a ceiling presence sensor, the right approach is to start with a clear definition of the application requirements, then evaluate the available sensors against those requirements, then select a vendor with a proven track record in the target vertical. The sensor should be installed following the vendor's recommended mounting and commissioning procedures, and the integration with the downstream automation system should be tested end-to-end before the deployment is considered complete. With the right sensor, the right installation, and the right integration, a ceiling presence sensor deployment can deliver a level of occupancy awareness that is impossible to achieve with PIR-based motion sensors, and can justify the higher unit cost through improved energy efficiency, better occupant experience, and more accurate occupancy data for downstream analytics.
Not sure which sensor fits your project?
Talk to our mmWave application engineers for a free consultation.
Find the right presence sensor for your hotel project
Compare the 3 protocols, check hotel-specific case studies, and download the installation guide
Related products
3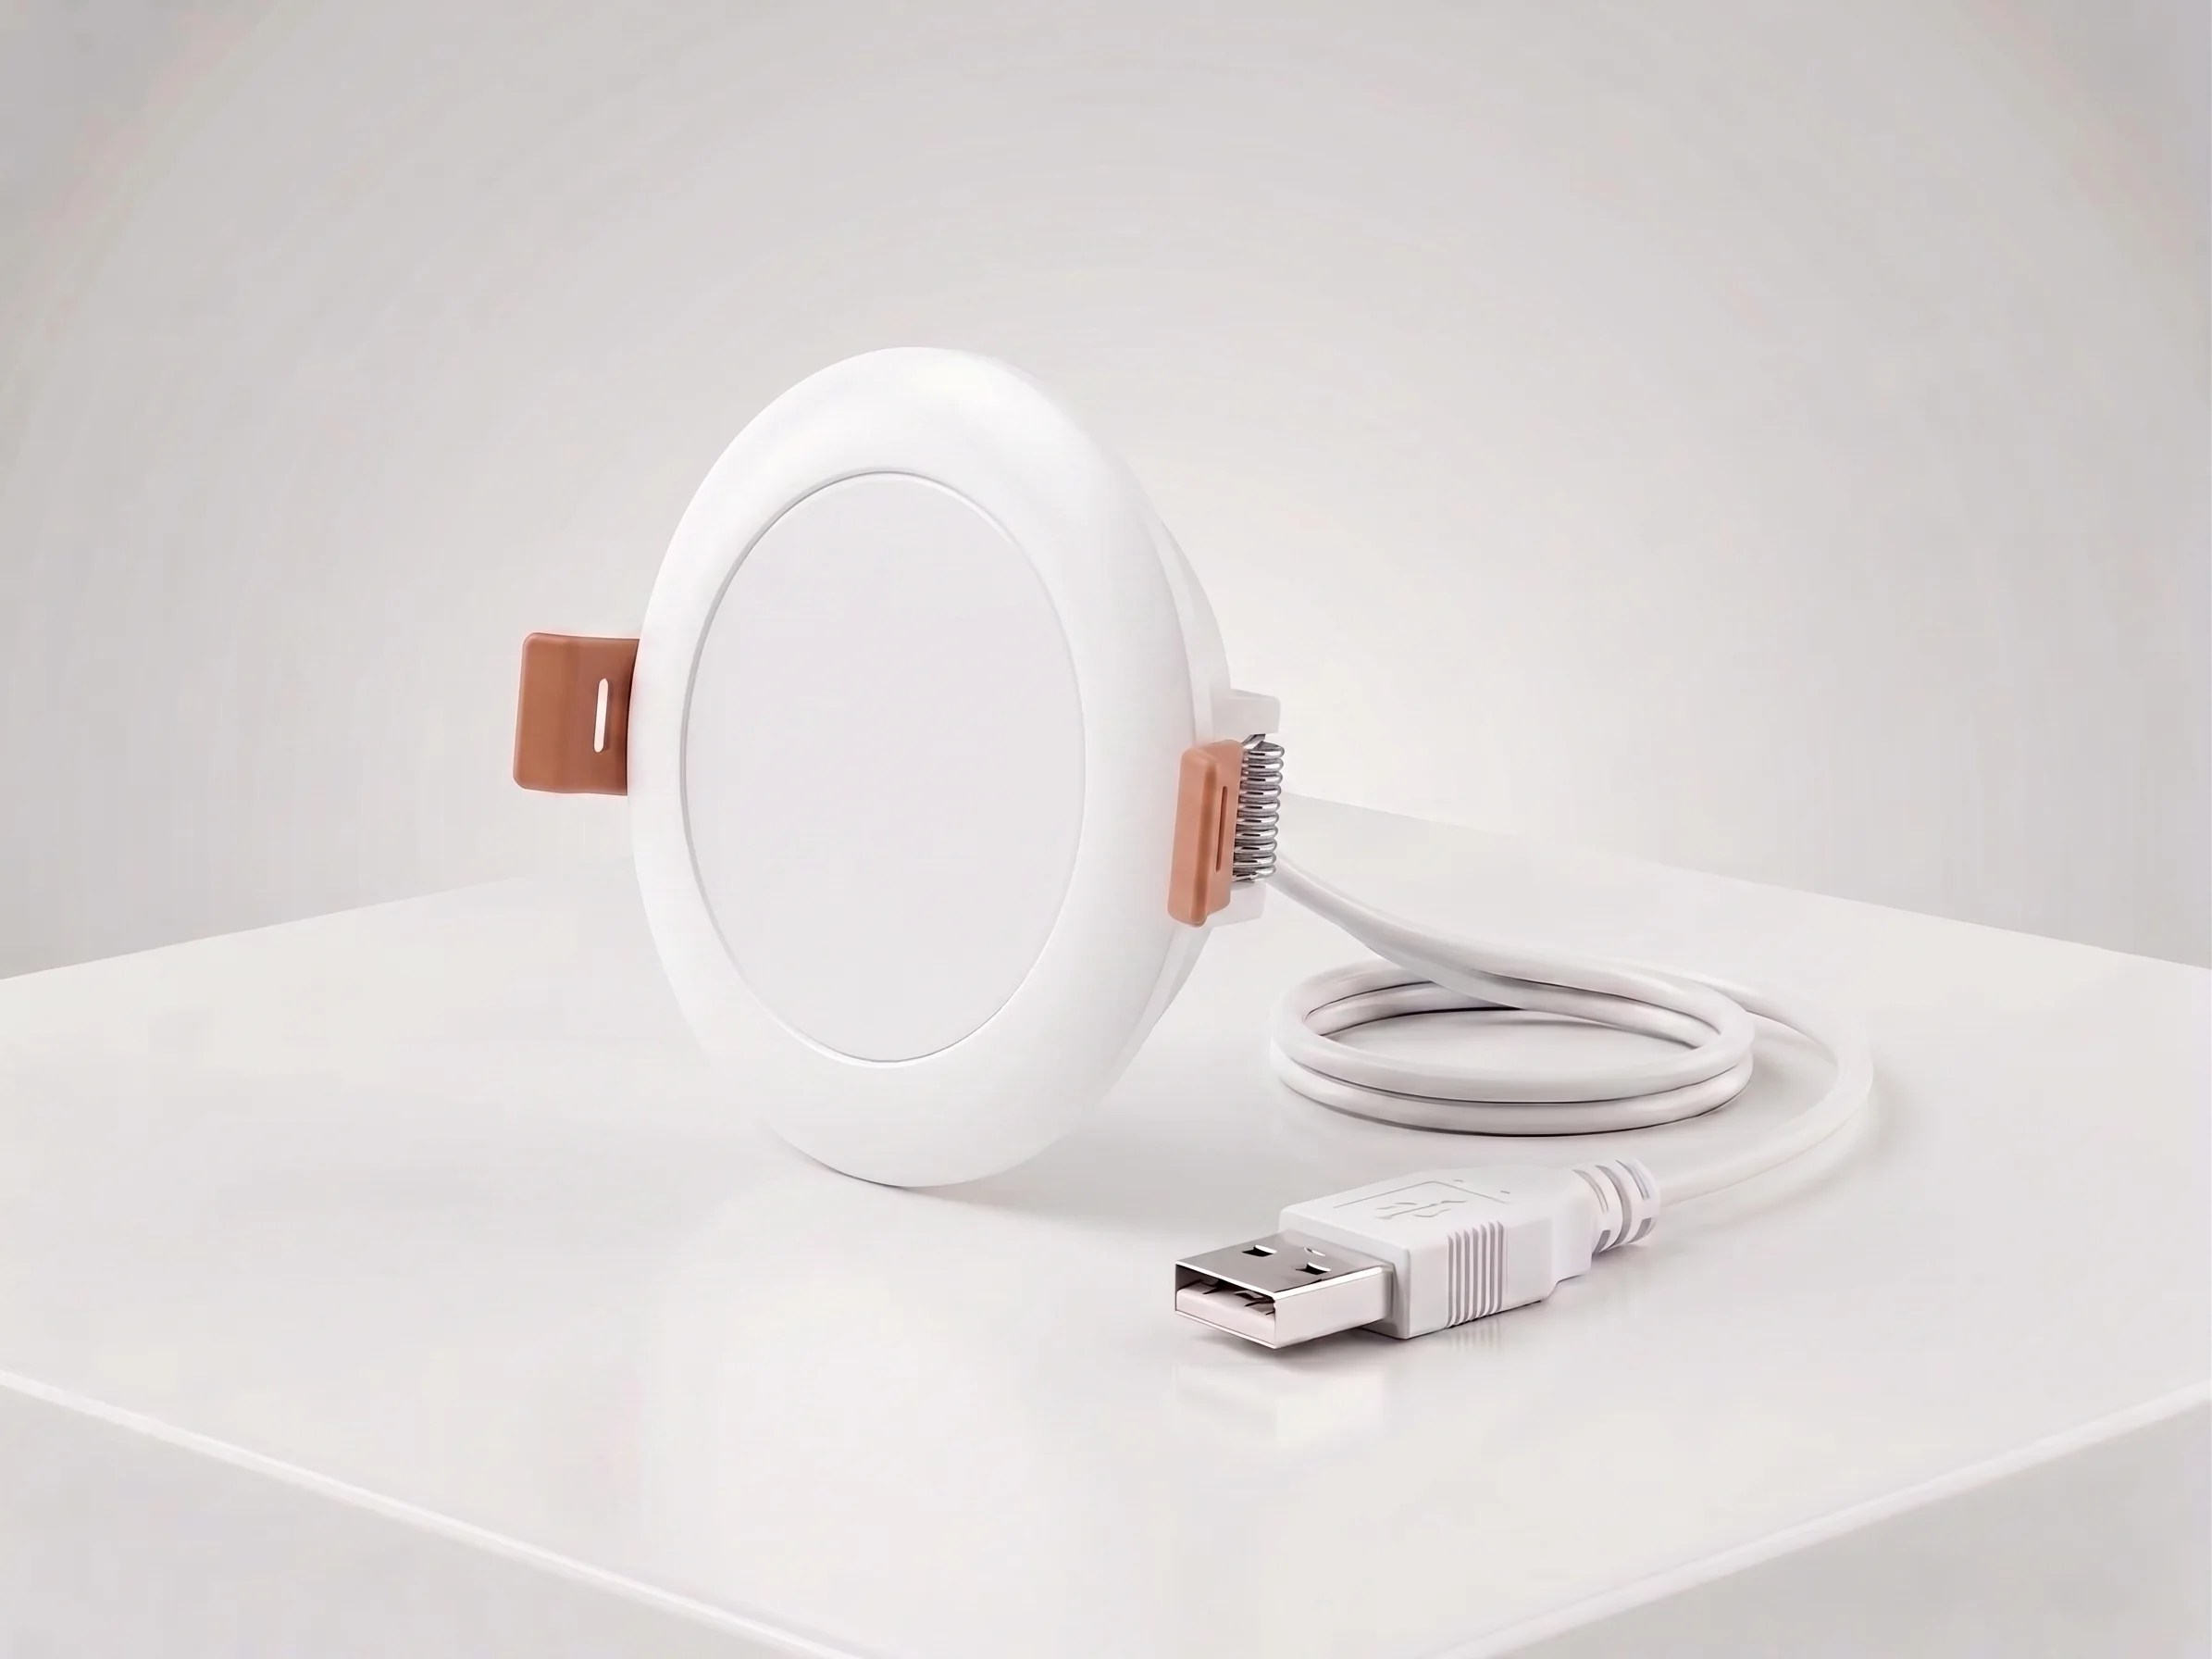
Ceiling Mount mmWave Human Presence Sensor — Zigbee
24GHz wideband mmWave ceiling presence sensor with 10m motion detection, 2.5m micro-motion, and breathing detection. 120° field, DC5V, Zigbee 3.0. For hotel room occupancy and commercial automation.
This page already points to it as the next recommended reference.
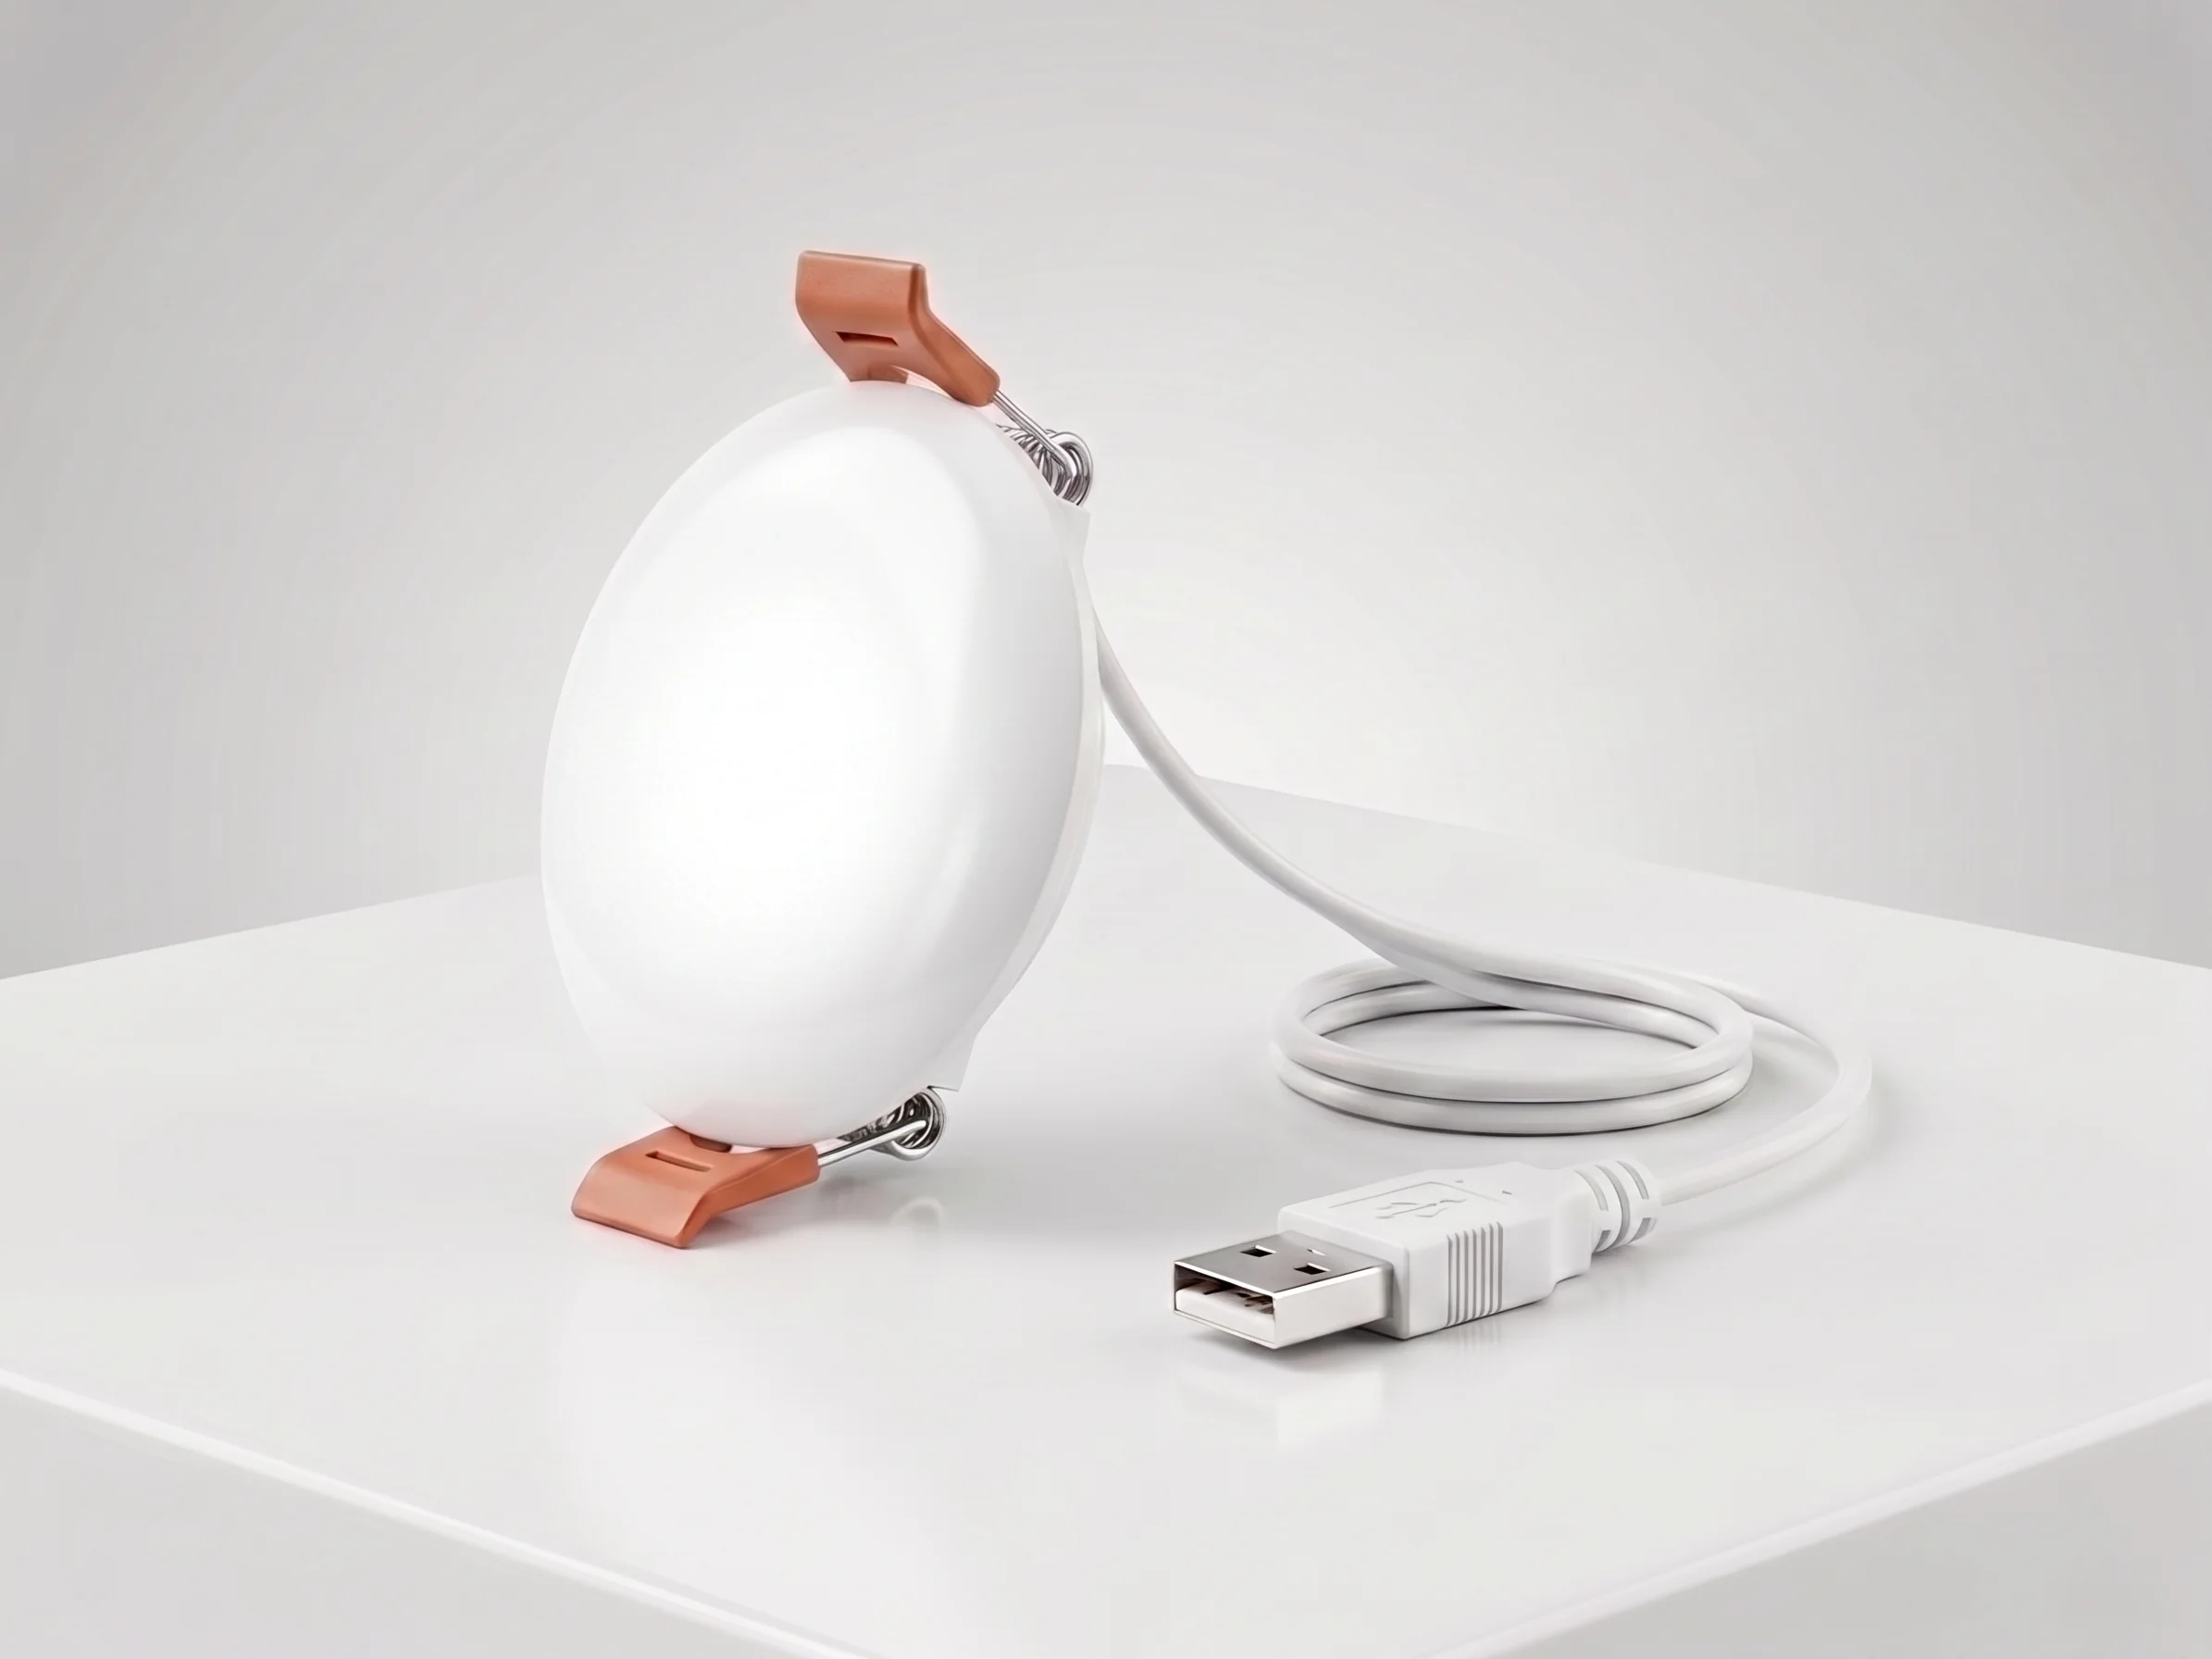
Ceiling Mount mmWave Human Presence Sensor — WiFi
24GHz wideband mmWave ceiling presence sensor with 10m motion detection, 2.5m micro-motion, and breathing detection. 120° field, DC5V, WiFi 2.4GHz. No gateway required for retrofit hotel and apartment projects.
This page already points to it as the next recommended reference.
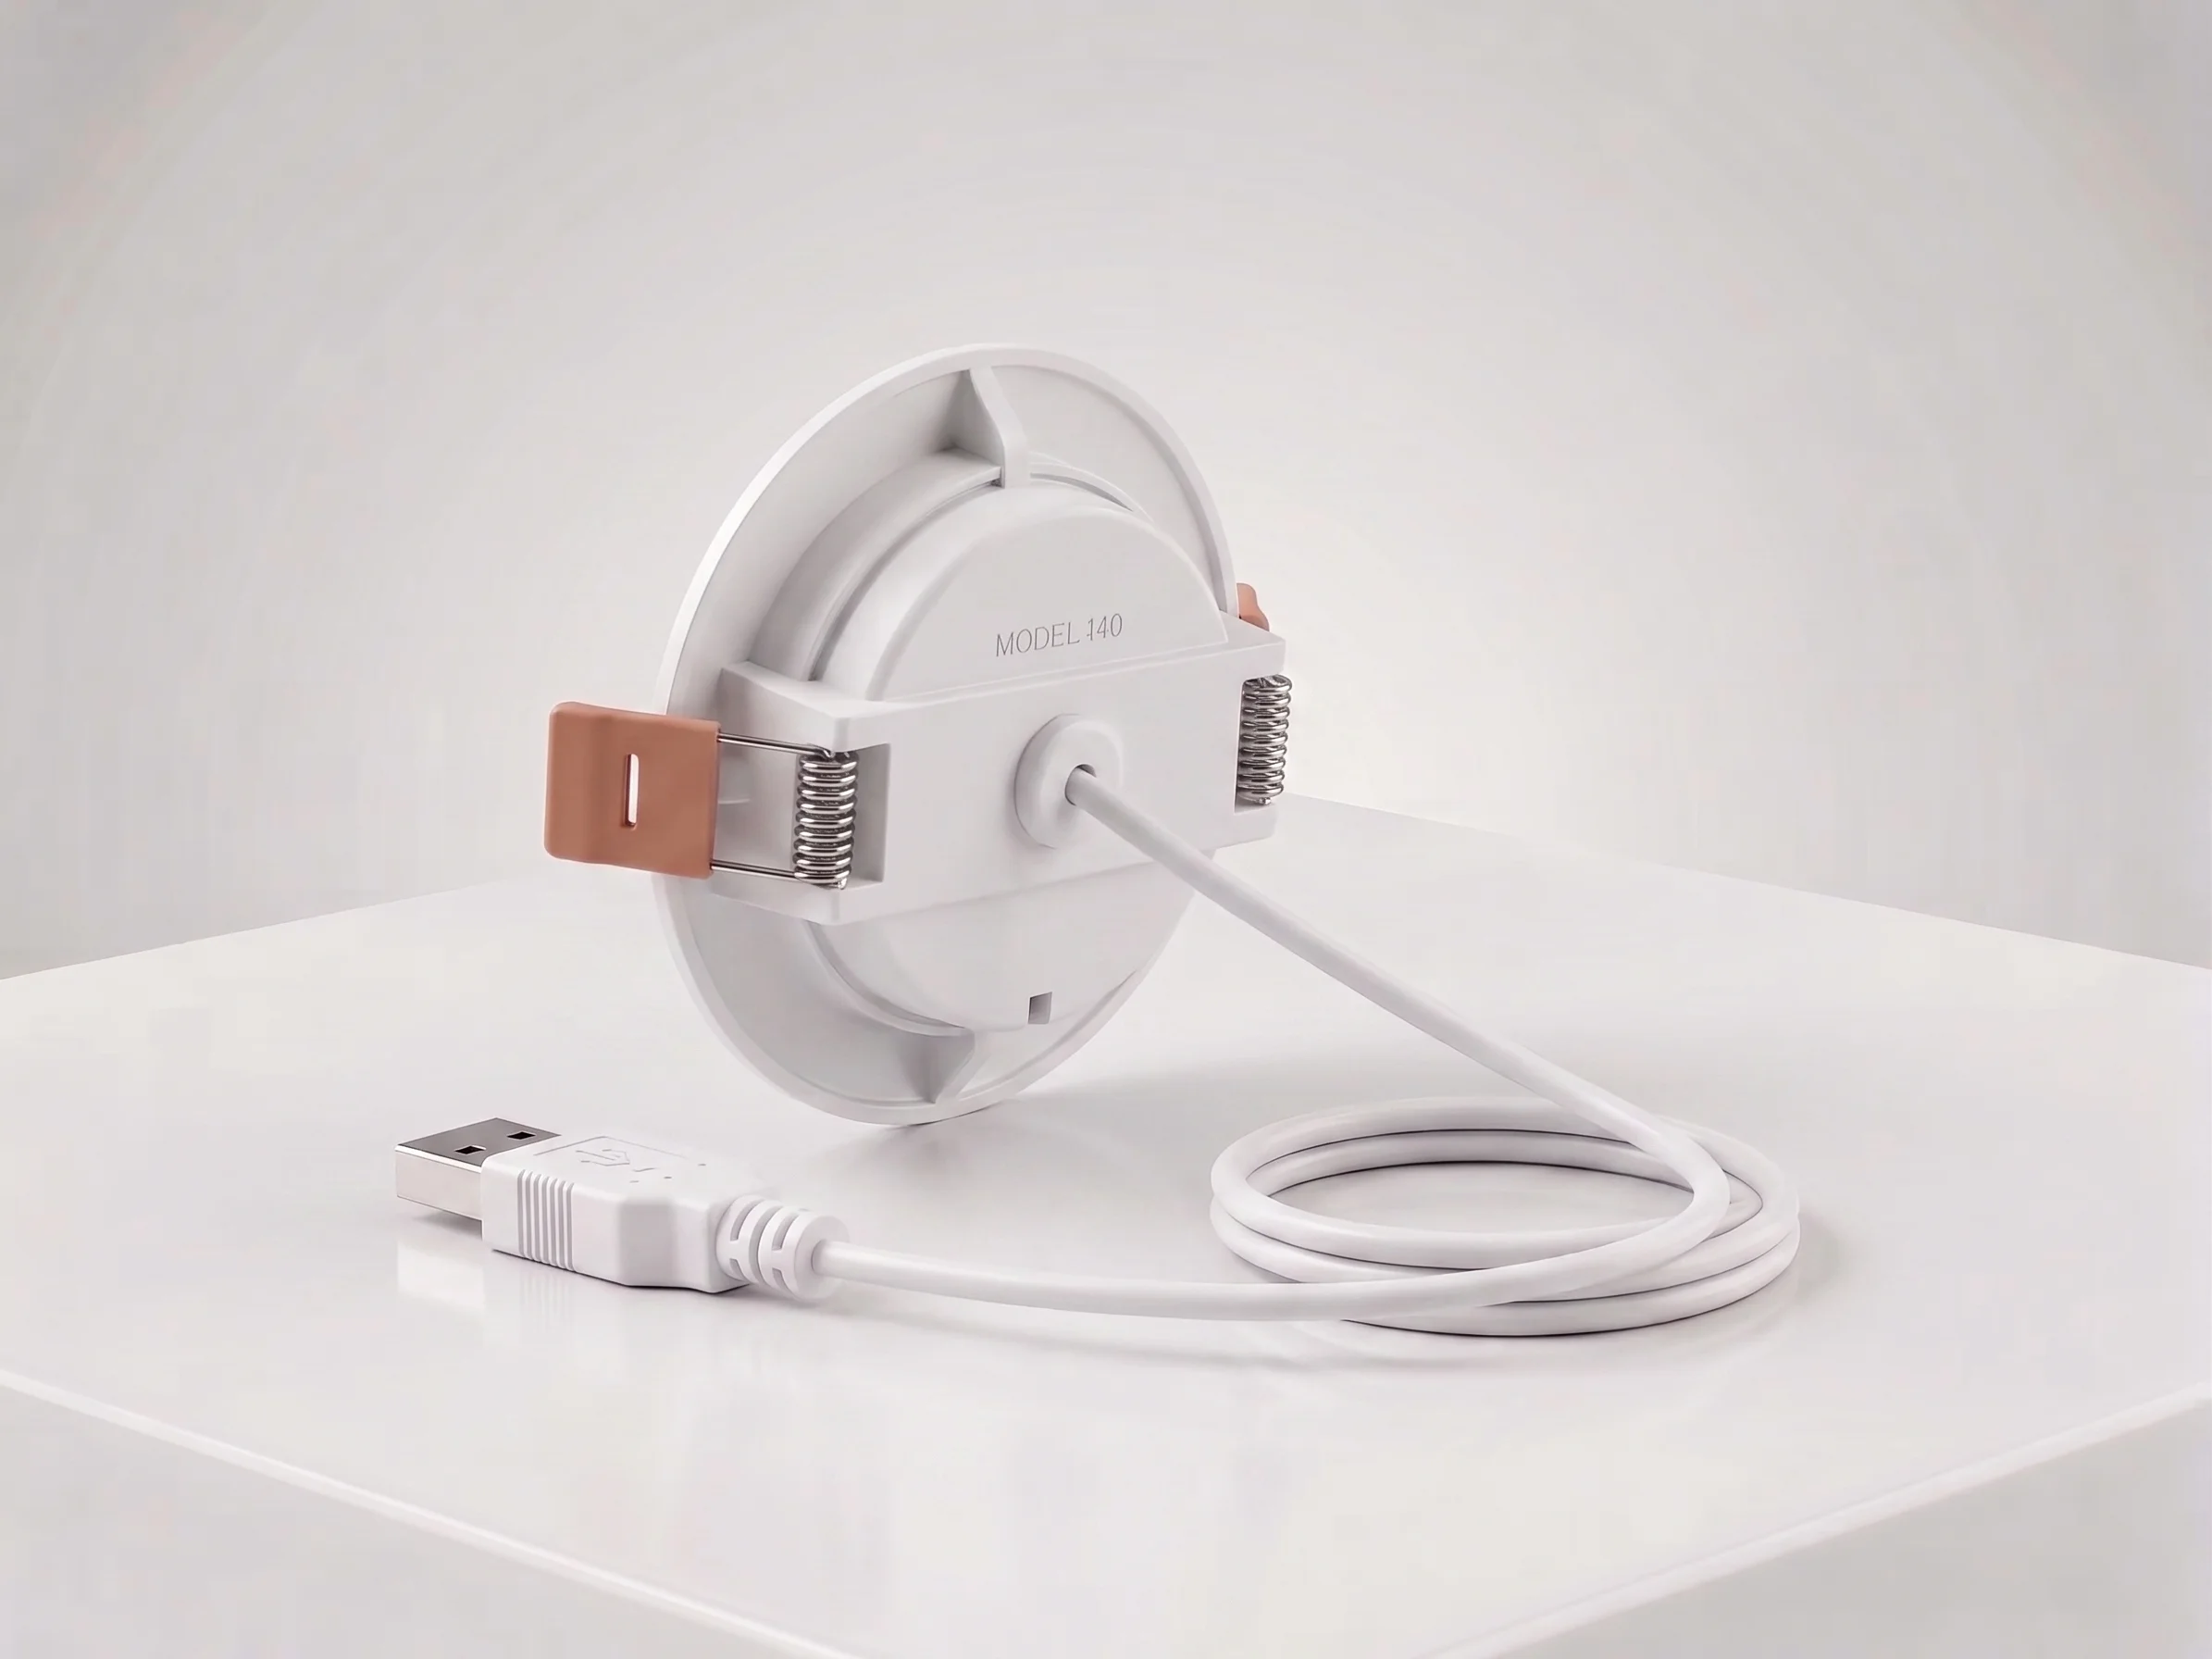
Ceiling Mount mmWave Human Presence Sensor — Matter over Thread
24GHz wideband mmWave ceiling presence sensor with 10m motion, 2.5m micro-motion, and breathing detection. 120° field, DC5V, Matter over Thread. Works natively with Apple Home, Google Home, and Alexa.
This page already points to it as the next recommended reference.
Related solutions
1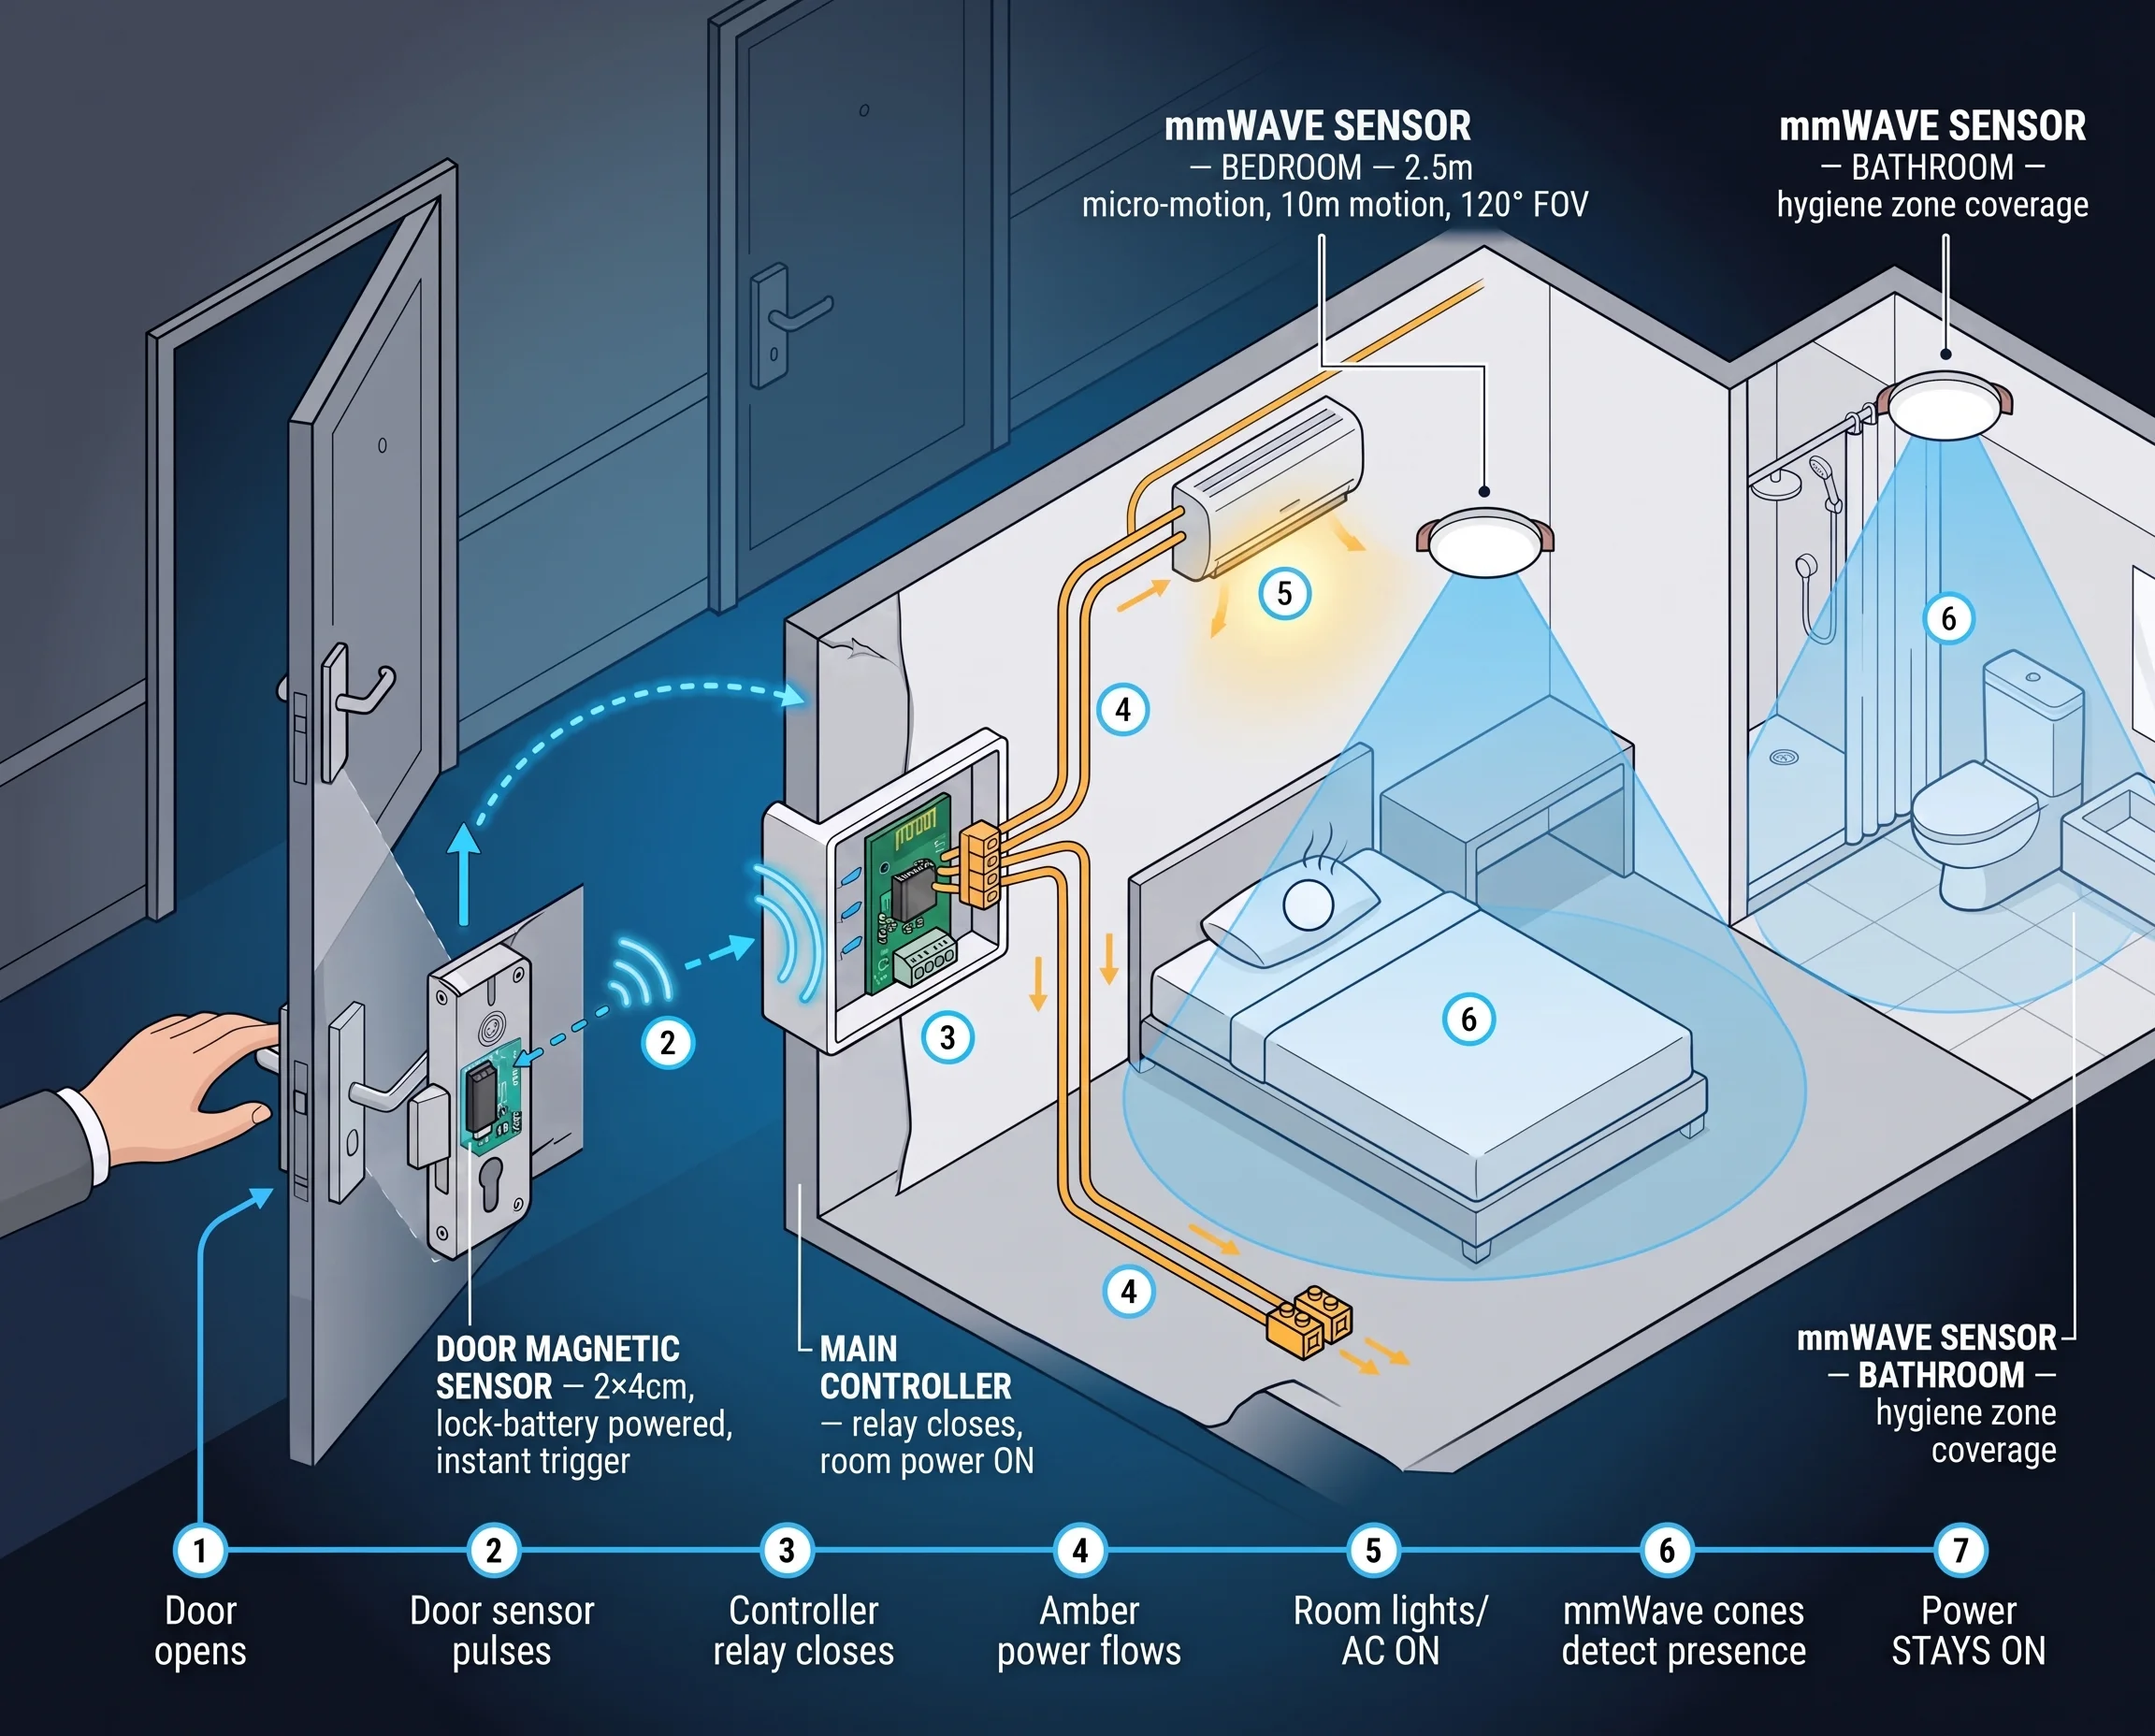
Hotel Room Occupancy & Motion Sensor Solution
mmWave radar presence sensors for hotel room occupancy, housekeeping scheduling, and HVAC energy saving. Detect true occupancy — even when the guest is asleep — with our ceiling-mount hotel room motion sensor.
It supports the same product context: Ceiling Mount mmWave Human Presence Sensor — Zigbee, Ceiling Mount mmWave Human Presence Sensor — WiFi, Ceiling Mount mmWave Human Presence Sensor — Matter over Thread.
Related blog posts
3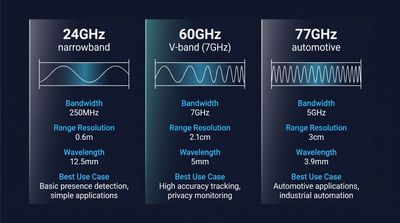
60GHz vs 24GHz vs 77GHz mmWave Sensors: Choosing the Right Frequency for Commercial Presence Detection
Compare 60GHz, 24GHz, and 77GHz mmWave sensors for commercial presence detection. Technical specs, detection range, privacy, and OEM sourcing guidance.
It supports the same product context: Ceiling Mount mmWave Human Presence Sensor — Zigbee, Ceiling Mount mmWave Human Presence Sensor — WiFi.
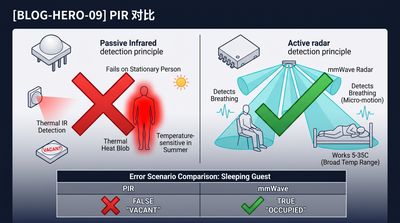
What Is an Electronic Presence Sensor? Technology, Accuracy, and How It Differs From a Motion Sensor
Learn what an electronic presence sensor is, how it detects stationary humans, and how it differs from a PIR motion sensor. Covers mmWave, accuracy, and use cases.
It supports the same product context: Ceiling Mount mmWave Human Presence Sensor — Zigbee, Ceiling Mount mmWave Human Presence Sensor — WiFi, Ceiling Mount mmWave Human Presence Sensor — Matter over Thread.
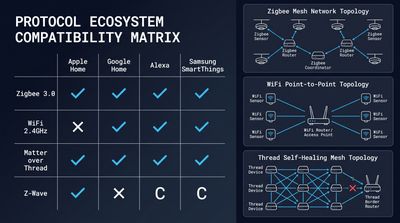
How to Integrate mmWave Presence Sensors With Home Assistant (Local Control Guide)
Step-by-step local control setup guide for mmWave devices, covering MQTT/Matter config, automation scripts, calibration and OEM ceiling presence sensor integration tips.
It supports the same product context: Ceiling Mount mmWave Human Presence Sensor — Matter over Thread, Ceiling Mount mmWave Human Presence Sensor — WiFi, Ceiling Mount mmWave Human Presence Sensor — Zigbee.
Specify your hotel project with our engineers
Send your room count, ceiling type, and protocol preference. We will return a sample plan and quote within 24 business hours.
- Move from general guidance into a product or application discussion.
- Use RFQ when pricing, drawings, MOQ, or launch timing needs structure.
- Keep a direct contact path visible for fast clarifications and handoff.